White Chocolate and Coconut Cookies

Hello all!


This is just a breather post. A non chocolate laden browniesque recipe to cleanse the palate. Ok well it is chocolate laden, but there is no dark chocolate, or snickers bar in sight! So it will do.

I feel like I need to be a bit more adventurous in my cookie baking. It is like there are only so many types you can make before you delve into what I call the 'nut-based' zone, where every other recipe contains an expensive ground nut base such as almond, or hazelnut.


I also feel that there are only so many sorts of chocolate bars bloggers can hide inside cookies before it becomes a bit crazy, a bit ott and just a bit gluttonous. I feel there are many baking blogs out there which aren't really baking blogs at all. Instead they are just methods for assembling pre-mix cakes with the confectionary isle's worth of chocolate bars into one heart attack and diabetic coma. The craft, skill and love lacks somewhat.

So maybe I will have to dive into those fancy looking almond based cookies after all.

So anyway whilst skulking the works of Donna Hay online for new recipes to try I found a recipe for coconut and white chocolate chunk cookies.

I love coconut.

I love white chocolate.

I love cookies.

We had a winner.

Although I have to say, the appearance of the final baked cookie looks nothing like the picture on her website. I wonder what happened. I wonder how she got them so excellent looking.

Regardless, they tasted excellent.

Ah, speaking of excellent, I managed to find a new cookie consumer. All my current cookie consumers (who receive snap lock bags full of cookies on a semi regular basis) are all on diets. Apparently Maxie wants his abs back. Boooo!!! But through sheer luck, my lack of social normalcy and a casual chat in the Link at uni I managed to find a new consumer. There is nothing better than gifting fresh baking to people who appreciate it. I get as much joy giving it away as I do making it, so if I can brighten someone else's day as well it is well worth it. Baking equals love folks.

I swapped the self raising flour here for an extra cup of plain plus a teaspoon of baking powder. I also added more white chocolate melts. Because you can never have too many of those.


Coconut and White Chocolate Cookies
adapted from Donna Hay
makes 25ish

125g butter, softened
3/4 cup white sugar
1/4 cup brown sugar
1 large egg
1 teaspoon vanilla essence
2 cups plain flour
1 teaspoon baking powder
150g white chocolate melts or white chocolate chopped into chunks
1 cup desiccated coconut

Cream together the butter and sugar until light and fluffy.

Beat in the egg and mix until voluminous. Mix in the vanilla.

Mix in the flour, baking powder and coconut.

Stir in the chocolate.

Roll into balls and use the palm of your hand to flatten them on the tray (lined with baking paper).

Bake at 180 for 12 minutes or until lightly golden brown.

Easy as that.


Enjoy!!


Nigella's Totally Chocolate Chocolate Chip Cookies

Aka the best chocolate chocolate chip cookies you will EVER make.

The other day I was sitting in my room YouTubing Nigella videos when I came across one for some chocolate chip cookies I had found in one of her books a while back. After scrolling through her website again last night I found the recipe again. My concentration on work was waning. It found me at a time of weakness! I caved and I baked.


Holy mackeral!

My life is complete.

The ultimate cookie recipe is here before you.

As quickly as you bake them they disappear. That is if they even get to being baked.

Far out.

Sorry, just give me a moment to get over this mind blow.


Right. Focus Sophie. Focus on the cookie.  . . nom cookie.


This recipe is supposed to make 12 rather large cookies but I think I managed 16. Probably would have been more had I not eaten so much dough (omg worst food coma of my life).


Here are a few notes on things to do/things I did

  • If you choose not to use the ice cream scoop method, roll the dough into balls and then with a bit of force throw/slap them down onto the baking tray. This will flatten out the bottoms a wee bit.
  • I only used half the chocolate suggested in the recipe (200g v 400g). This is because I am too poor haha and wanted to save the rest of the chips for another day (probably today to make a second batch).
  • Pop 5g of extra butter in with the chocolate so that when you take it off the heat it doesn't solidify but instead remains fluid and scrapable.
  • You want to undercook these. Brown cookies are hard to bake. They are so easy to overcook and then they turn out dry. It is better to under bake them, that way they will definitely turn out fudgy. 
  • As crazy as it sounds, listen to your baking. When you take these out of the oven you still want to hear a bit of sizzling going on. If they cookies aren't singing, they are overdone.
  • The tops should still be a wee bit moist looking.
  • Don't eat your body weight in dough. It hurts.
  • While your food sci class will love you for it, don't give half of these away haha you will regret it when you are back home having just eaten the last one and wanting more.
  • On that note, do give them away. Sophie, stop being so chubs.


Right, shall we do this?

Yes. Yes we should.


Nigella's Totally Chocolate Chocolate Chip Cookies
Adapted from this glorious recipe here
makes 12-16ish

125g butter, softened
5g butter
125g dark chocolate (use at least 70% cocoa solids)
75g soft brown sugar
50g caster sugar
1 cold egg
150g plain flour
30g cocoa
1 teaspoon vanilla
1 teaspoon baking soda
200g (or 400g if you really want) dark chocolate chips

Preheat the oven to 170 degrees on bake.

In a double boiler, or a heatproof bowl over a saucepan with a small amount of simmering water in it, melt the dark chocolate and the 5g of butter. Remove from heat once fully melted together.

Meanwhile, cream together the butter and the sugars. 

Scrape in the melted chocolate and mix until combined. 

Add in the cold egg and vanilla and beat until beautiful and thick.

Sieve in the flour, cocoa and baking soda and mix until just combined (over mixing will make the cookies tough).

Stir in the chocolate chips.

Either use an ice cream or cookie scoop to scoop out mounds onto a baking tray lined with baking paper or roll the dough into balls and slap them onto the tray to flatten the bases out. Don't flatten them with a fork.

If you are making 12 large cookies, bake for 10-12 minutes (see my notes up top about listening to the cookies) but for smaller ones I feel like 8 minutes is the magic number. Again this will depend on your oven. I feel like the oven here at the flat can be a bit cray cray sometimes. 

When they come out of the oven, leave them on the tray for a few minutes, they are really delicate and can break really easily if you move them too soon.

Transfer onto a tea towel or cake rack to cool.

Devour, savour, demolish, destroy . . . share???


Basically, enjoy!!


Just an update since this afternoon when I posted this. After my friend Matt and I drank our cider and ate our wedges (it is a Tuesday tradition) we decided that cookies needed to be made. Which means I make cookies and he tells me hilarious stories about everything. So I decided to do a double batch and make 8 large cookies with the ice cream scoop. This is how they turned out.


So much great.


The rest I made small like the first batch I did. The kids he has to tutor over at Knox tonight are gonna love him!

Nunnite!! xx


Snickerdoodles

Hi there!

This weekend I have been on my lonesome so I took to the kitchen and filled my days with trying out new types of cookies and biscuits.

To be honest I came home this evening feeling a bit useless at everything and so I sought therapy in the one thing I don't seem to suck at: baking.

Thank God for baking. Had I not possessed the ability to whip up half decent treats I probably would have sulked and moped on the couch all night watching gossip girl and eating a tonne of red liquorice. Then I would have felt bad because I am supposed to be on a diet. Then I probably would have gone on a guilt induced trip to the gym for the second time in a day.


 I was going to make oaty chocolate chip biscuits. But that would have involved going to the supermarket to buy chocolate (funnily enough I did end up at the supermarket to buy tuna where I bumped into Mel who I then followed to the library to see Bryn. Talk about a detour. Did I mention this was 10pm at night?)


Right where was I? Ah I opened my Hummingbird book to see if there was anything new and exciting to make when I stumbled across this snickerdoodle recipe.

I had heard of snickerdoodles before, from numerous American TV and movie references. I didn't actually have any idea what they were though.

Turns out they are a dense but fluffy vanilla biscuit with a hint of cinnamon, coated in a crust of more cinnamon and sugar to create a crunchy yet fluffy spicy biscuit. They are delicious.

When I looked at the recipe I had everything I needed already in my extensive baking cupboard. What is even better is that they only use 60g of butter, so they are sort of in the low fat department with only around 4g of butter per cookie (lets not get started on the sugar - lets assume you burn that off in an instant :)).


This recipe does call for cream of tartar, I know it is not something you use often but it is super cheap to buy and only use a couple of times. Cream of tartar, or potassium bitartrate acts as a stabilising agent and a crystal forming preventative agent. It also helps to activate baking soda in baking powder.


Right lets get onto the cookie making shall we?

Snickerdoodles
(from the Hummingbird Bakery's Cake Days)
Makes 12-14

For the dough:

60g softened butter
160g caste
r sugar
1 teaspoon vanilla
1 large egg
240g plain flour
3/4 teaspoon cream of tartar
1/2 teaspoon baking soda
1/8 teaspoon salt
1/2 teaspoon ground cinnamon

For the coating:
1 1/2 tablespoons caster sugar
1 tablespoon ground cinnamon


Cream together the butter, sugar and vanilla until light and fluffy.

Add the egg and beat until the volume almost doubles.

Sift together the flour, baking soda, salt, cream of tartar and cinnamon and add this to the egg mixture in around three lots, beating well after each addition. Mix well until the mixture becomes a thick dough.

Cover the bowl with glad wrap and leave to rest in the fridge for half an hour.

While the dough rests, preheat the oven to 170 degrees bake (150 if on fan bake).

Prepare the coating by mixing the caster sugar and cinnamon together in a small bowl.

Once the dough is firm, roll into walnut sized balls then coat well with the cinnamon and sugar mix.

Place on a baking tray and press down slightly with the back of a spoon, just to flatten them into fat discs. Space the dough balls evenly with around 5cm between each ball.

Bake for 13-15 minutes or until the cookies are a light golden colour.

Allow to cool slightly before munching down on them :)


I hope you enjoy these :) they are really easy, pretty much fool proof and are a nice crispy change from the usual bickie :)


Enjoy!

TTFN!
Sophie x

Peanut Butter and Dark Choc Chunk Cookies

Hello!

Isn't it an excellent afternoon to bake cookies? I just heard thunder in the sky in amongst the thumping of rain against our tin roof. Oh and now hail! This is wonderful! It sounds like I have a rain simulator going. But I don't.

Well since the weather is so delicious, can I tempt you in some as equally delicious peanut butter cookies?

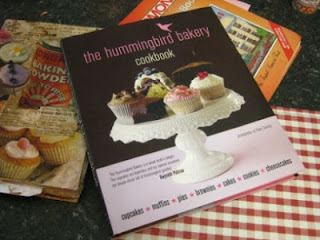
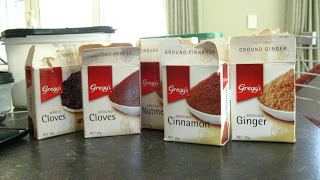
The other day I was told that Whittakers had just released a new peanut butter flavoured chocolate. I haven't tried it yet but in semi celebration/inspiration I decided to make these cookies. Whilst flicking through my Hummingbird Bakery Cookbook, I found this recipe. A bit of forewarning though, they have a tonne of butter and even more sugar in them! (400g!). Oh but they are sure worth it.


The recipe says it makes 24 but I managed to get 32 out of this lot, and the cookies still turned out huge! The important thing is to make sure you cream your butter and sugar enough and then once the eggs are added beat until the volume almost doubles. I cannot stress the important of creaming enough - it makes the cookies light and fluffy but also yields a greater dough volume which means more cookies!

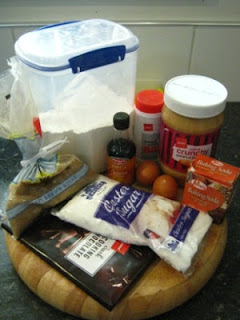
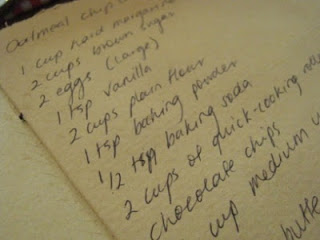
So here is what you will need:
225g unsalted softened butter
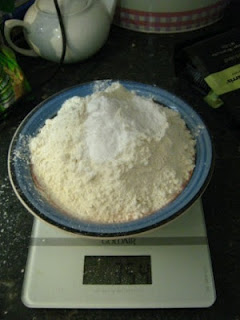
200g caster sugar
200g brown sugar
2 eggs (large/size 7)
240g crunchy peanut butter
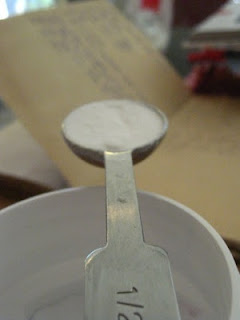
1/2 teaspoon vanilla extract (I always throw more in)
340g plain flour
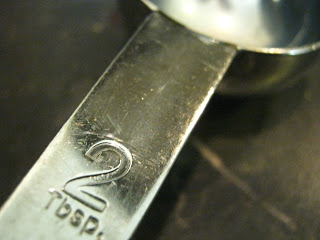
2 1/2 teaspoons baking soda
1/2 teaspoon salt
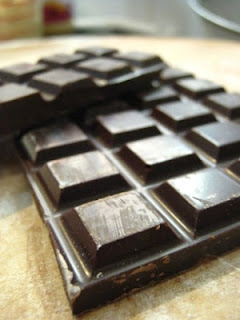
75g dark chocolate, chopped

Method:

Preheat the oven to 170 degrees.

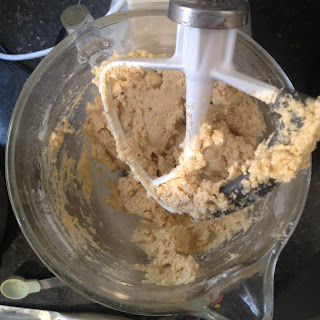
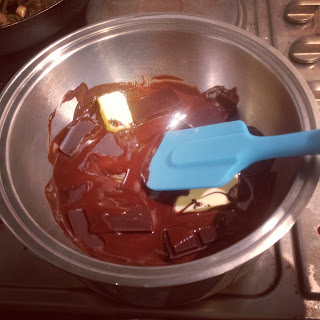
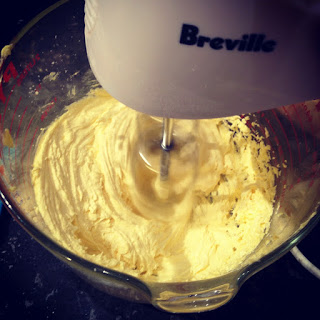
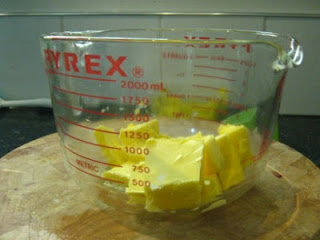
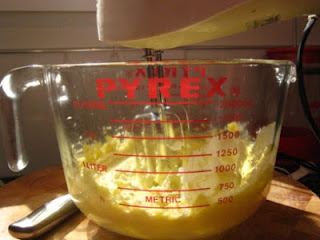
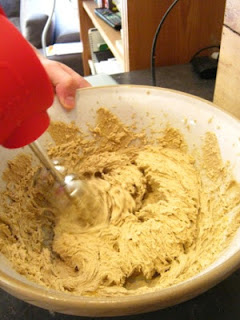
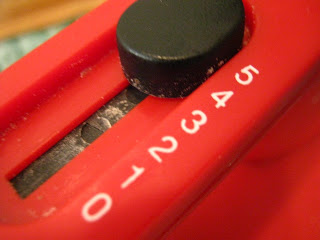
Cream the butter and both the sugars together in a bowl and bea ton high for around three minutes, or until the mixture lightens in colour. Add the eggs one at a time, beating well after each addition. Continue beating until mixture almost doubles in size. You want it to be very fluffy.

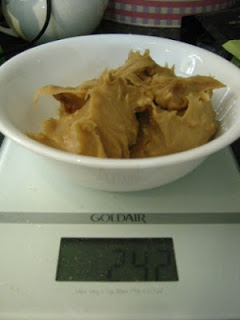
Next, weigh out your peanut butter and then add that to the mixture. Add in the vanilla. Beat until combined.

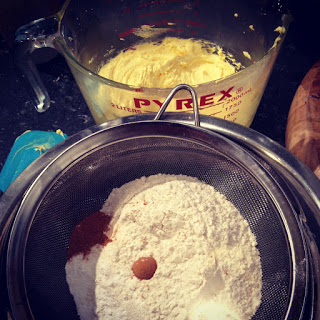
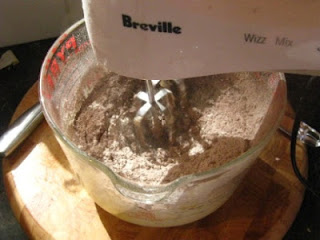
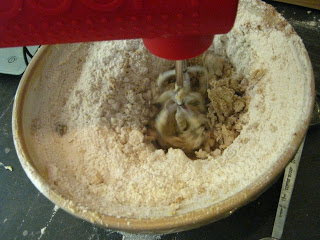
Sieve in the flour, baking soda and salt. Beat until evenly dispersed.

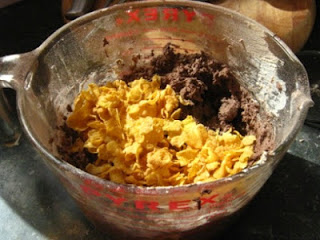
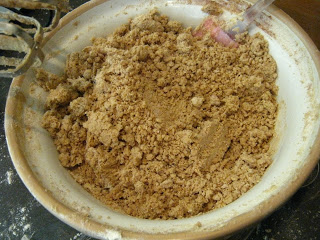
Once a smooth dough has formed, stir in the chopped chocolate.

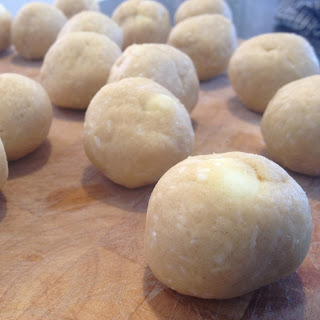
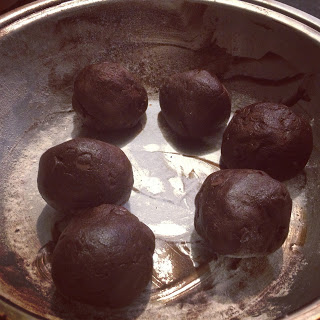
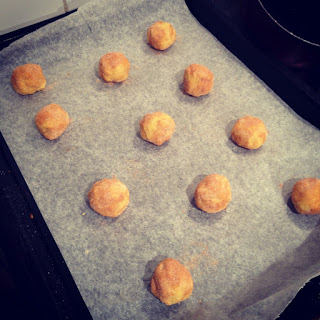
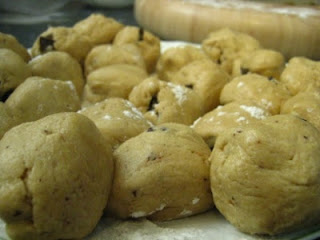
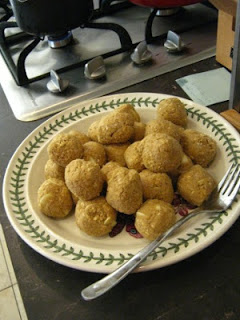
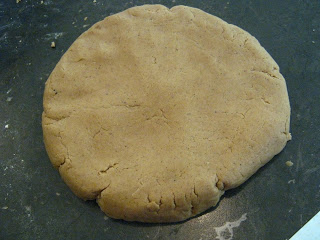
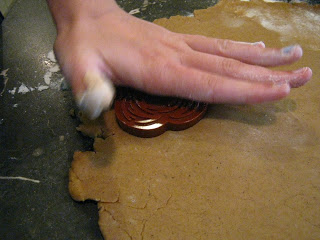
Roll the dough into balls (somewhere in between a ping pong ball and a gold ball in size).

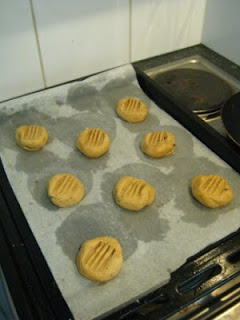
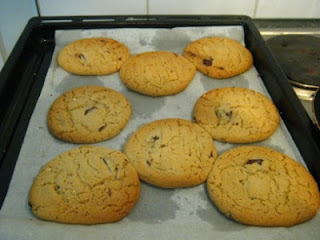
These cookies expand quite a bit so place only 8 at a time, evenly spaced on a baking tray lined with baking paper.

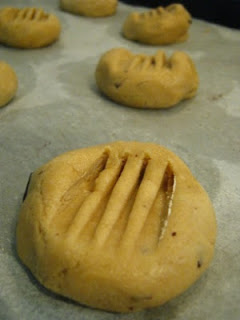
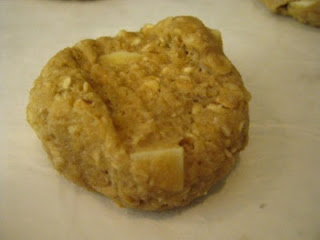
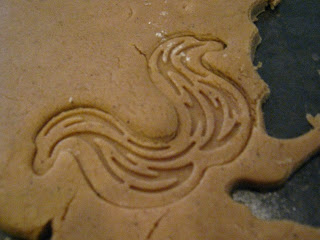
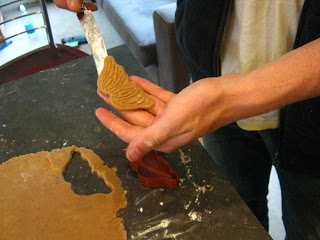
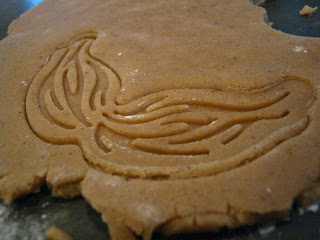
Press the balls down with a flour fork.

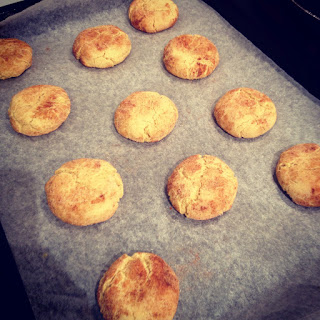
Bake for 11 minutes. Remove from oven, leave to cool on the tray before transferring with a spatula onto a cooling rack or paper towel. Repeat for the rest of the cookies.


Ok so the method in pictures for all you visual learners out there :)
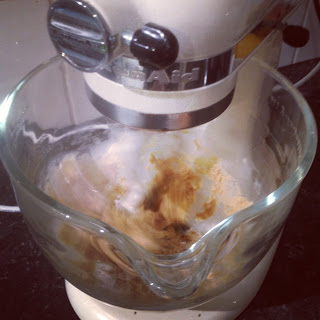
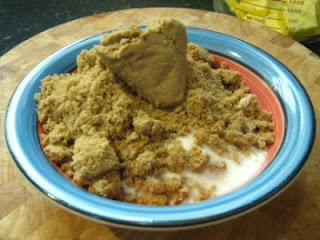
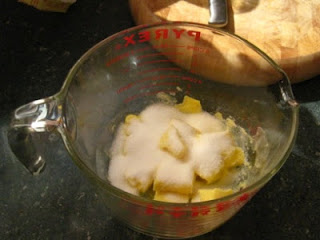
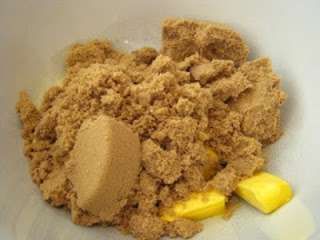
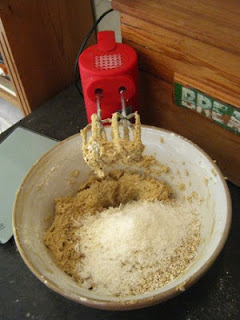
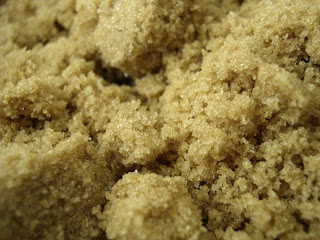
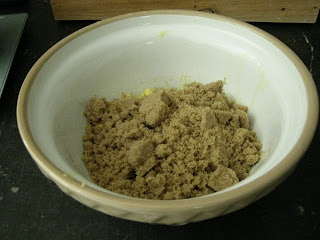

 (So much sugar!!)


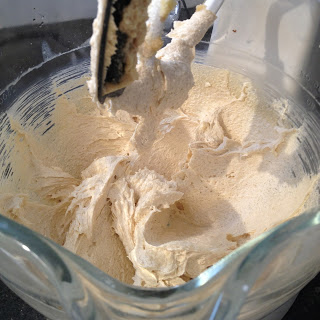
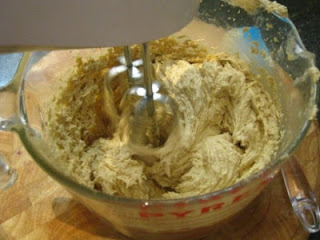
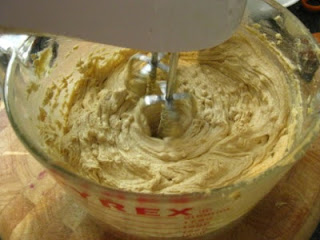
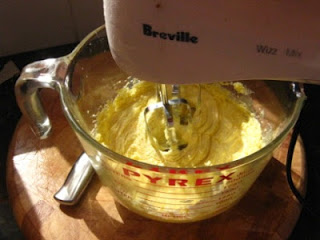
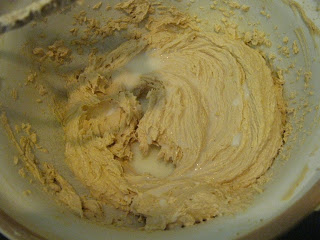
 Cream together your butter and sugars until nice the fluffy.

 Since there is brown sugar in the mix, it wont go white but it should go a light brown colour like above.

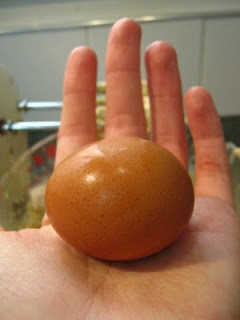
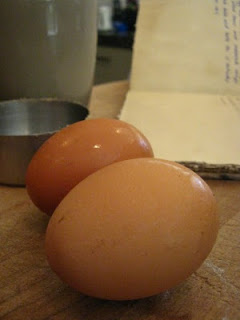
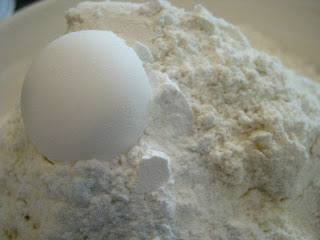
 Such tiny tiny eggs! We had tiny eggs so I chose the smallest and used three instead of two large ones. It worked out fine.

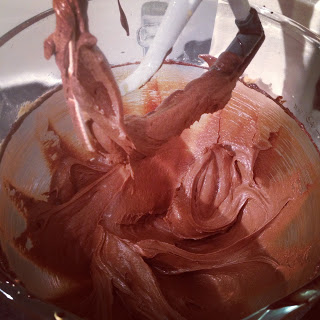
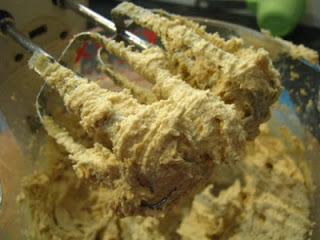
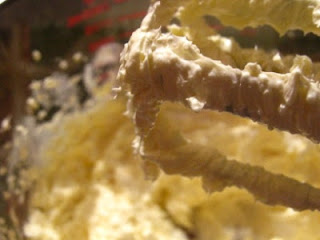
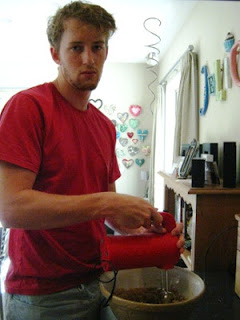
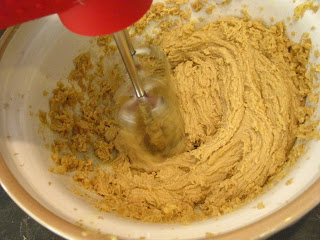
 Beat beat beat until super fluffy!

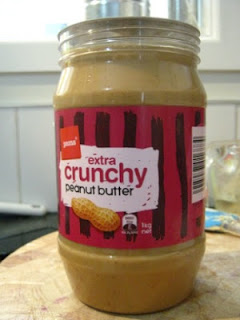
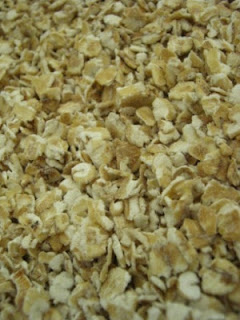
 Now get your peanut butter ready .

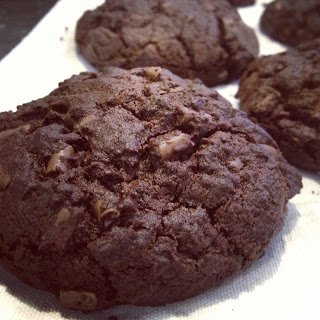
 The extra crunchy meant there were extra peanutty bits!


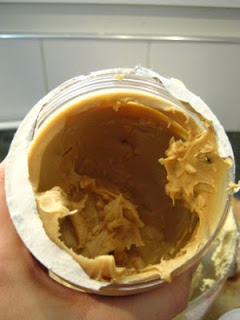
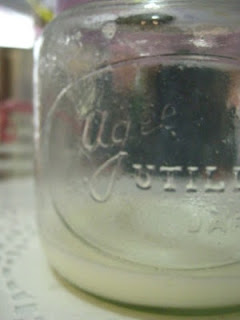
 That is quarter of a 1kg jar . . .


 Mmm yum

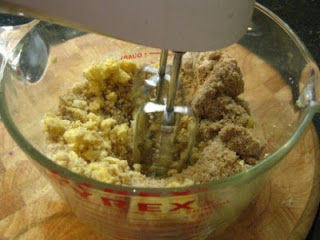
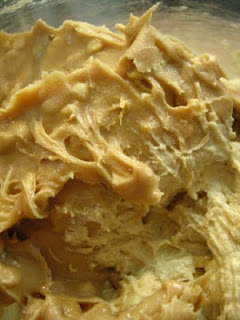
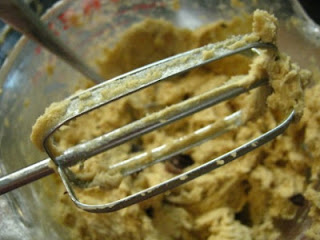
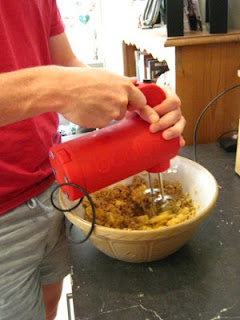
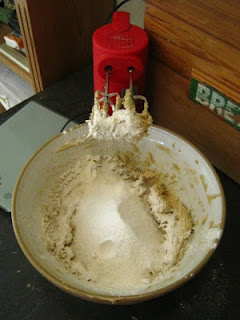
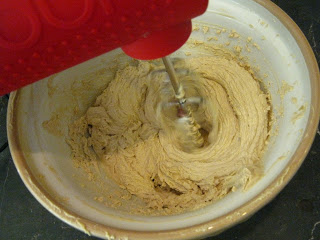
 Beat this together until nice and evenly dispersed.

 See how smooth it looks :)

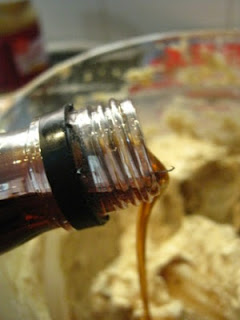
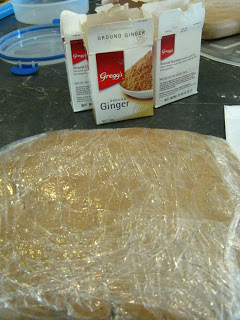
 Don't forget your vanilla!

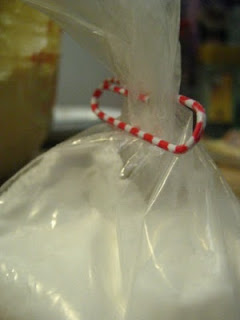
 Haha who sealed our baking soda bag with a paper clip! Very cool.


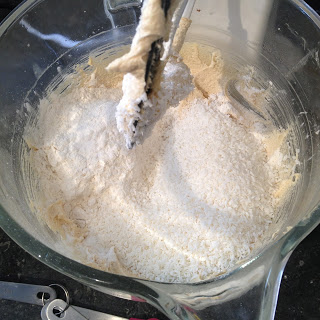
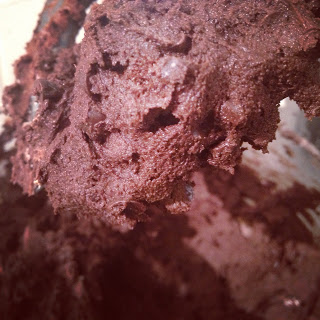
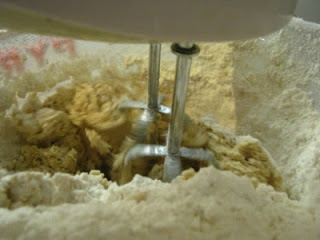
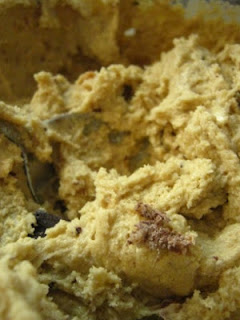
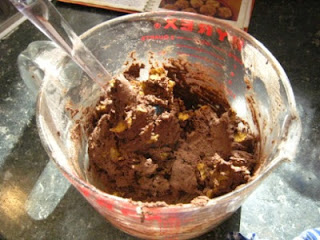
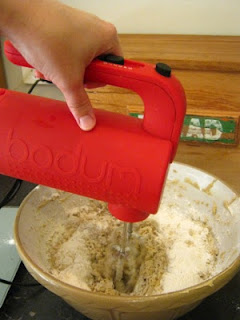
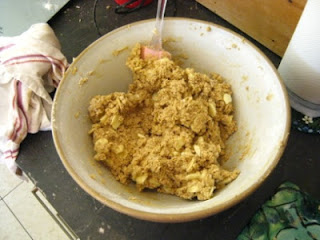
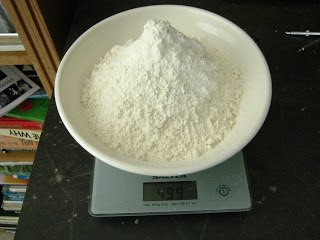
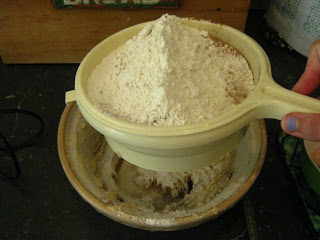
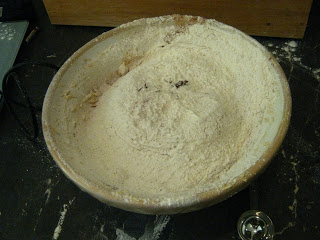
 Sieve in your flour, salt and baking soda. Beat the mixture until a smooth dough has formed.

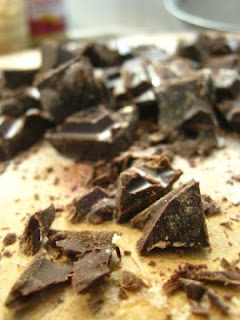
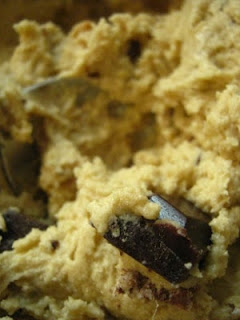
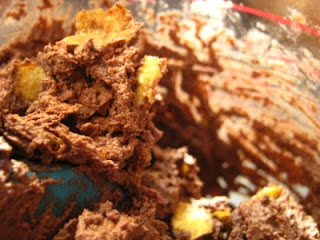
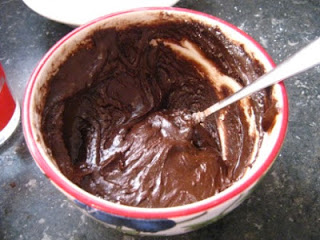
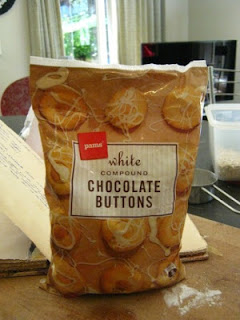
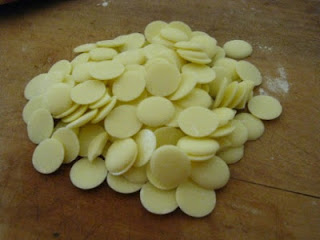
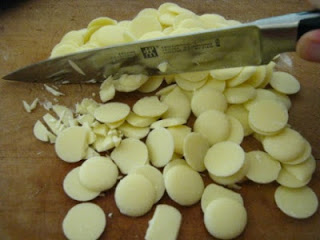
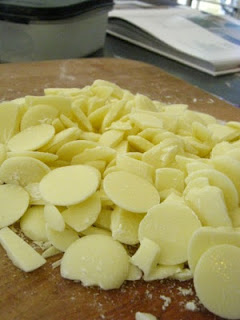
 Now for the fun bit. Chop your chocolate into chunks. You want a few big chunks in there.


 Mix that in . . .


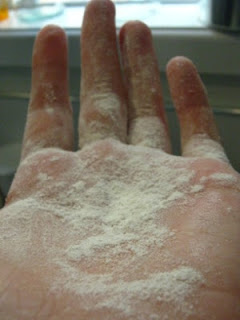
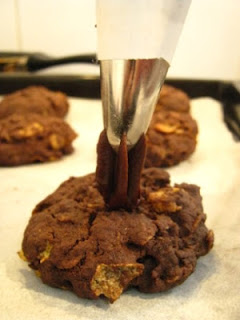
It helps if you flour your hands before rolling the balls of dough. That way it wont stick to your hands as much.

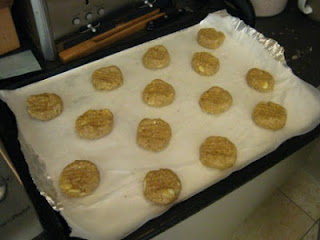
 In between pressing the dough balls down, dip your fork in some flour, that way the balls wont stick to your fork. Once pressed, pop them in the oven for 11 minutes.


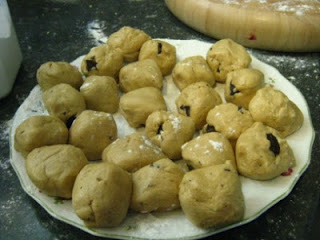
 While waiting for the first lot to cook, roll the rest of your dough. It saves time later.

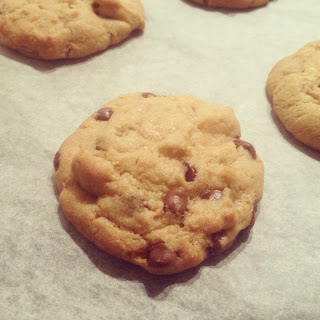
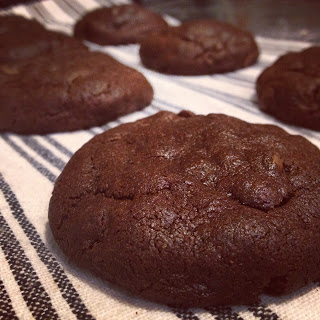
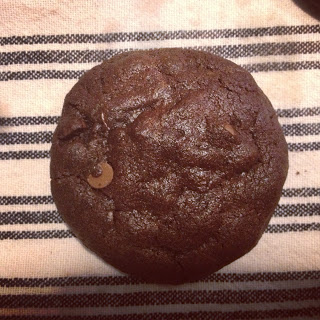
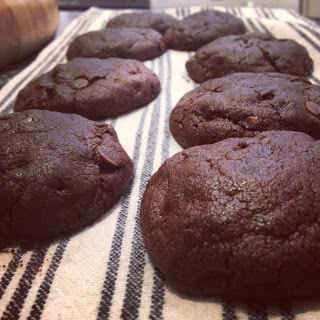
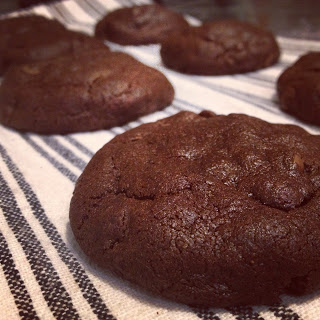
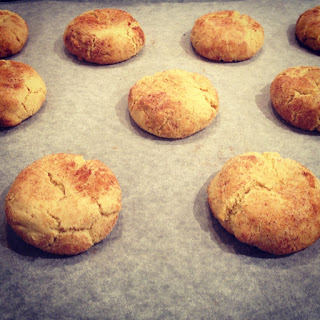
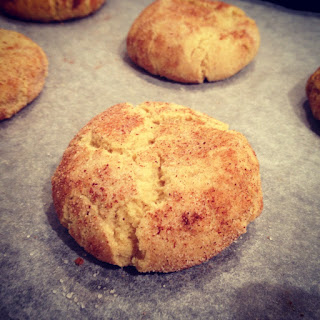
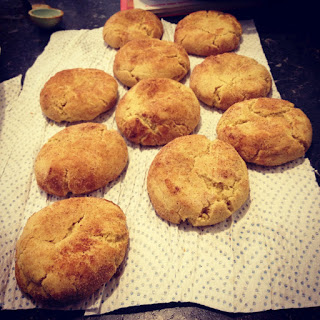
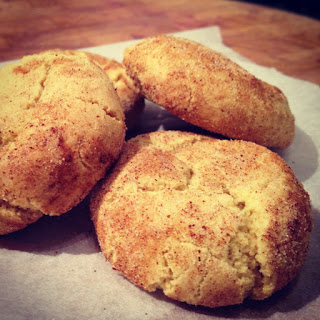
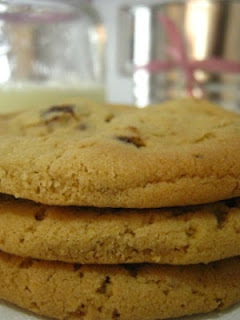
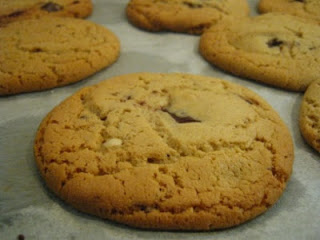
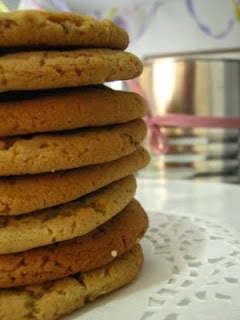
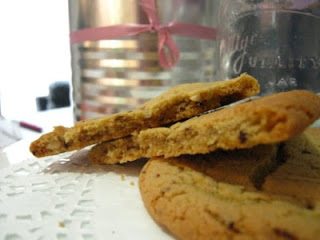
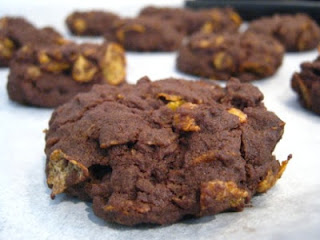
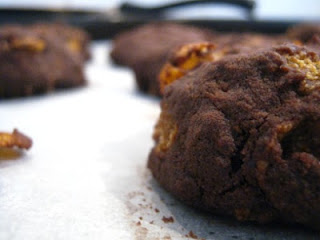
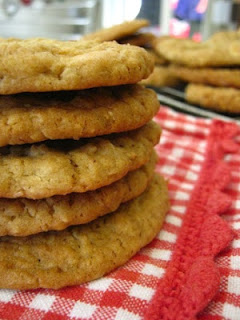
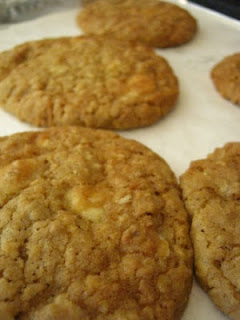
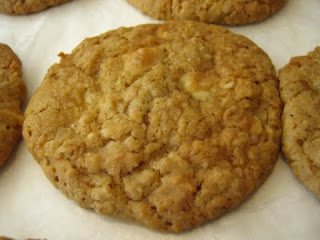
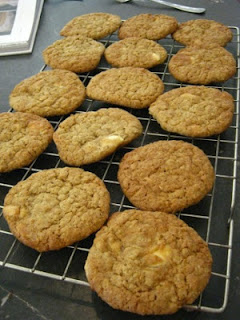
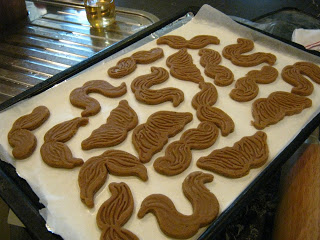
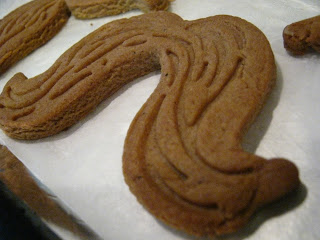
 And Bam!! 11 minutes later they come out looking like these beauties. See how large they became? You don't want to space them any closer. Once they are cool, remove them from the tray and pop the next lot in :)

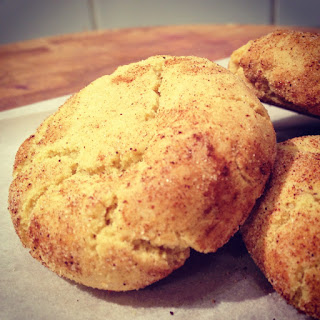
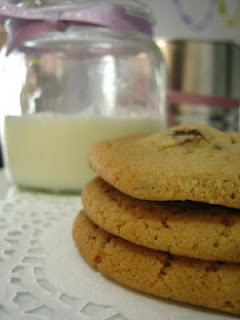
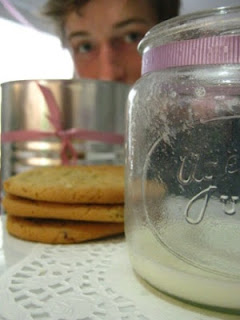
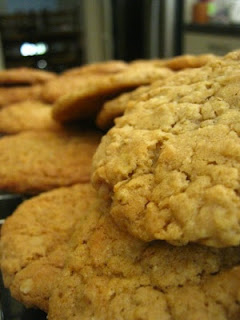
 Serve with a nice glass of milk :)


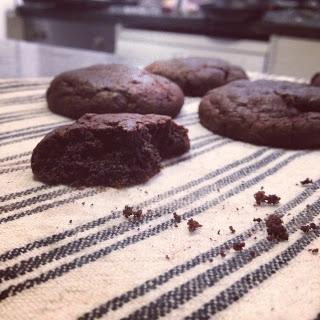
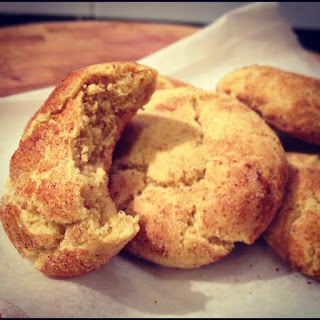
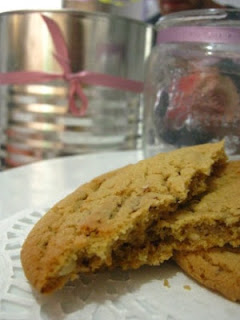
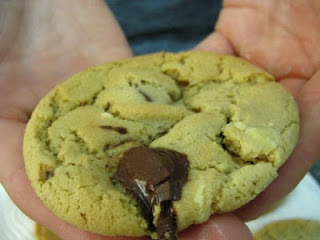
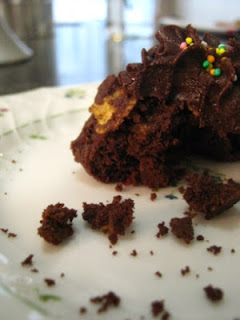
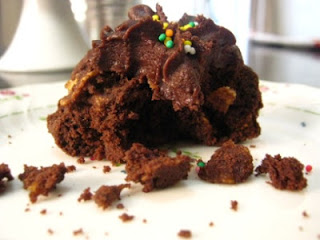
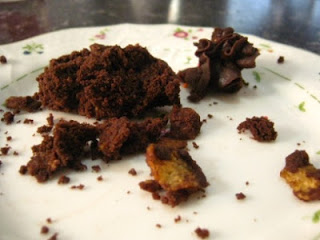
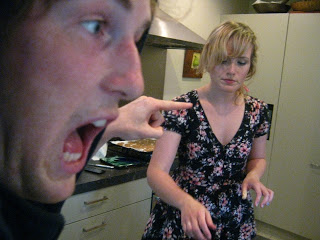
 Chris managed to pick up one that had just come out of the oven. The chocolate was still gooey. Jealous. But it did sort of fall apart.
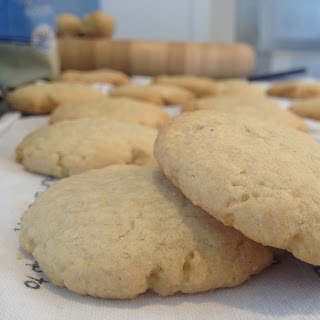
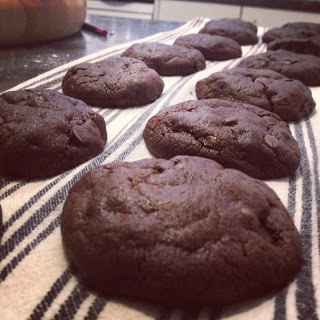
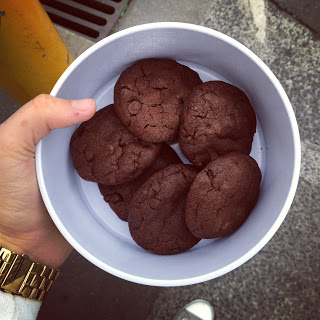
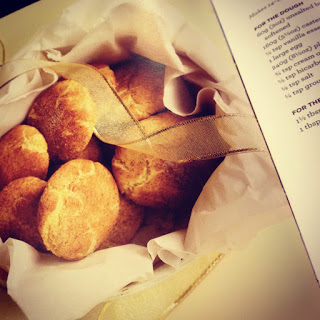
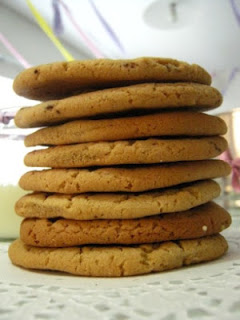
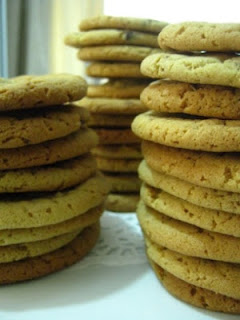
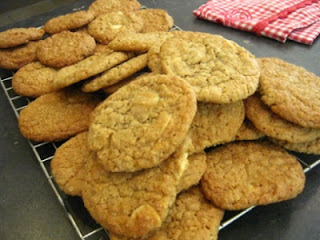
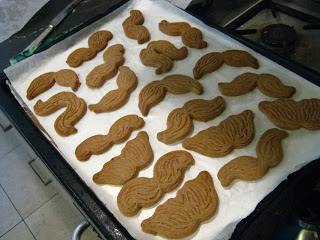


 So many cookies!

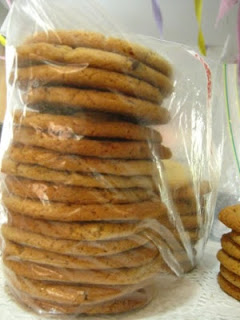
Now before Alix, Lucy and I get to them, I put them in a freezer bag and then into the freezer where they shall live and only come out one at a time! haha. Just put them in the microwave for 10 seconds and you have warm fresh cookies every day!

Have a good rainy afternoon!

xoxo

Afghans

Good afternoon to you all!

I am having a bit of a nana revival here. First sultana cake and date loaves, now afghans? Almost borderline retro, or should I dare say hipster baking! I am pretty sure baking is too mainstream for hipsters, especially measuring ingredients. Sounds way to restrictive for their way of life. Although it's the sort of thing hipsters take over exposed instagram photos of when chilling at known hipster food outlet locations. Ok to be honest I myself take lots of food photos using instagram (along with stalking photos of certain TVD actors . . . ). Anyway I think the message here is that sometimes the best things are the tried and true recipes without all the fandangled swirly twirly sprinkly bits. I dunno, what do you think? At least you can eat these without feeling guilty that you are destroying a work of art.


The other day we ran out of cereal. As in the only cereal we had left was Coco Pops and Weetbix (both I do not classify as suitable breakfast foods, too sugary and too mushy - bleeeeh). As it was only Thursday (our shopping day here is Sunday) I only had a few dollars to tide us over for the next few days. Turns out cornflakes were on special (score!!) at $1.69 (double score!!).  Then I thought what else can I do with cornflakes other than eat them with milk?  . . . Oh I wonder.


(Too right you are a box full of golden crispy corn flakes!)


Oh and guess what:


This must mean they are healthy!! Haha justification to eat five afghans in one go! Hmm whilst eating my cereal this morning I noticed that it also contained in one serving 50% of your RDI of folate. Why do they not put this on the packet? Is this so annoying uneducated anti folate buffs arn't put off? It's important to have. I don't want any accidental children of mine to have spina bifida (Mum don't you worry! haha). Hmm why isn't there calcium fortified into it? Special K is pumping with it (which is why if I am feeling rich I buy it). Milk is expensive for poor students to buy (except in our house of three girls where we have gone through 6L this week . . .) so we need to get it from other sources (please no one suggest eating a tin of salmon with bones). Anyway where was I? . . .


In African countries (where the majority of people are illiterate) they put pictures of the package contents on the box to avoid confusion. There was a hilarious case of an American baby food producer that put a picture of a white baby on the front of their tins. Delish! Why is there a rooster on the pack? So there is a rooster in the box? Do roosters eat corn? Why Kellogs why? Roosters crowing in the morning? Morning = breakfast time? Roosters are found on farms, they want to bring that country lifestyle to the inner city breakfast table? Is there some historical thing going on?


At least its not a kangaroo . . 


I hate you food science!. Why do you do this to me? Actually I love it. You guys are missing out :)


Hmm where did the name for this biscuit come from anyway? This is all Wikipedia had to say about the baked morsel in question: 


An Afghan biscuit is a traditional New Zealand biscuit made from cocoa powder, butter, flour and cornflakes, topped with chocolate icing and a walnut. The origin of the recipe and the derivation of the name are unknown, but the recipe has appeared in many editions of the influential New Zealand Edmonds Cookery Book


Yes I did just copy that all off the Wiki page. Is this a uni assignment? No. But if you want to see for yourself, here is the link :) 


I have this sneaking suspicion that it is another New Zealand vs Australia type recipe. Like the pav and that a New Zealander beat the Aussie to writing the wiki page. 


Hmm I think I might go ask my Food and Culture lecturer from last year . . .

Anyway back to it

Using of course the trusty Edmonds Cookbook (It seems to be the bible for all these nana type cakes) the recipe I used was the first listed in their biscuit section.


You will need:

200g softened butter
75g sugar
175g flour
25g cocoa powder
50g (Although I am sure I used 70g+) corn flakes

Chocolate icing (lots of it - afghans are not a very sweet biscuit so you need the icing to balance it out)


Method:

Preheat your oven to 180 degrees. Cream together the butter and sugar until white and fluffy. Sieve in the flour and cocoa and then mix in well. Pour in the cornflakes and stir in with a spoon (the beater just crushes the flakes of corny goodness). Once well combined, spoon and roll into balls and place on a baking tray lined with baking paper. Press the balls down with a floured fork then pop them into the oven for 15-17 minutes. Once done, take out of the own the leave to cool. Once cool slather them in icing in whichever fashion you prefer.

And here is the method in pictures (as usual)


 Cream together your butter and sugar


 Sieve in the flour and cocoa. Beat until combined.


Add your golden flakes of corn


Mix in with a spoon (or spatula)


Roll into balls and flatten with a floured fork


Set the timer . . .


And bam! 15-17 minutes later these delicious creations come out.


Once they are cool, mix up your icing.


(It's St Patrick's day by the way. Chris is pointing out all the green ones we could extract to make our afghans more festive)


Now ice them and decorate :) Pop walnuts on the top if you wish :)

Hmm the person who invented afghans obviously didn't know about water activity and the migration of moisture from a high moisture area to a low one in mixed medium food products, ie the water in the butter into the cornflakes making them soft and soggy.

Although a few hours later these are still good :D


And once again I have added an obscene number of biscuit photos . . .

Ok time to eat more . . .

See you next week!

Oaty White Chocolate Chippies

Hello!

Like most of my posts, they come in twos. First it was oaty ginger slice now oaty chocolate chip cookies. I am certainly having a good day with the oats. Oats are good, they bulk things out and give something an ANZAC bickie feel. Hmm yum. These cookies are a cross between good old chocolate chips and ANZAC biscuits. Bringing the goodness of chocolate and the deliciousness of oats all rolled into one. Mum requested a batch of biscuits made up as Jack has restarted school again. He is now 7th form and still doesn't make his lunch so I had to make the baking component up for him. What is good about these is that because of the oats and coconut added to them the mixture gets bulked out a huge amount and so it ends up making 35-40 cookies depending on their size and the amount of mixture consumed.


Ok so you will need:

Oaty Chocolate Chip Cookies:
200g softened butter
2 cups brown sugar
2 large eggs
1 teaspoon vanilla
2 cups plain flour
1 teaspoon baking powder
1/2 teaspoon baking soda
2 cups quick cooking rolled oats
3/4 cup desccicated or threaded coconut
1/2-1 cup chocolate chips (I prefer white)

Before you get going, preheat your oven to 170 degrees on bake.


Cream together your butter and sugar until nice and light brown and fluffy. Chris said he would help but I think he meant help with the eating rather than beating. He gave up very shortly after this photo was taken. He does not look too impressed.


Next beat in the vanilla and one of the two eggs.


Once the first egg is in and roughly mixed in, add the second. Continue beating until the volume of the mixture roughly doubles. The more volume you produce now, the more mixture there will be at the end for cookie rolling.


Next sieve in your flour, baking powder and baking soda.


Then add your two cups of oats and 3/4 cup of coconut. Mix carefully so that it doesn't go everywhere.


And next add the most important ingredient.


Chop the melts roughly, making them more manageable in the mixture.


Now once you've got it looking like this, grab a soup spoon and lightly flour your hands and roll soup spoon sized dollops into balls. Then place the balls on a baking tray lined with baking paper.


Now bake these for exactly 10 minutes and they should come out looking really rather tasty. Unless your oven is screwy.

 et voila!


Transfer to a cooling rack a few minutes after removing from the oven. Once a tiny bit cooler they taste so good. Slightly crisp on the outside but gooey on the inside. mmmm.


Like I said, this recipe made 38 cookies. That is a fair few school lunches!


So there you go. One of my favourite cookie recipes.

See you later!

Bye!

Munchstaches!

Hello to you all!

Today I decided to finally try out one of my many quirky Christmas presents I received. This one in particular was given to me by my dear friend Cara. We have been best friends since year six in primary school. In year 9 she was lame and moved to Christchurch but even after six years our long distance relationship is still going strong. Cara also loves baking, the more sugary, chocolaty, caramely the better! She makes amazing chocolate and caramel brownie! Anyway she sent me this wonderful cookie cutter set which consisted of 5 different mustache shapes. Excellent!

The reason it has taken me so long to use these is that I have been in search of a cookie recipe that will work with them. This is where my baking friend Zoe comes in with her wonderful Dutch Speculaas recipe that I secretly stole from our friend Liz! Check out her ones. They are amazing.

So once our kitchen scales finally decided to work again I got underway . . .


So in a bowl beat together 220g of butter and 250g of brown sugar for 3-4 minutes until nice and creamy.


Then mix in 2 tablespoons of milk


Then in a separate bowl sieve 500g of flour with 2 tablespoons of baking powder


Next come the spices! 2 teaspoons of cinnamon, 2 teaspoons of ground cloves, 1 teaspoon mixed spice, 2 teaspoons ground ginger and 1 teaspoon nutmeg.


Sieve this all into your bowl  . . . carefully my bowl and sieve was a bit too small.


See what I mean?


So mix very slowly


The mixture was a bit crumbly so I added around about another 2 tablespoons of milk so moisten it up a bit


Now shape and roll the dough into a disc, wrap in glad wrap and pop in the fridge for 8 hours or overnight. Ok so I was impatient and left it 4 hours.


Now soften the dough a bit in the microwave and roll out.


This is Chris, he was a bit enthusiastic . . .


These are the cookie cutters! You can flip them over and imprint the hair pattern on the cookie.


Thanks Chris.


Now once they are all cut out and imprinted pop them in the fridge while the oven is heating up to 170 degrees.

Bam! after 15 minutes in the oven they are cooked and crispy!


This mustache is known as the walrus


Hmm I tried to ice them, but I thought they looked better left plain.


I was inspired by Chris' random patchy ginge stubble (slash I didn't have brown or black food colouring).


And here is my brother Jack (on the left) and his mate Jack (on the right).

So I am thinking about doing a cheap flat cooking segment soon, thoughts?


Ciao!!