Hi there!
So I really should have been writing an essay this morning. I sort of did. Then I got distracted . . .
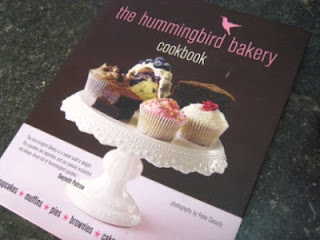
I know you guys must be sick of me going on about the Hummingbird Bakery. To be honest I am getting embarassed writing about it all the time. The problem is that their cupcake recipes are too good. They always work. Plus they don't use much butter so are really cheap and quick to whip up. Anyway on their website they post their weekly specials. This week they were running their milkshake and frappé inspired range of cupcakes. They listed the ingredients (not in quantities) and the strawberry ones just had some strawberry milkshake powder in addition to their usual ingredients. I assumed that they just added some of the powder to a standard vanilla recipe and some simple vanilla icing.
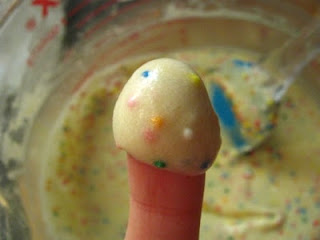
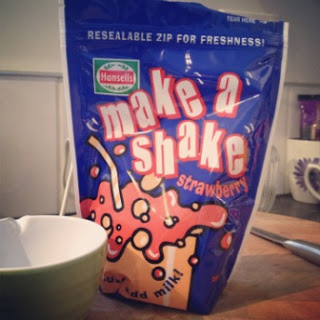
So I gave them a go. I used Hansells strawberry milkshake powder (it was the only one there apart from Nesquik) and put one tablespoon in with the milk then added that to the mix just as I usually would. I added one teaspoon to the icing.
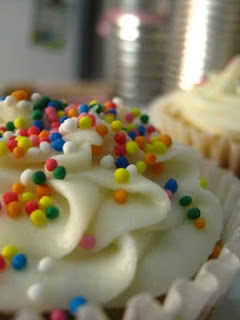
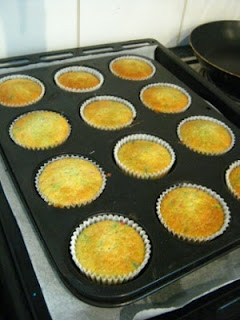
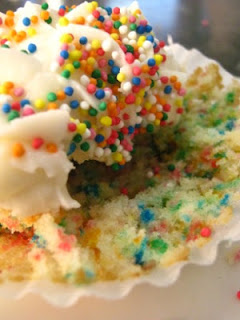
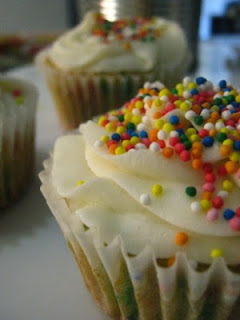
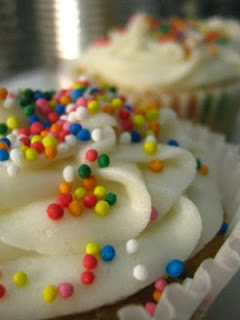
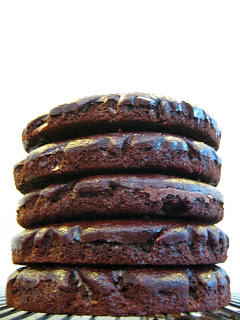
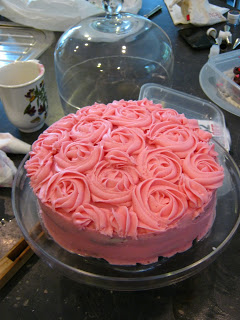
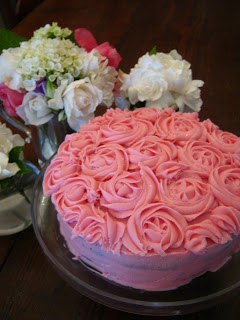
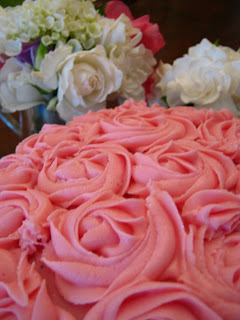
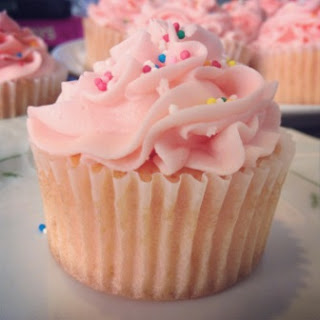
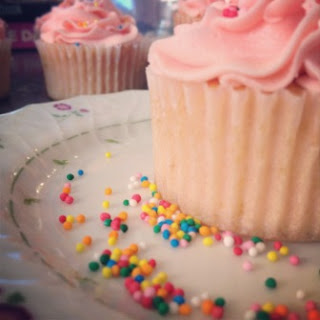
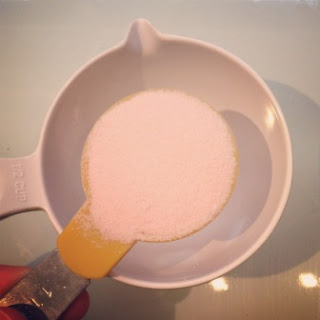
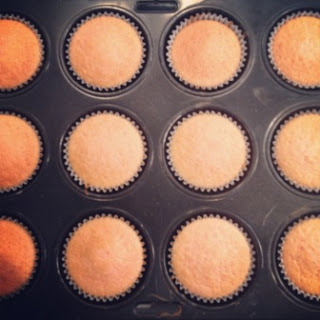
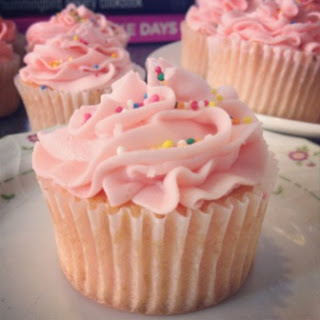
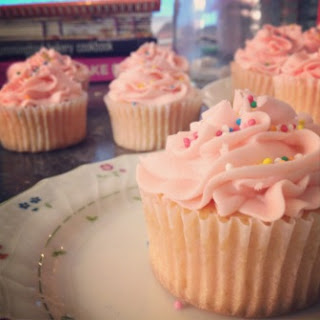
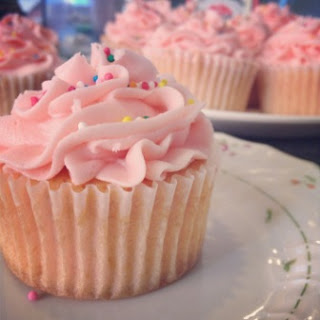
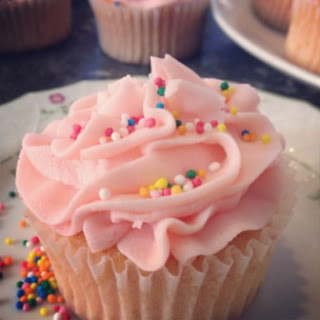
The powder gave the cupcakes a pretty pink colour. Overall these are dead simple to make. I wish I had some candy straws to pop on the top though.
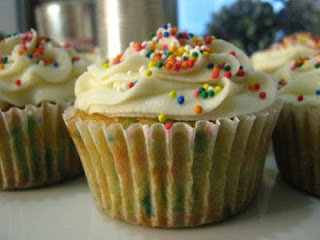
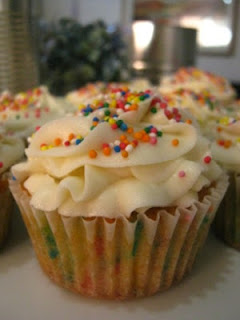
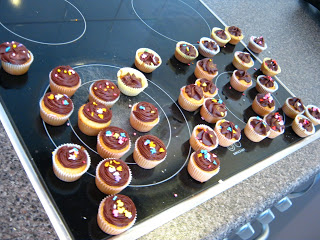
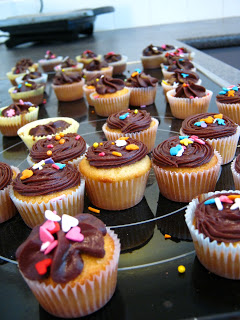
I think they turned out rather well, not that I actually got a whole one, only a wee nibble, I gave them all away :) From the nibble I did had they tasted really yummy and milky, just like strawberry milk funnily enough.
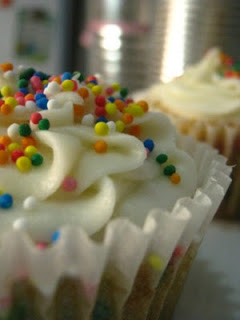
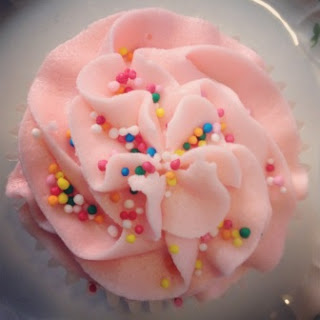
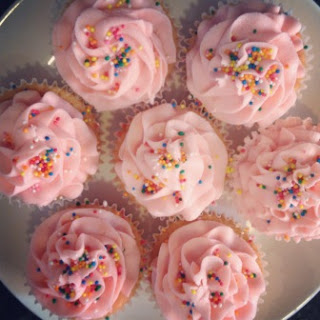
I used a 1M nozzle to ruffle the icing on like a frothy milkshake top :)
Strawberry Milkshake Cupcakes (adapted from the Hummingbird Bakery Vanilla cupcake recipe)
Makes 12
40g butter, softened
140g castor sugar
120g flour
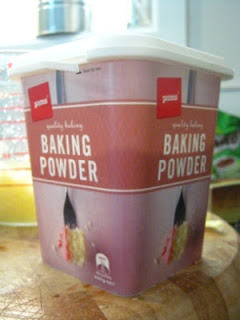
1 1/2 teaspoons baking powder
1 egg
120ml milk
1 teaspoon vanilla
1 tablespoon strawberry milkshake powder
Icing:
60g butter, softened
300g icing sugar
1 teaspoon vanilla essence
2 teaspoons strawberry milkshake powder
3 tablespoons whole milk
A few drops of pink food colouring
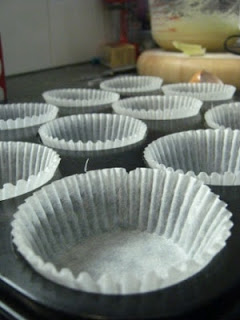
Preheat the oven to 170 degrees on bake. Line a muffin tray with cupcake cases.
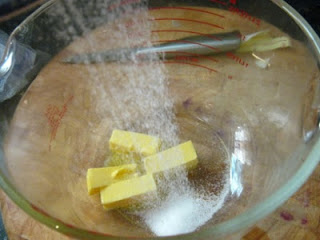
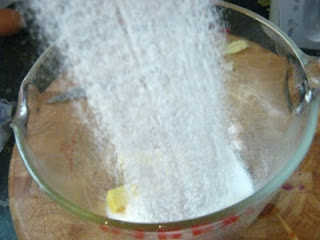
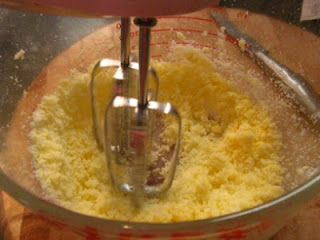
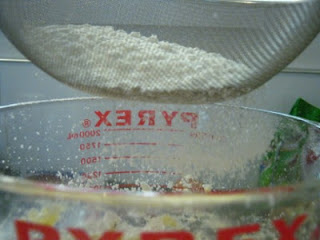
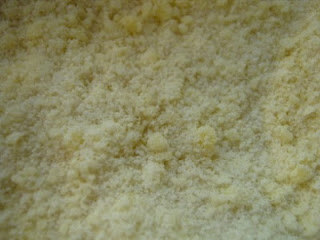
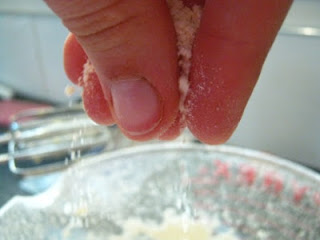
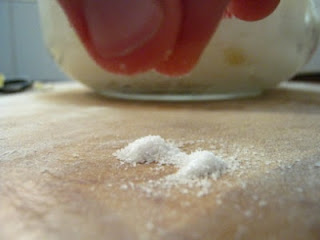
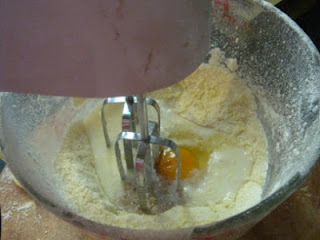
Beat with an electric beater the butter, sugar, sieved flour and baking powder until a fine sandy consistency is reached.
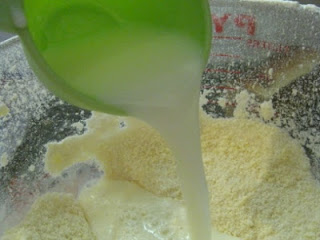
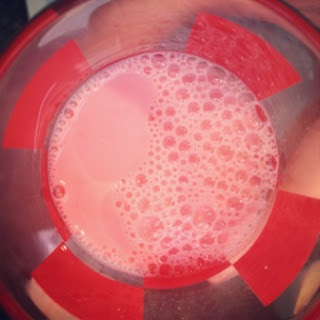
Add the milkshake powder, vanilla essence and egg to the milk, whisk until combined. Add this to the dry mixture, beat for a few minutes until smooth and slightly fluffy.
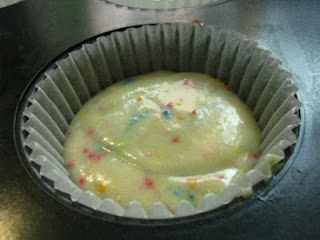
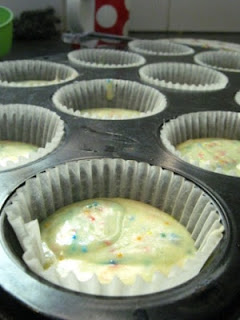
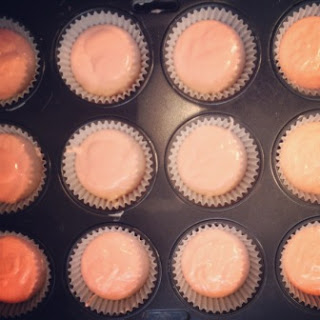
Fill each cupcake case two thirds full.
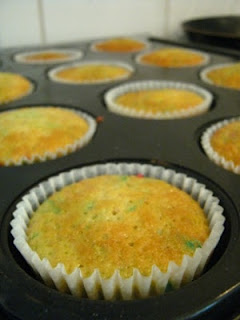
Bake for 20 minutes or until the sponge springs back when lightly pressed.
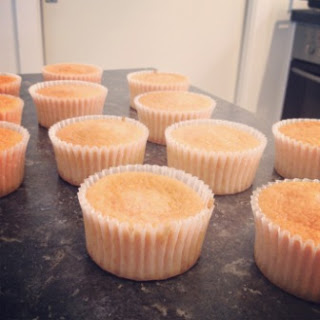
Leave cupcakes to cool completely before icing.
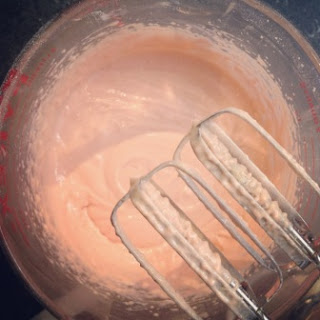
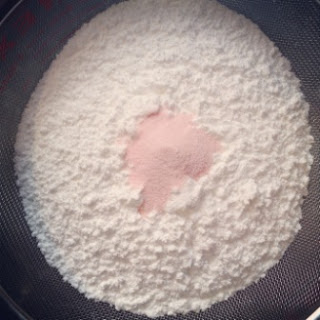
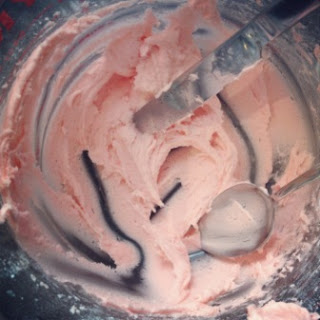
To make the icing, sieve the dry ingredients then beat everything together until smooth and fluffy. You want it so the icing forms fairly stiff pipe-able peaks that won't flip down when applied to the cupcake.
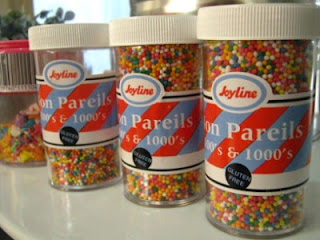
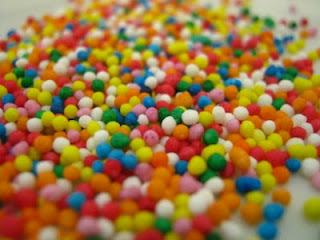
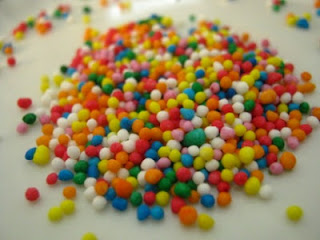
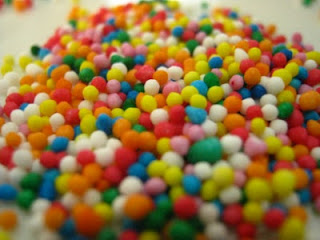
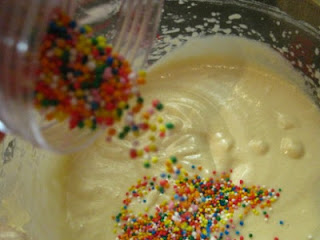
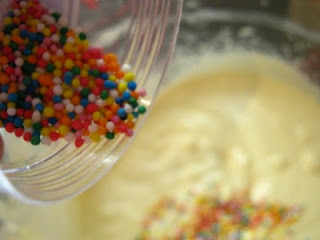
Put the icing in a piping bag with a 1M nozzle attached and swirl inwards starting from the outer edge. Sprinkle over whatever you fancy :)
I hope you enjoy these, super easy to make and a fun twist on the usual vanilla and strawberry :)
Byee!
So I really should have been writing an essay this morning. I sort of did. Then I got distracted . . .
I know you guys must be sick of me going on about the Hummingbird Bakery. To be honest I am getting embarassed writing about it all the time. The problem is that their cupcake recipes are too good. They always work. Plus they don't use much butter so are really cheap and quick to whip up. Anyway on their website they post their weekly specials. This week they were running their milkshake and frappé inspired range of cupcakes. They listed the ingredients (not in quantities) and the strawberry ones just had some strawberry milkshake powder in addition to their usual ingredients. I assumed that they just added some of the powder to a standard vanilla recipe and some simple vanilla icing.
So I gave them a go. I used Hansells strawberry milkshake powder (it was the only one there apart from Nesquik) and put one tablespoon in with the milk then added that to the mix just as I usually would. I added one teaspoon to the icing.
The powder gave the cupcakes a pretty pink colour. Overall these are dead simple to make. I wish I had some candy straws to pop on the top though.
I think they turned out rather well, not that I actually got a whole one, only a wee nibble, I gave them all away :) From the nibble I did had they tasted really yummy and milky, just like strawberry milk funnily enough.
I used a 1M nozzle to ruffle the icing on like a frothy milkshake top :)
Strawberry Milkshake Cupcakes (adapted from the Hummingbird Bakery Vanilla cupcake recipe)
Makes 12
40g butter, softened
140g castor sugar
120g flour
1 1/2 teaspoons baking powder
1 egg
120ml milk
1 teaspoon vanilla
1 tablespoon strawberry milkshake powder
Icing:
60g butter, softened
300g icing sugar
1 teaspoon vanilla essence
2 teaspoons strawberry milkshake powder
3 tablespoons whole milk
A few drops of pink food colouring
Preheat the oven to 170 degrees on bake. Line a muffin tray with cupcake cases.
Beat with an electric beater the butter, sugar, sieved flour and baking powder until a fine sandy consistency is reached.
Add the milkshake powder, vanilla essence and egg to the milk, whisk until combined. Add this to the dry mixture, beat for a few minutes until smooth and slightly fluffy.
Fill each cupcake case two thirds full.
Bake for 20 minutes or until the sponge springs back when lightly pressed.
Leave cupcakes to cool completely before icing.
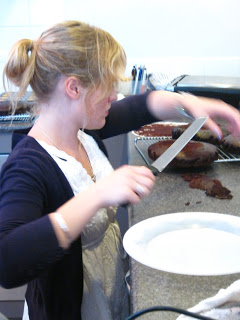
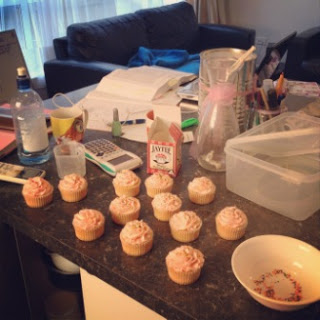 |
| Trying to multi-task . . . failing |
To make the icing, sieve the dry ingredients then beat everything together until smooth and fluffy. You want it so the icing forms fairly stiff pipe-able peaks that won't flip down when applied to the cupcake.
Put the icing in a piping bag with a 1M nozzle attached and swirl inwards starting from the outer edge. Sprinkle over whatever you fancy :)
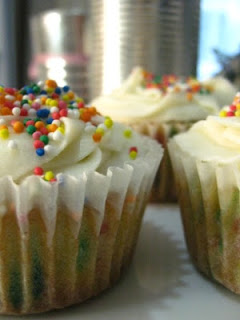
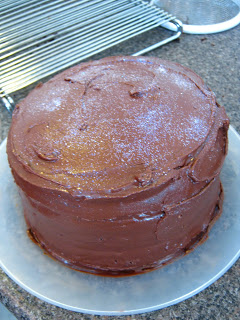
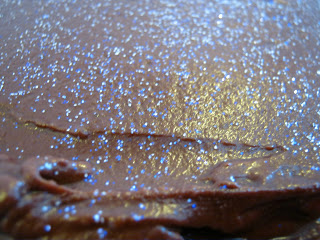
 |
| All ready to go :) |
Byee!