Hello there.
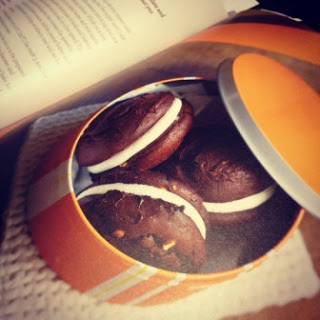
Whoopie pies. Only recently have I heard of such a baked good. They are apparently comprised of two cakey blobs sandwiched together with fluffy frosting. They are commonly the size of small cheese burgers. Typical Americans continuously coming up with new ideas to become obese.
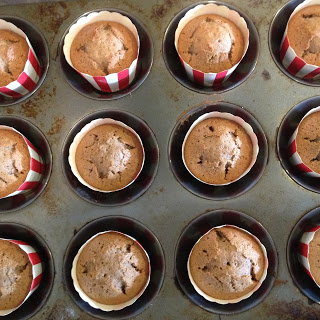
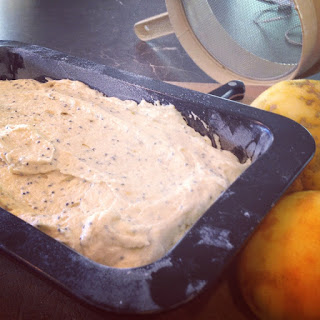
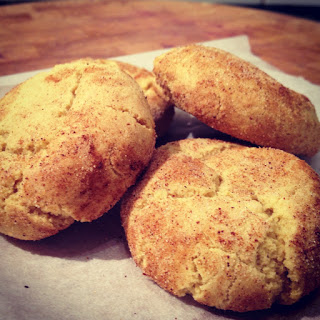
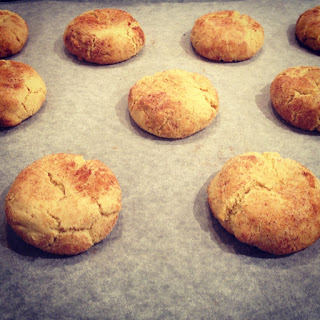
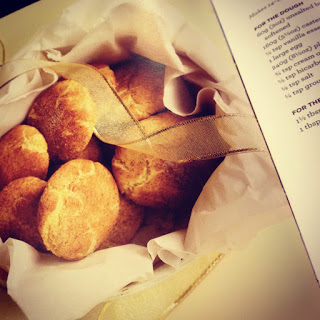
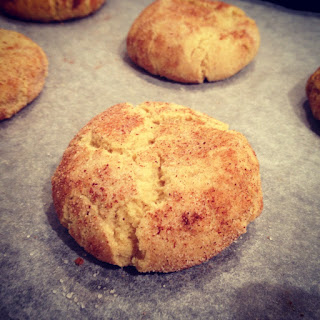
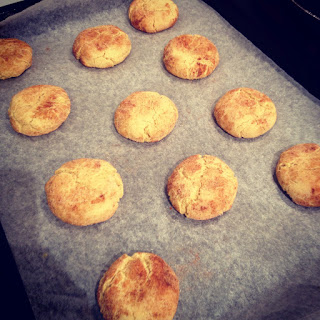
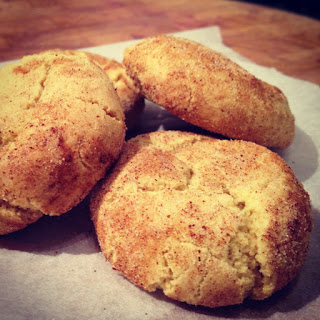
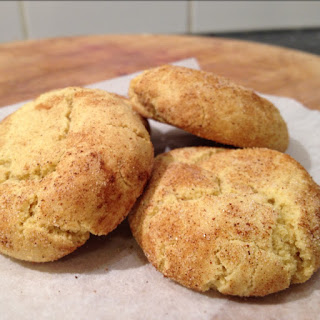
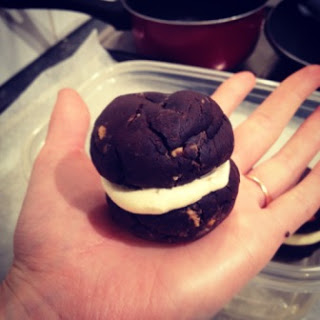
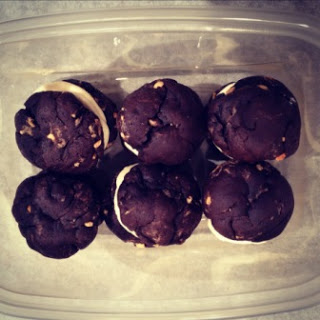
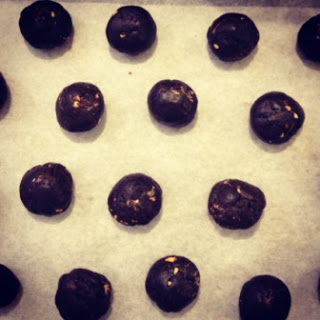
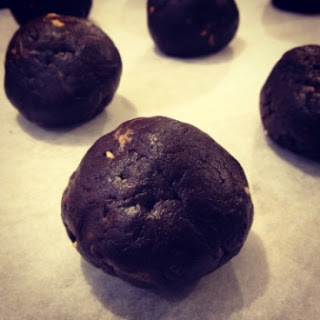
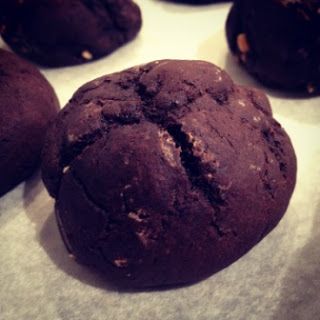
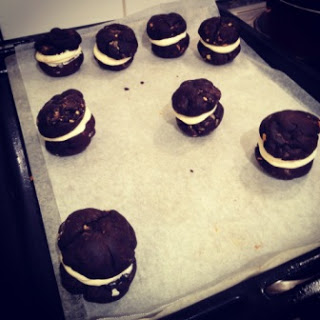
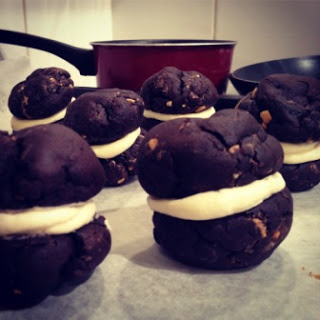
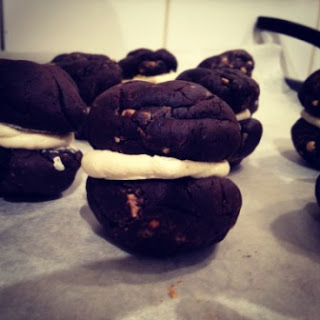
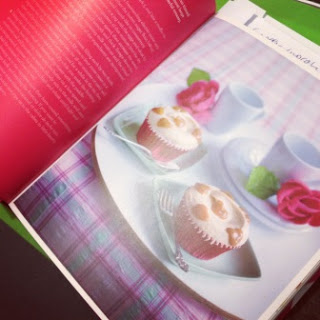
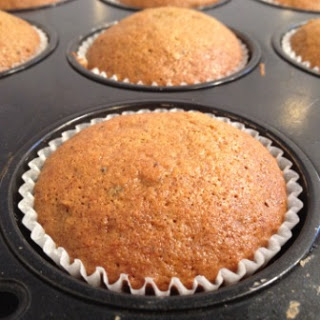
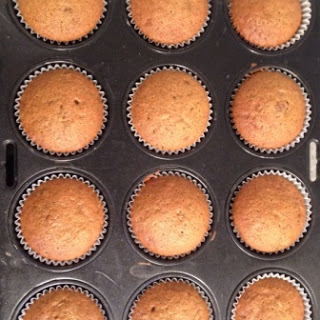
To celebrate my 10 00th view on my blog I decided to try something new. These whoopie pies in my Hummingbird Cake Days book looked delicious, almost comical in their perfectness. Unfortunately mine turned out a big more knobbly that they should have. Maybe I should have squished them down a bit, who knows?
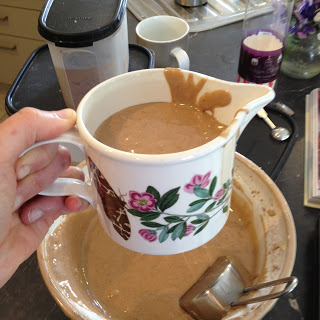
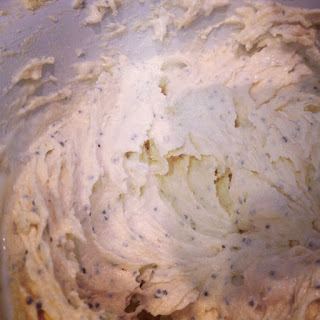
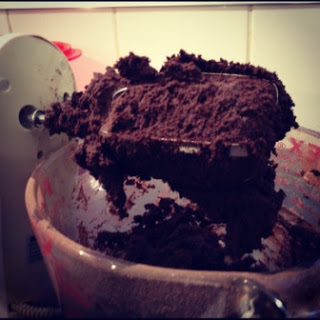
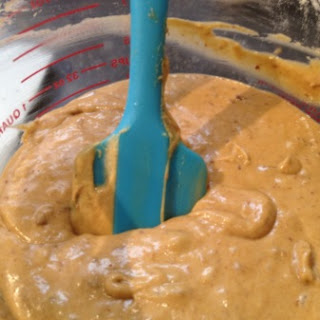
I also found the mixture to be quite sticky, gummy and chewy, like the flour had been over mixed, like my overcooked mug brownies that stick to the roof of my mouth (not ideal). Oh well there is a first time for everything.
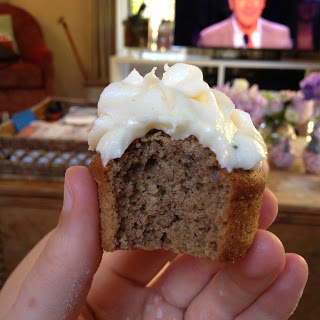
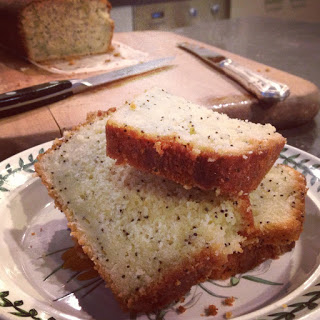
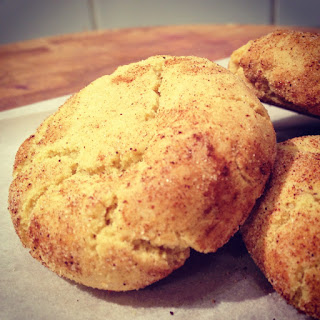
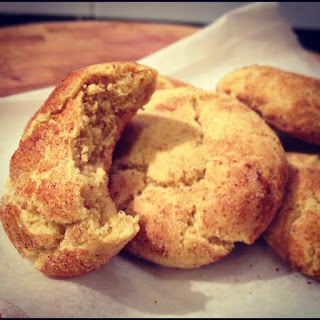
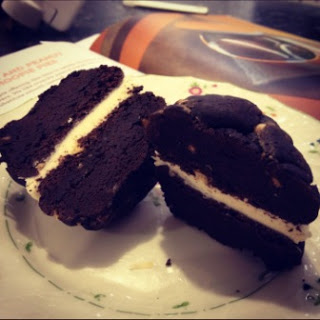
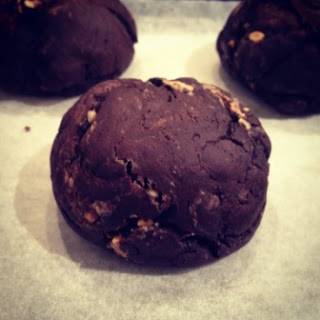
Once cooked (and popped in the fridge for a bit) they become quite fudgy. An unusual texture but I wouldn't say a bad one. I am actually rather enjoying this late night fat snack. Without the icing they wouldn't be so great though.
Whoopie pies are like really dense cakes, they use plain yoghurt and a wee bit of milk rather than mostly milk (like cupcakes). You also start off by beating the egg and sugar together, rather than the butter and sugar. What else is strange is that you add the butter melted, rather than softened. Quite a peculiar method to follow, but an easy one.
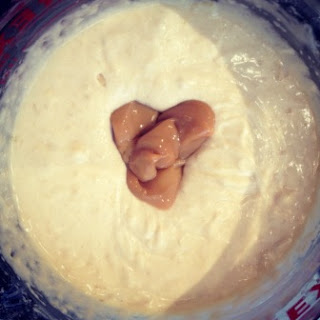
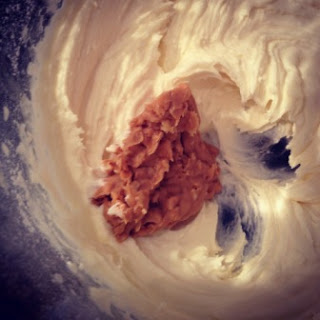
Cake Days says to use marshmallow fluff in the icing between the two pie pieces. Unfortunately I don't know where to get that in Dunedin and there is something about buying a can of marshmallow fluff that creeps me out a bit. Maybe its the thought of all the processing and additives that must be in it. I'm a food sci student, for additives to freak me out it must be pretty bad. Usually those sorts of products taste no where near as good as freshly made alternatives.
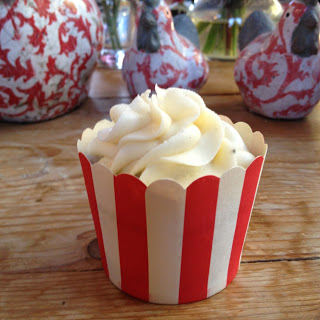
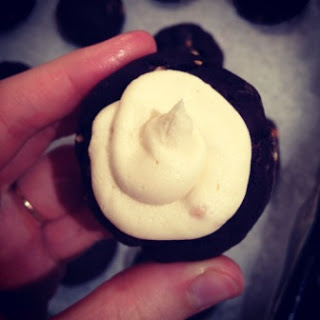
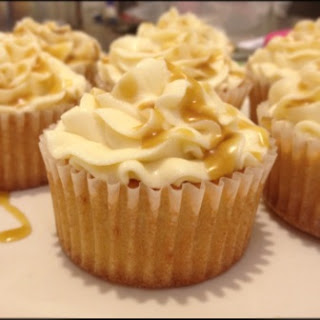
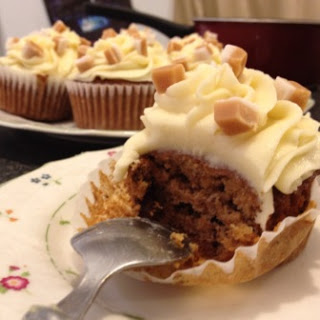
To compensate for my lack of fluff, I added a good hunk of butter as well as a nice heaped dessert spoon of crunchy peanut butter to the icing. The icing reminded me of the new Whittaker's peanut butter chocolate. That can't be a bad thing right?
I have not given up completely. Far from it. I shall try again! probably with a different flavour though. These will work for me! They will! For the mean time I shall use my food class to dispose of them tomorrow morning, hide all evidence that I failed!
Peanut Butter and Chocolate Whoopie Pies (adapted from the Hummingbird Bakery's
Cake Days)
Makes 8-10 sandwiches
1 large egg
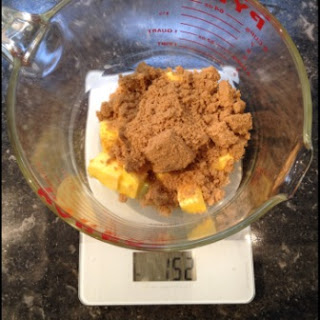
150g castor sugar
125g plain yoghurt (I just bought a single serve pottle from the supermarket for like $1)
25ml whole milk
1 teaspoon vanilla essence
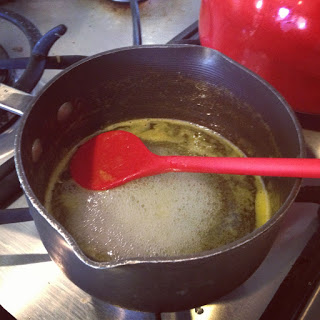
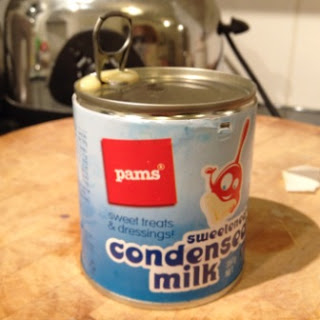
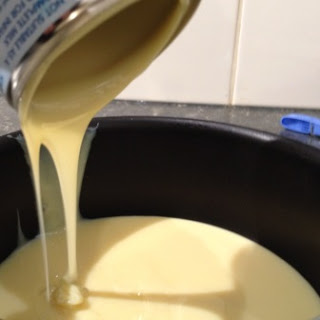
75g melted butter
275g plain flour
1/4 teaspoon baking powder
3/4 teaspoon baking soda
60g crunchy peanut butter
Icing:
40g softened butter
2 ish cups icing sugar
25ml milk
1 teaspoon vanilla
1 dessert spoon peanut butter
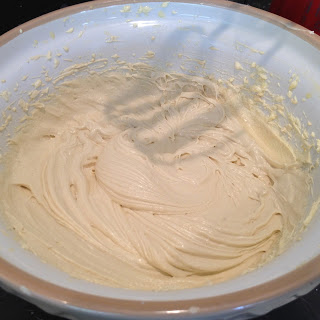
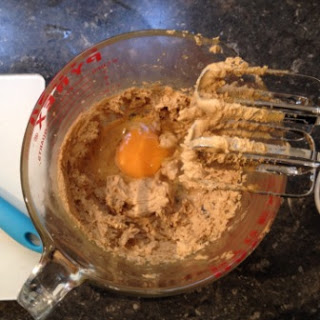
Beat the egg and sugar together until thick and a very pale yellow colour.
In a separate bowl, mix together the milk, yoghurt and vanilla together. Pour this into the egg and sugar mix and beat well.
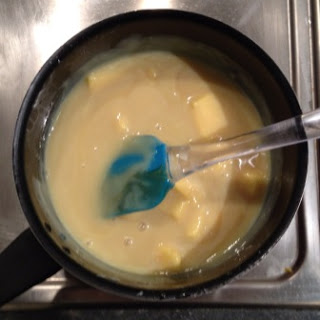
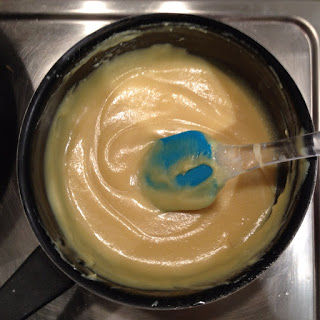
Pour in the melted butter then mix well again.
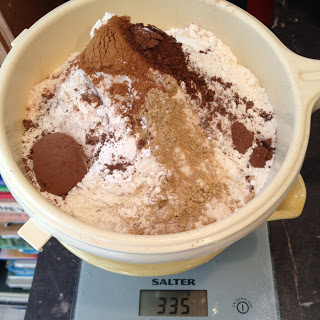
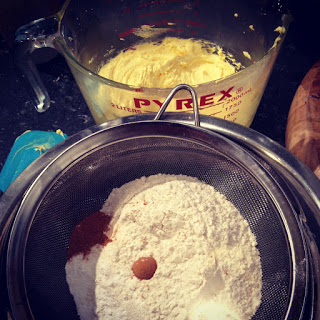
Sieve the flour, baking powder, baking soda and cocoa together. Add half of the dry ingredients into the wet mixture, beat well on a low speed until smooth then add the rest of the dry mix and beat again until smooth.
Add the peanut butter then mix through until evenly distributed.
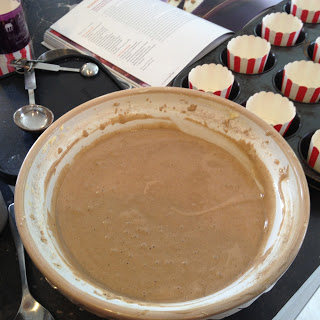
Place the mix in the fridge for 20-30 minutes to cool down.
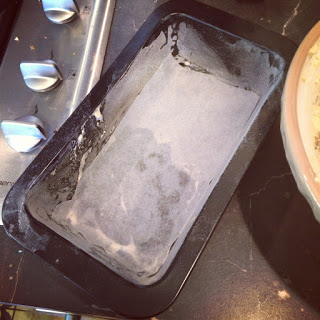
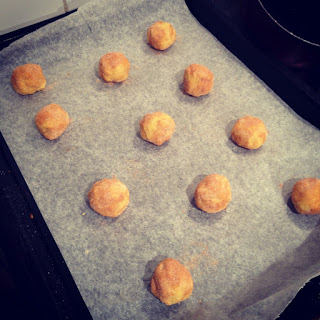
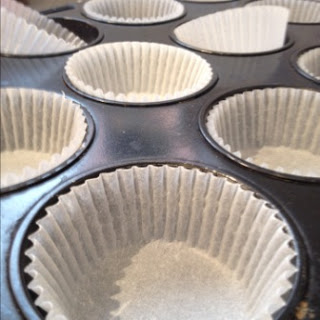
Preheat your oven to 170 degrees and line a baking tray with baking paper.
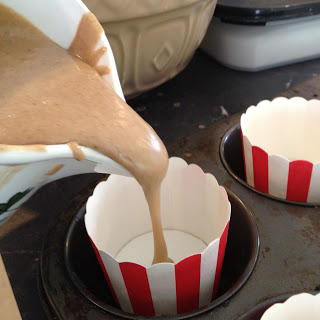
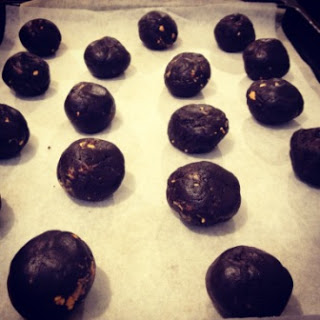
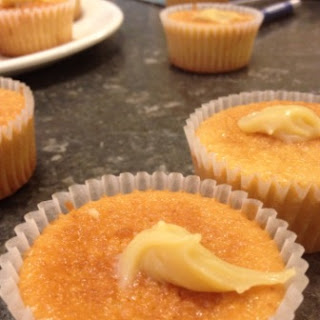
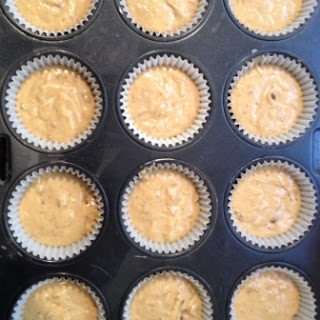
Once the batter is cool, roll into balls (mine weighed 40g each) place in the tray and flatten with your fingers. I should have done this step. Ahh hind sight, its a wonderful thing.
Bake for 10 minutes or until they spring back when lightly pressed. The dough is quite a dry mix and you definitely don't want to overcook these or else they will be horrid and dry.
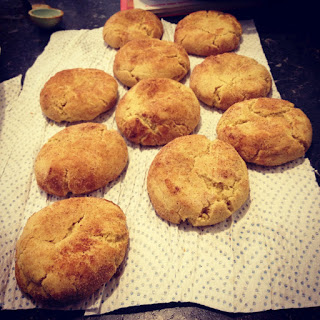
Transfer the half whoopies onto a wire rack to cool completely.
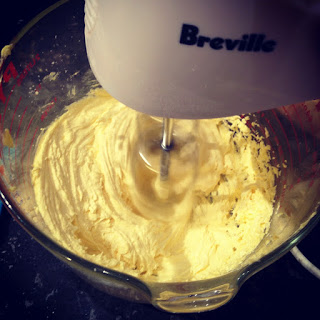
Whilst they are cooling, beat your butter, milk and icing sugar well until light and fluffy. Add your peanut butter and continue to beat to regain the fluffiness. I found I had to add some more icing sugar to stiffen the icing up. If the icing is too soft the whoopie halves will slip off each other.
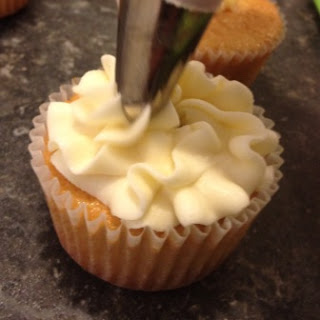
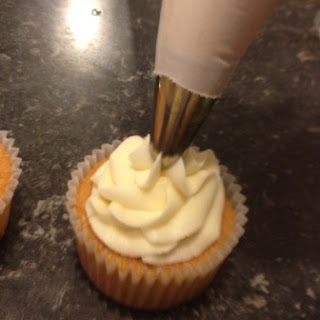
Transfer the icing into a piping bag with a large circular tip. Pipe the icing onto one half then sandwich another on top to make a sandwich. Unfortunately with sandwich biscuits as soon as all of them are stuck together the total yield of biscuits is halved, meaning they run out twice as fast!
Store these in an airtight container in the fridge to set the icing (or on the bench if your flat kitchen is cold enough).
I hope you enjoy, they do not taste bad at all. A little big for my liking (I feel like I have eaten a cake burger after only one).
Byeee!!!