The more I think about it, the more this post is secretly a Christmasy themed one.
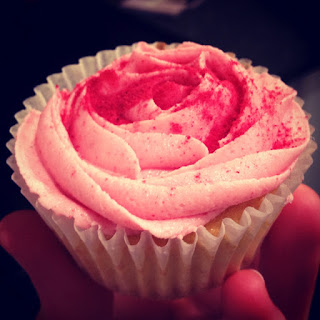
The obvious link would be the stupid quantities of red glace cherries used in the filling.
The less obvious one was brought to my attention last night.
Read MoreThe more I think about it, the more this post is secretly a Christmasy themed one.
The obvious link would be the stupid quantities of red glace cherries used in the filling.
The less obvious one was brought to my attention last night.
Read MoreI got a little inspired by those cookies and cream cupcakes I made last week.
What if I made cupcakes using other biscuits . . .
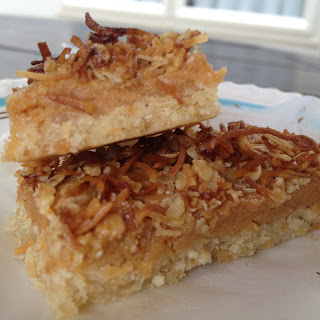
I really love ANZAC biscuits. Thin chewy ones are my favourite. Thursday night I made a whole batch of tiny baby ones just because I could.
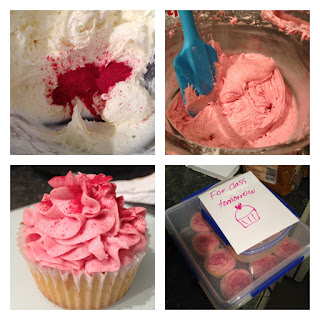
I thought that maybe I could break one of the cookies up and put it inside the cupcake batter, like you do with the oreos. I put this idea to the test and placed a single cupcake in the oven just to test the idea out but unfortunately the ANZAC just melted into goo when it was baked.
Hmm. Not ideal.
Then I thought hey, what if I made ANZAC inspired cupcakes rather than just stuffing a vanilla cake with a biscuit.
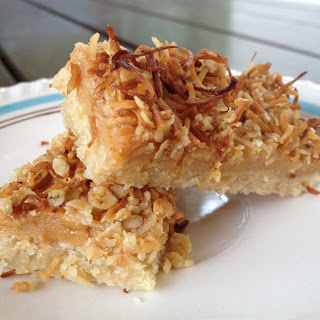
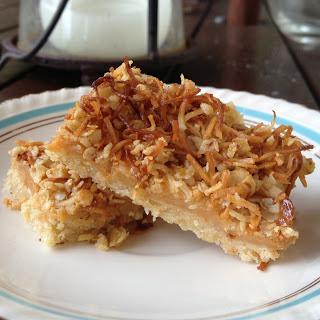
My favourite components of the ANZAC bickie are definitely the coconut and the golden syrup. I love all things coconutty and I love how the golden syrup makes the biscuit chewy.
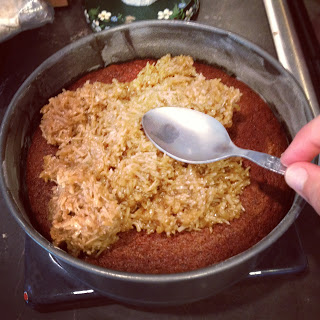
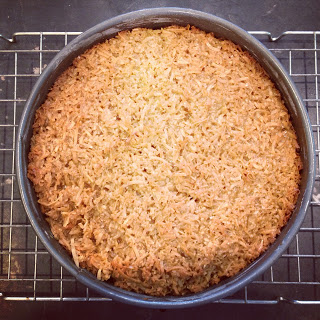
So I was like hey, I could throw some desiccated coconut in the sponge just like I did with the
. I had a feeling that throwing some golden syrup into the icing while I was creaming it would be an excellent idea.
It was.
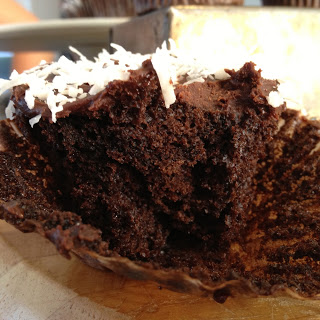
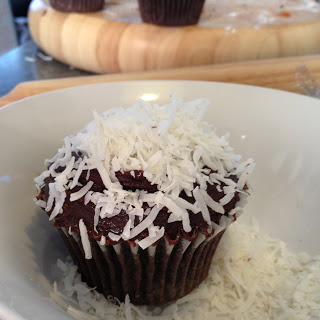
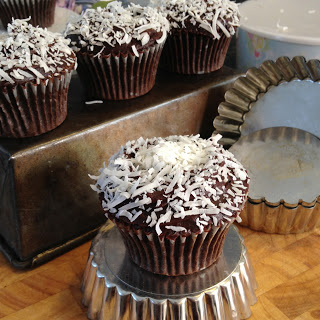
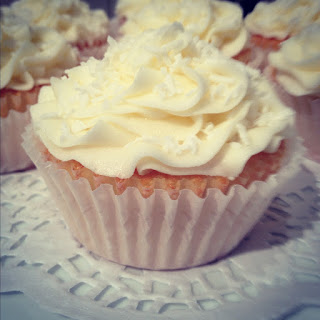
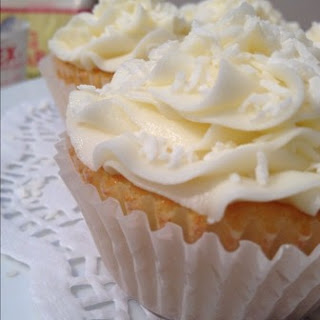
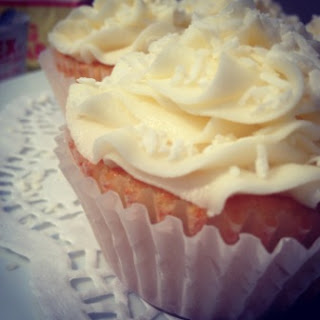
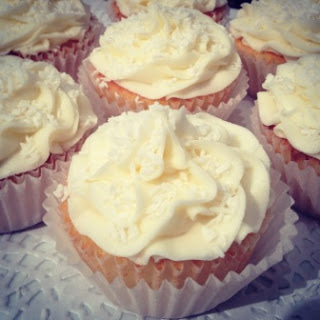
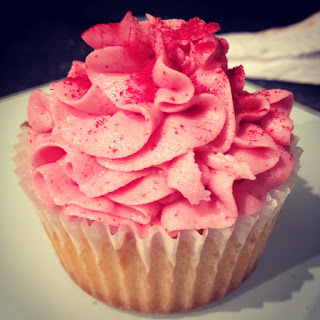
The golden syrup gave the icing a sort of burnt sugar taste. You know the typical golden syrup flavour? It was actually a nice change from the typical vanillary buttercream. It also gave it an excellent golden colour.
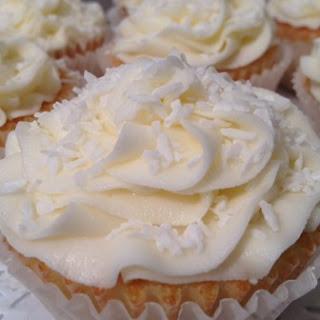
And to tie it all together I stuck a wee baby ANZAC on top of each one. I thought they looked quite cute if I don't say so myself.
I tried breaking up some biscuits to mix into the icing but it just didn't work. The large chunks just really weren't very graceful and kinda looked like someone had thrown a cupcake into the blender then squished it back into the paper case.
It just did not want to happen.
I am going to have to however admit that before this final batch I had a bit of an epic baking fail. I failed at one of the most basic things ever. To be fair I had been in the lab since 7am, then went to the gym then went to work so by the time I got to making these my brain was shattered and my glasses were dirty.
I mistook the baking soda for the baking powder.
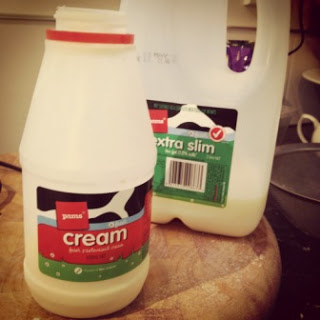
I was wondering why the first batch tasted so foul then that night I had the image of me reaching for the blue pams container rather than the pink. The blue is the soda and the pink is the powder. I just face palmed myself. Couldn't believe how blonde I was. Ah well, its gonna happen every so often to everyone.
So batch number two the next day was far more palatable.
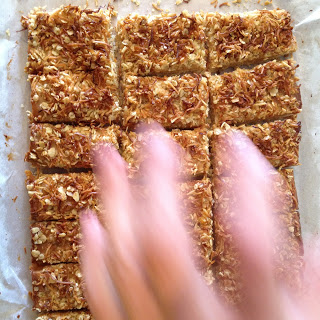
Right so before you get started on the cupcakes you are probably going to need some wee biscuits to stick into them first.
I use the recipe from
Ladies, a Plate.
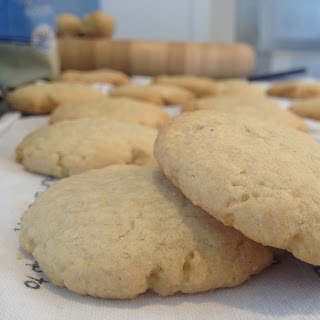
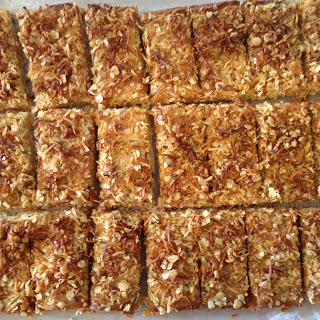
It makes beautiful flat chewy biscuits rather than big chunky ones. There is no need to press them down before baking either, they flatten into perfect discs by themselves. I get around 60 biscuits if I make baby ones from this recipe. If you make micro biscuits like I did the other day, you get 120ish haha. Of course you only need 10-12 for these cupcakes but they can be frozen easily in snap lock bags :) or you could just eat them all . . .Sometimes I add in half a cup of chopped white chocolate buttons into the mix just before I roll it into balls.
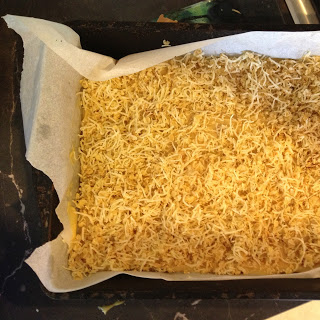
100g (1 Cup) rolled oats
200g sugar (1 Cup)
75g threaded coconut (1 Cup)
100g flour (3/4 Cup - although I tend to add an extra 1/4 cup if the mixture is really sticky)
115g butter
60g golden syrup
1 teaspoon baking soda
2 tablespoons boiling water
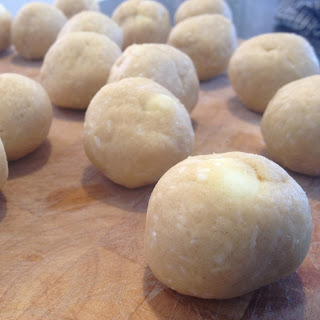
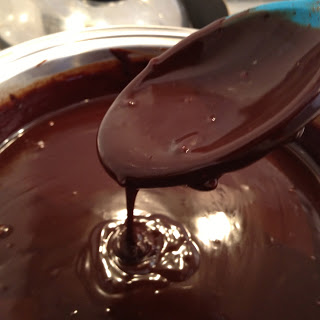
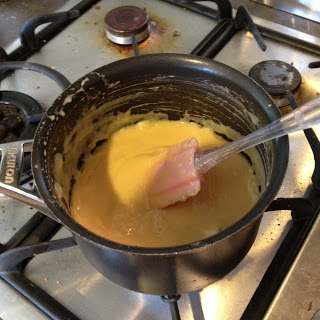
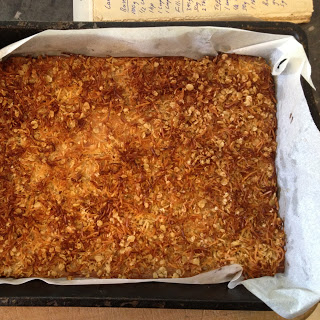
Preheat the oven to 180 degrees on bake. Mix the flour, sugar, coconut and oats together in a bowl. In a small saucepan melt together the butter and the golden syrup. Dissolve the baking soda in the boiling water then add to the melted butter mixture while its still on the stove. Allow to bubble up then add to the dry mixture. Stir until combined. Roll into large marble sized balls. Space 3cm apart on a baking tray lined with baking paper. You don't need to press them down. Bake for around 9 minutes or until golden brown. Remove them while they are golden and still yellow in the middle rather than a dull brown. Leave to cool slightly before transferring to a cooling rack/clean tea towel.
Right now for the cupcakes.
ANZAC Cupcakes
adapted from the Hummingbird Bakery Cookbook
Makes 10-12
40g butter, softened
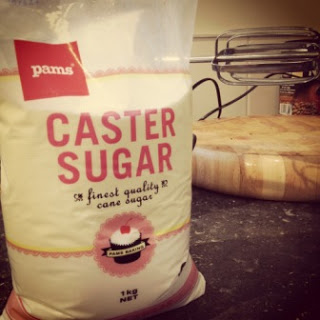
140g caster sugar
120g flour, sifted
1 1/2 teaspoons baking powder
1 large egg
1/2 cup milk
1 teaspoon vanilla
1/3 cup desiccated coconut
Icing:
50g butter, softened
3 cups (approx) icing sugar
1/4 cup golden syrup
a few splashes of milk
1/2 teaspoon vanilla
10-12 baby ANZAC biscuits
Threaded coconut to decorate
Preheat the oven for 170C on bake.
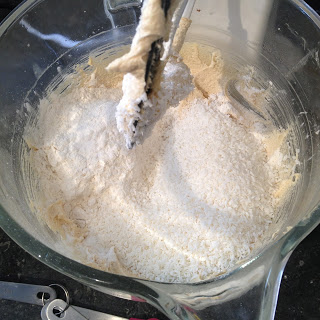
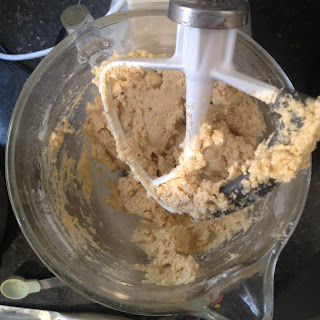
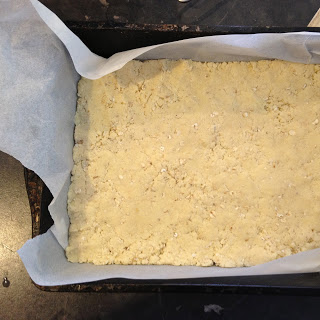
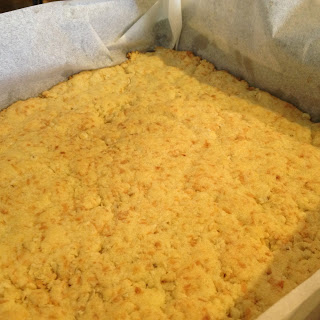
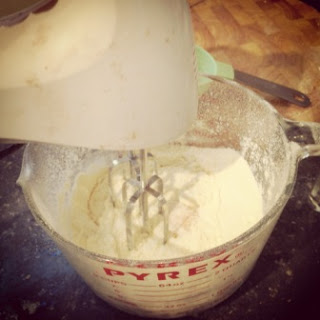
Beat together the butter, sugar, flour and baking soda until a sandy consistency is reached.
Whisk together the milk, egg and vanilla in a separate bowl.
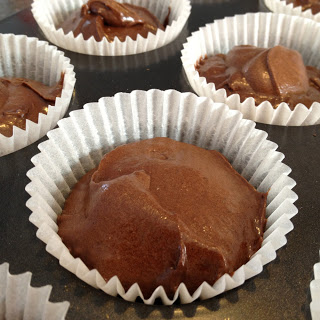
While the beater/mixer is on gradually add in the liquid mixture until it has all been added. Beat until fluffy and smooth. Stir in the coconut.
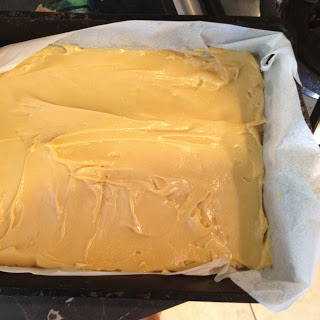
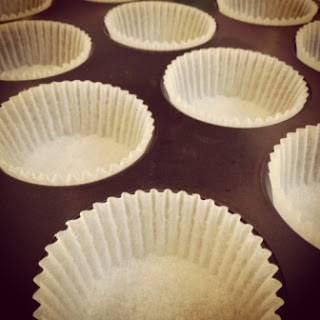
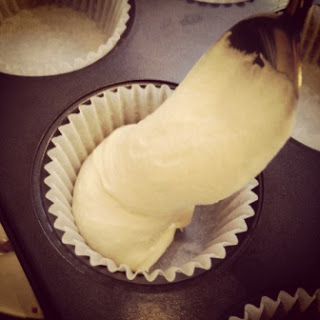
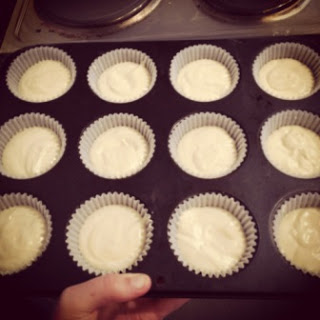
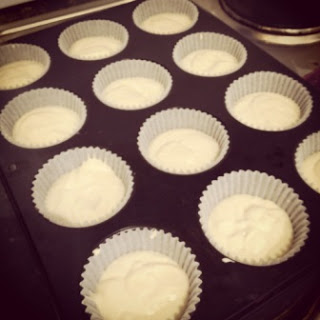
Spoon into cupcake cases in a muffin pan until they are 2/3 full.
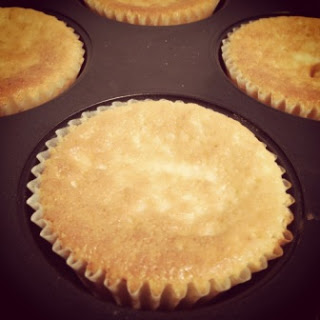
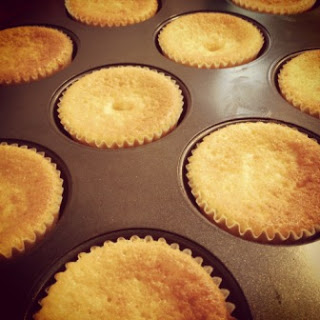
Bake for 20 minutes or until golden and the sponge springs back when pressed lightly.
Remove from the muffin pan and leave to fully cool before icing.
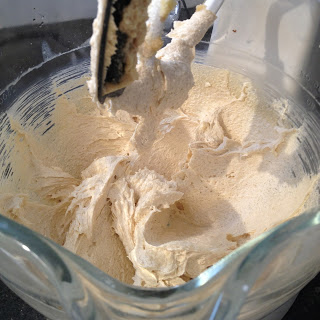
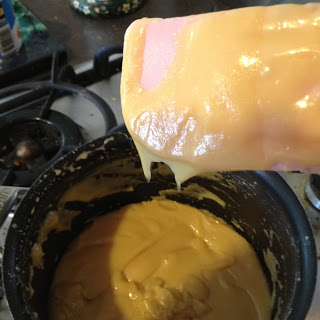
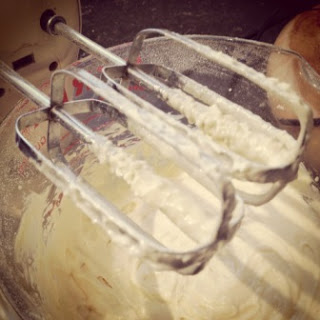
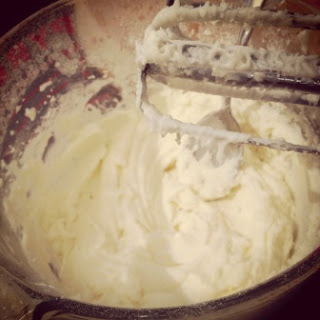
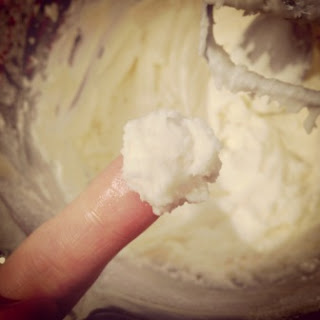
To make the icing, cream together the butter with the vanilla, half of the icing sugar and all of the golden syrup. Gradually add the icing sugar alternating with splashes of milk to loosen it up until all the sugar has been added. Beat until light, fluffy and voluminous. You should be able to create peaks in the icing that won't collapse.
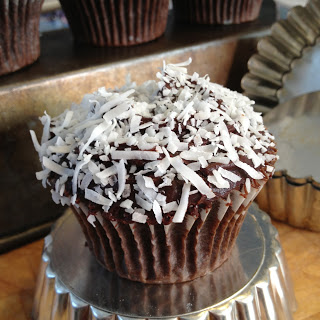
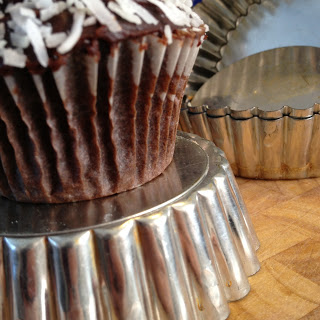
Spoon the icing onto each cooled cupcake and use a spatula to swirl it over. Top with a baby biscuit and a sprinkling of threaded coconut.
Enjoy!!