I am entering the Goodman Fielder Kiwi Faves competition. Deciding what I was going to submit took me all of about 2.3 milli seconds.
Why custard squares? Well for starters you can find them at any good old bakery no matter where you are in New Zealand. They are one of the greatest bakery risk foods and tend to have a higher than usual presence of delicious bacteria in them, therefore appealing to Kiwi's sense of adventure and risk taking. They remind me of my friend Phil who also shares a undying love for the custardy treats. In our first year at Carrington they made the most amazing custard squares in the kitchen for dessert. The icing was so thick and good. In our friend group there were a few individuals who didn't appreciate the mighty custard square and so from about 5pm on custard square nights the battle for the unwanted custard squares between Phil and I began. In the 8 weeks between each custard square rotation, our custard square addiction was maintained with frequent visits to New World (mainly on Wednesday mornings) where they also had adequate (not quite homemade but still nommy) custard squares. If the other was feeling a little down in the dumps or was stressed over something, a quick trip was made to New World and all problems were rectified with a delicious serving of custardy goodness.
Ahhh first year. Ahhh the fresher five. Yes I believe my fresher five can be blamed on custard squares and rice pudding alone.
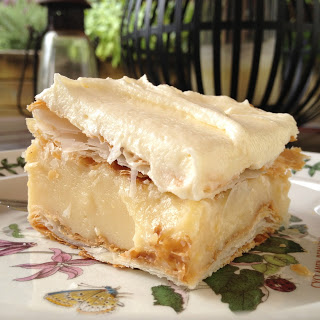
At the end of my first year I decided to learn how to make my own. Boy are they absolutely amazing when you make them yourself! Sure its a messy job and they might not turn out the prettiest but you just cannot beat the homemade custard in between the flaky puff pastry layers!
You should probably vote for me :)
http://www.kiwifaves.co.nz/recipe/custard-squares
Please :)
Let's stop this chit chat that is keeping us from this delicious nom!
Custard Squares
Adapted from Ladies, a plate (I think)
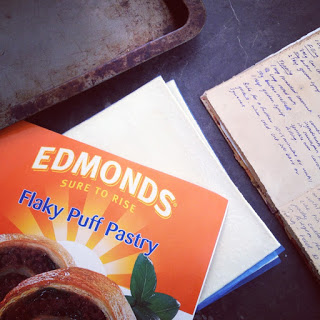
3 Sheets of ready to use flaky puff pastry
450 ml full fat milk
2 whole eggs
2 egg yolks
130g castor sugar
55g flour
1 teaspoon vanilla essence (oh think how great the custard would be if you used an actual vanilla bean!)
Icing:
50g softened butter
2 cups icing sugar
whole milk
1 teaspoon vanilla essence
A medium sized slice tin (20x30cm)
baking paper
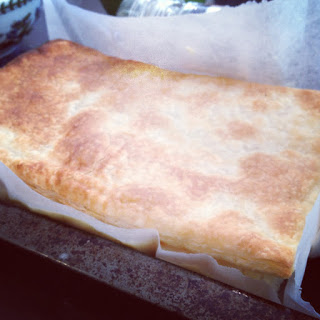
Pre heat the oven to 215 degrees Celsius.
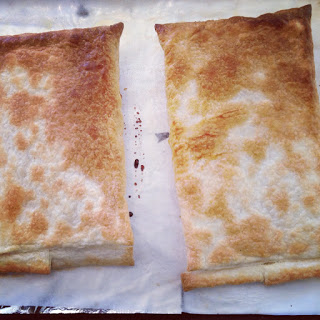
Firstly lets deal with the pastry. Cut the pastry sheets to be around 25% larger than the tine you plan to use. I found that when I cut my pastry exactly to size it shrunk a whole heap which is not ideal. You might need to stick two sheets together to get the right length.
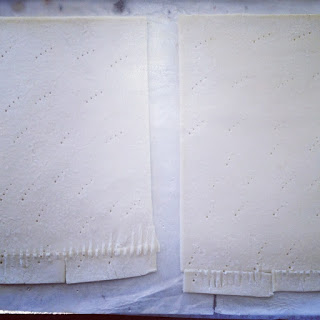
Place the pastry (still half frozen) on a dampened baking tray lined with baking paper (sprinkle a bit of water on with your fingers).
Prick all over the sheets with a fork.
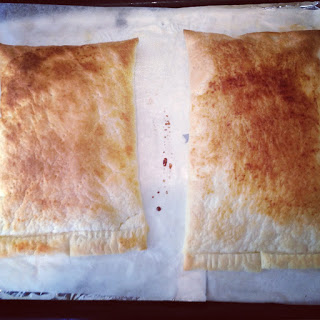
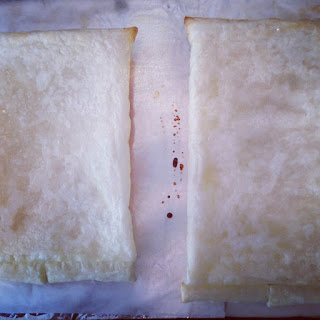
Bake for 10 minutes, take out of the oven, flip the sheets over, return to the oven and bake for another 5 minutes, or until both sides are nice and golden. Leave the sheets to cool.
To make the custard:
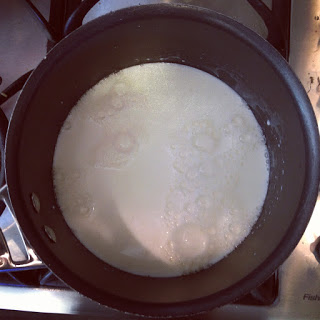
In a medium sized sauce pan over a medium heat, warm the milk until it just starts to bubble at the edges, do not boil.
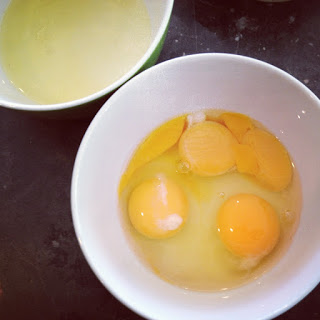
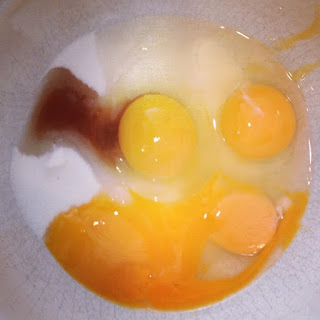
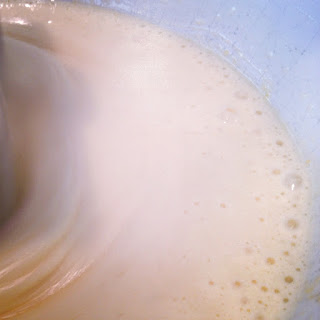
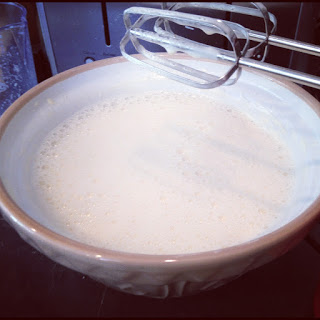
In a large bowl, beat together the castor sugar, eggs (both whole and yolk) and vanilla until the mixture is very thick and pale. Sift in the flour and beat until evenly incorporated.
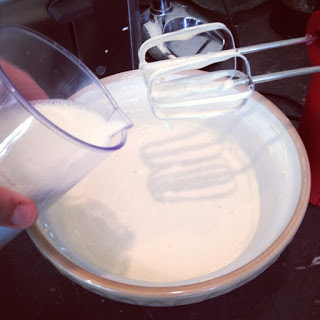
Pour the warm milk into a jug and gradually pour the milk into the egg and sugar mixture whilst continuously beating on low. Beat until everything is evenly mixed.
Return this mixture to the sauce pan.
Heat the custard on a medium to low heat, stirring continuously and making sure the bottom and corners of the pan are well scraped with each stir. Stir until the custard becomes nice and thick. I found this to be somewhere around four and seven minutes. It should be quite pasty and gloopy when it is ready. When you scrap the bottom of the pan you should be able to see the bottom of the pan for a second before the custard runs back over it. Take the custard off the heat.

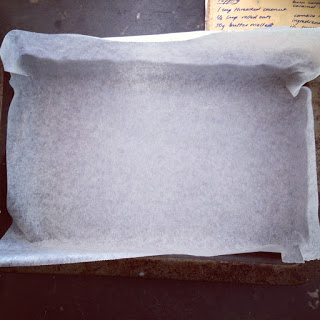
Line your slice tin with baking paper.
Place one of the pastry sheets on the bottom. Pour over the custard and spread over evenly. Place the second sheet over the top. If the sheets don't end up fitting the tin because they are too bit just use a nice big knife to slice them down to size.
Place the tin in the fridge for an hour or so to set the custard.
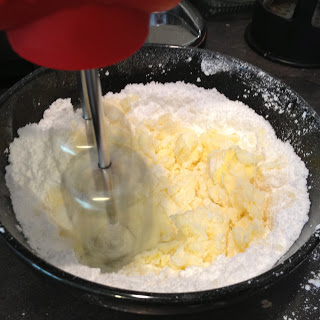
Cream together the icing ingredients adding enough milk so that it beats together nicely and makes a smooth and fluffy icing.
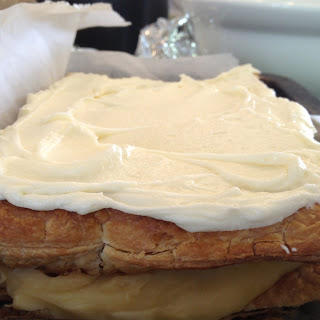
Spread the icing over the top sheet of pastry, don't worry about it being super smooth and flat, imperfect is the new perfect!
Return to the fridge for another 20 minutes to set the icing a little more.


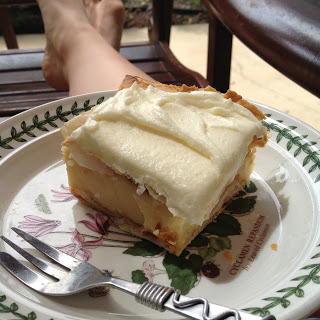
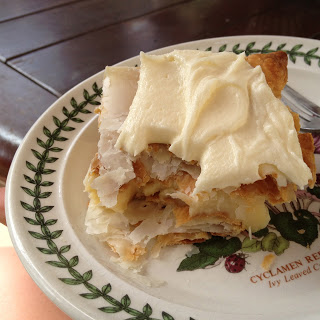
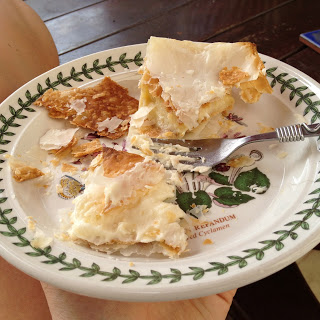
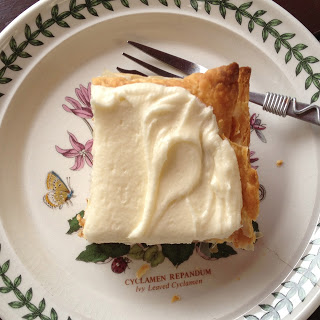
Carefully transfer the custard slab onto a chopping board. Using the largest cooks knife you have, slice the slab into squares. Serve with a smile and prepare to receive many pats on the back and high fives!

This is best enjoyed with friends!
Have fun!
Why custard squares? Well for starters you can find them at any good old bakery no matter where you are in New Zealand. They are one of the greatest bakery risk foods and tend to have a higher than usual presence of delicious bacteria in them, therefore appealing to Kiwi's sense of adventure and risk taking. They remind me of my friend Phil who also shares a undying love for the custardy treats. In our first year at Carrington they made the most amazing custard squares in the kitchen for dessert. The icing was so thick and good. In our friend group there were a few individuals who didn't appreciate the mighty custard square and so from about 5pm on custard square nights the battle for the unwanted custard squares between Phil and I began. In the 8 weeks between each custard square rotation, our custard square addiction was maintained with frequent visits to New World (mainly on Wednesday mornings) where they also had adequate (not quite homemade but still nommy) custard squares. If the other was feeling a little down in the dumps or was stressed over something, a quick trip was made to New World and all problems were rectified with a delicious serving of custardy goodness.
Ahhh first year. Ahhh the fresher five. Yes I believe my fresher five can be blamed on custard squares and rice pudding alone.
At the end of my first year I decided to learn how to make my own. Boy are they absolutely amazing when you make them yourself! Sure its a messy job and they might not turn out the prettiest but you just cannot beat the homemade custard in between the flaky puff pastry layers!
You should probably vote for me :)
http://www.kiwifaves.co.nz/recipe/custard-squares
Please :)
Let's stop this chit chat that is keeping us from this delicious nom!
Custard Squares
Adapted from Ladies, a plate (I think)
3 Sheets of ready to use flaky puff pastry
450 ml full fat milk
2 whole eggs
2 egg yolks
130g castor sugar
55g flour
1 teaspoon vanilla essence (oh think how great the custard would be if you used an actual vanilla bean!)
Icing:
50g softened butter
2 cups icing sugar
whole milk
1 teaspoon vanilla essence
A medium sized slice tin (20x30cm)
baking paper
Pre heat the oven to 215 degrees Celsius.
Firstly lets deal with the pastry. Cut the pastry sheets to be around 25% larger than the tine you plan to use. I found that when I cut my pastry exactly to size it shrunk a whole heap which is not ideal. You might need to stick two sheets together to get the right length.
Place the pastry (still half frozen) on a dampened baking tray lined with baking paper (sprinkle a bit of water on with your fingers).
Prick all over the sheets with a fork.
Bake for 10 minutes, take out of the oven, flip the sheets over, return to the oven and bake for another 5 minutes, or until both sides are nice and golden. Leave the sheets to cool.
To make the custard:
In a medium sized sauce pan over a medium heat, warm the milk until it just starts to bubble at the edges, do not boil.
In a large bowl, beat together the castor sugar, eggs (both whole and yolk) and vanilla until the mixture is very thick and pale. Sift in the flour and beat until evenly incorporated.
Pour the warm milk into a jug and gradually pour the milk into the egg and sugar mixture whilst continuously beating on low. Beat until everything is evenly mixed.
Return this mixture to the sauce pan.
Heat the custard on a medium to low heat, stirring continuously and making sure the bottom and corners of the pan are well scraped with each stir. Stir until the custard becomes nice and thick. I found this to be somewhere around four and seven minutes. It should be quite pasty and gloopy when it is ready. When you scrap the bottom of the pan you should be able to see the bottom of the pan for a second before the custard runs back over it. Take the custard off the heat.
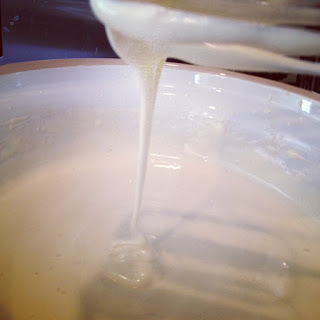 |
| The egg and sugar mix should be thick enough to form drip patterns. |
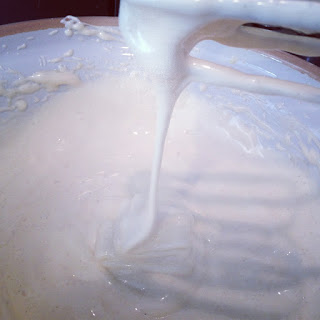 |
| Once the flour is added the mixture should be even thicker. |
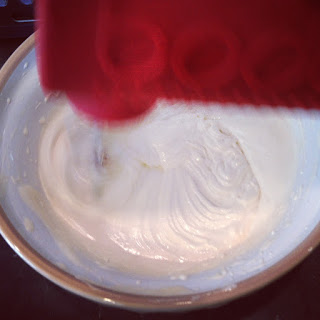 |
| You should be able to make beater tracks. |
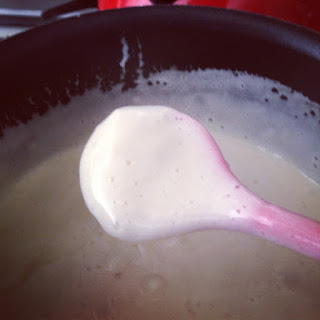 |
| Make sure the bottom of the pan is scraped to prevent lots of lumps forming. |
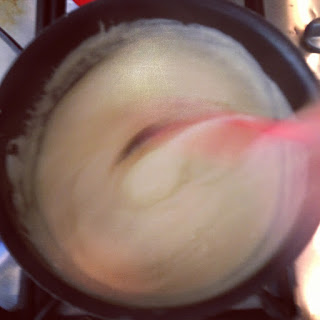 |
| You can sorta see the bottom of the pan here. When that happens you are good to go! |
Line your slice tin with baking paper.
Place one of the pastry sheets on the bottom. Pour over the custard and spread over evenly. Place the second sheet over the top. If the sheets don't end up fitting the tin because they are too bit just use a nice big knife to slice them down to size.
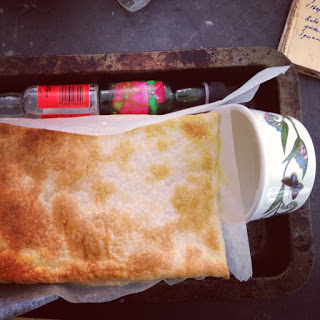 |
| Haha buffering the slab with bit of kiwi ingenuity! |
Place the tin in the fridge for an hour or so to set the custard.
Cream together the icing ingredients adding enough milk so that it beats together nicely and makes a smooth and fluffy icing.
Spread the icing over the top sheet of pastry, don't worry about it being super smooth and flat, imperfect is the new perfect!
Return to the fridge for another 20 minutes to set the icing a little more.
Carefully transfer the custard slab onto a chopping board. Using the largest cooks knife you have, slice the slab into squares. Serve with a smile and prepare to receive many pats on the back and high fives!
This is best enjoyed with friends!
Have fun!