Spice Crisps

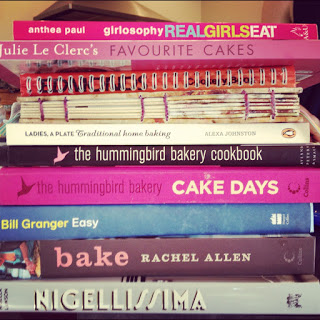
I recently went on a cookbook buying binge.


Owning cookbooks is a bit of an obsession. I decided that I was going to one day have an epic collection of cookbooks and they would all be arranged in a magnificent bookcase in my wonderful kitchen.


I remember reading an article about people's obsessions with cookbooks in The New Zealand Herald Canvas magazine (I think). How many of your mums own cookbooks but have made only one or two things from each one? I bet they bought them because they liked the look of the things inside. We buy cookbooks that have nice rustic pictures with beautiful platters and table settings because we crave the lifestyle portrayed by those books. We crave those lazy Sunday mornings where a wonderful rustic inspired brunch is whisked up. We want to lead the lives of those people who are always entertaining friends and family over  a late lunch or evening meal with seemingly perfect meals that they just whipped up from this and that.


When we buy cookbooks, we buy the ideal.

Or so the article said.

Sure the best part of cookbooks are the pictures. I tend to dislike cookbooks that don't have a picture for almost every recipe. I like being able to see what my food should look like in the end, afterall we eat with our eyes. We choose what we want to eat based on how it's texture and colour appear.


Cookbooks to me are also a source of knowledge. If you take the time to read the blurbs before each recipe and the page or two written by the author you may or may not find yourself learning something new. A new technique, a new trick, anything. The authors take the time in the first few pages to talk about their inspirations for the book. That may be their childhood, recent travel adventures or friends and family. It is actually an interesting read. Books that are published by cafes tend to have a bit at the front that tells the story of how the now successful cafe or restaurant came to be and hurdles that had to be overcome.


One of the recent purchases I made was Ladies a Plate: Traditional Home Baking by Alexa Johnston. This book is particularly interesting as each recipe comes with a mini history lesson on how this recipe came to become a New Zealand household classic. Photos of old Women's Institute cookery books and school fundraiser cookbooks are included. The recipes included are the ones that our nanas used to make and the pages provide a real sense of nostalgia.


While I find I might not make the majority of recipes in this book it is still a really good one to have in my collection. What makes this book special is the amount of detail and effort that went into sourcing and researching these recipes.


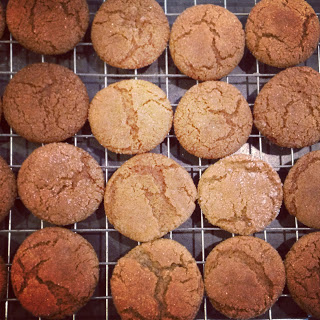
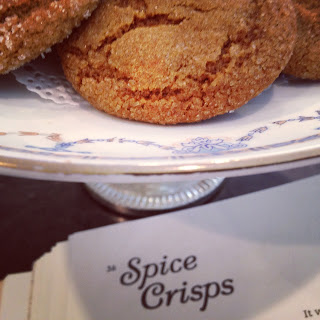
I love gingernuts. They are so great. Dunked into a nice hot cup of tea they are amazing (except when it crumbles to the bottom of your teacup and in the last gulp of tea you get a mass of soggy crumbs. Gross!).

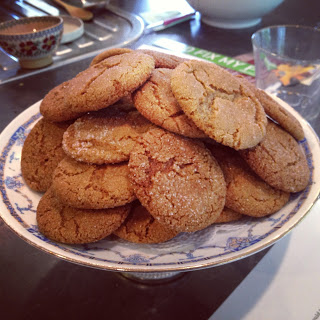
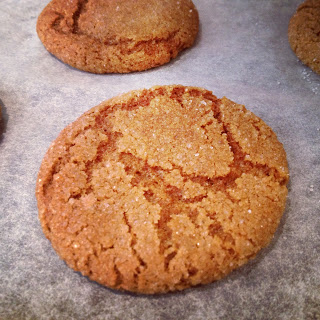
I tried making ginger nuts from the Edmonds Cookery Book but unfortunately they did not have the same crispness that the good old Griffin's biscuits provide. These ones however are delicious. Before you bake them you roll them in sugar which gives them an excellent crispness. They are nice and spicy and I guess are quite a perfect little treat to make this time of year. The smell of them baking in the oven is amazing! It is one of the best baking smells to have wafting around the house.


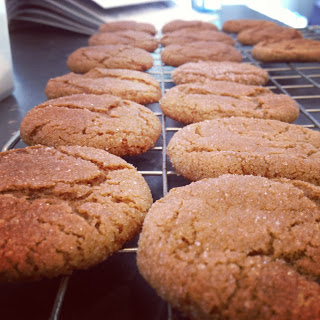
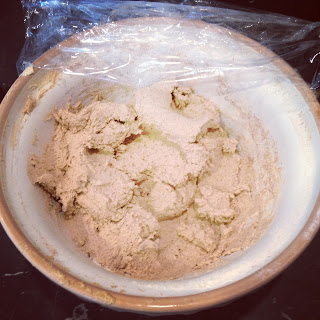
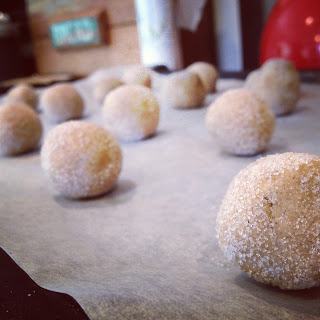
These are super easy. The method says to leave the mixture in the fridge for at least and hour to firm up. I went to the gym whilst I was waiting to them to cool and I have to say it did make a huge difference when rolling them. They formed perfect smooth little balls which then flattened into perfect circular biscuits when they came out of the oven.

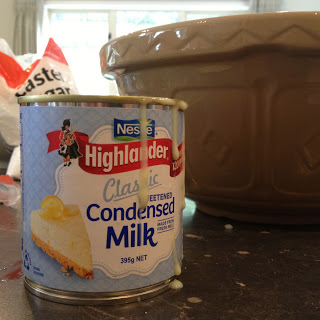
The recipe said to use treacle but unfortunately I still have not invested in treacle. I used golden syrup instead and they still turned out great.


These make a good homemade substitution for the trusty Griffin's gingernut and are best consumed when still slightly warm! Dad was most stoked with these biscuits. He is always one to complain about how the Griffin's gingernuts hurt his teeth but these ones are much more pleasant on the dental work.
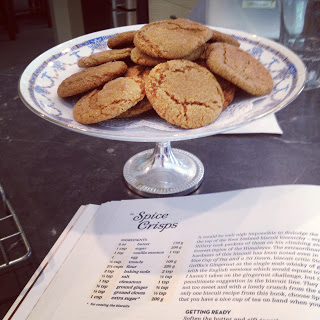

Spice Crisps
Adapted from Ladies, A Plate by Alexa Johnston
Makes 48

170g butter, softened
200g sugar
1 teaspoon vanilla essence
1 egg
100g golden syrup (or treacle)
280g plain flour
2 teaspoons baking soda
1/2 teaspoon salt
1 teaspoon cinnamon
1 teaspoon ground ginger
1 teaspoon ground cloves

1/2 cup extra white sugar for rolling

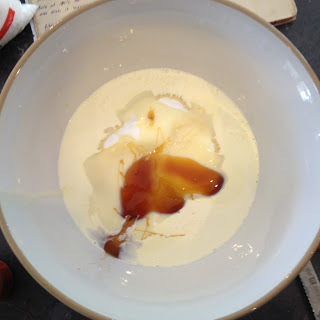
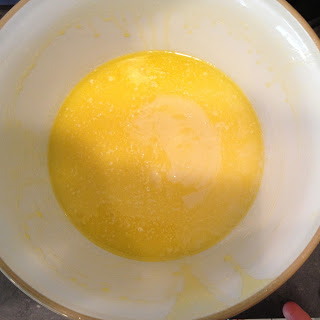
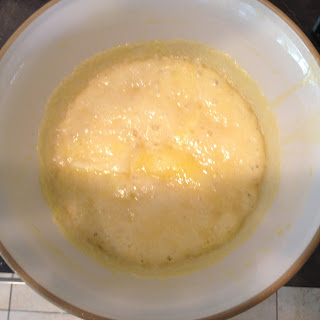
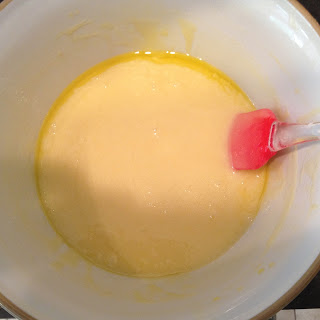
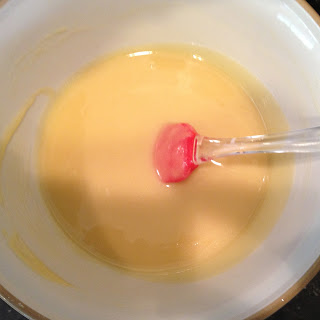
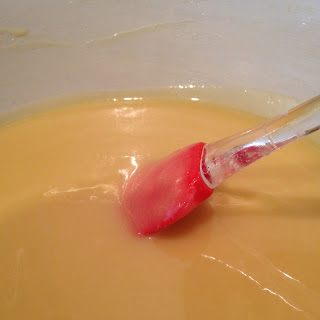
Cream the butter and sugar together until light and fluffy. Add the vanilla, egg and golden syrup (or treacle) and beat on high until very fluffy.

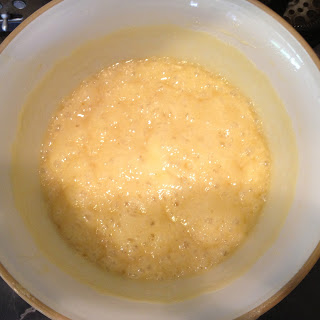
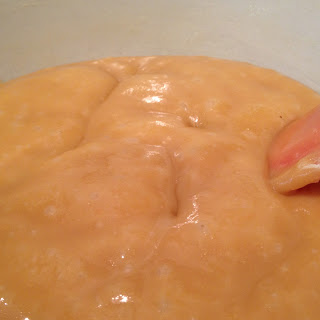
Sift in the flour, baking soda, salt and spices and mix until combined.

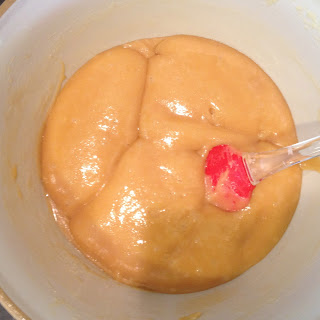
Glad wrap the bowl and place in the fridge to cool and firm for an hour.

Preheat the oven to 190 degrees on bake.

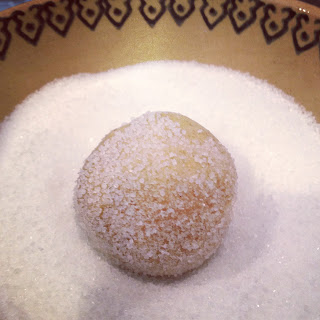
Make large marble sized balls of dough by rolling well between the palms to make a smooth ball.

Roll each ball in sugar before placing on a baking tray lined with baking paper. Don't flatten them with a fork as they will flatten themselves but make sure they are well spaced.

Bake for 10-12 minutes until they are dark golden in colour and the tops have cracked just be sure not to overcook them.

Transfer to a cooling wire rack to crisp up.


Enjoy!!

So many noms.


Festive White Chocolate Rocky Road

This is festive if you live in the Northern hemisphere where in Winter at Christmas your roads are actually white.


I saw the idea for white chocolate rocky road on Instagram and Pinterest a while back and I really liked the way it looked. It made the nuts and other fillings you add to it really stand out against the white. Especially the cranberries and the pistachios.


The normal rocky road my Mum makes involves melting butter into the chocolate. I couldn't really be bothered to do that and so took the easy road out and just used straight white melting chocolate with nothing else added to it. This ensures that it sets nice and hard so that it can be cut into nicely defined pieces.


Now the beauty of this recipe is that you can add anything you want! (Well within reason I guess).


One of my best friends, Cara, was up in Auckland for the week (for her Med interview! Smartie pants!) and we found ourselves in need of something to do. So we scoured the Pak n Save bulk bins for some exciting treats to pave our road with.


With this rocky road, try and look for ingredients that will have an interesting cross section against the white chocolate. So really the more colourful the better. I love the way jube lollies look when they are cut in half. Same with pistachios, the vibrant green is really cool!


If you find yourself with a lot of filling ingredients, you may need a bit more chocolate to coat everything in. We found ourselves increasing our chocolate amount to 500g from 400g to ensure everything was well cemented together.

Use this recipe here as a guideline for your own Christmas road!


Cara and Sophie's White Chocolate Rocky Road
Makes a 20 x 30cm trays worth

500g white chocolate melts
3/4 cup dried cranberries
1/2 cup dried strawberries
5 dried figs, chopped into chunks
1 1/2 cups jubes
1/2 cup dried blueberries
1/2 cup natural macadamia nuts
1/2 cup pistachios
3 cups marshmallows (130g)
1/2 cup natural almonds

In a double boiler (a bowl above a saucepan of simmering water) melt the chocolate slowly. Make sure no water gets into the chocolate or else it will seize. Also make sure the water is not touching the base of the bowl.

Chop all the larger ingredients into smaller pieces. Place them in a large mixing bowl and mix them around.

Line a 20 x 30cm slice tin with baking paper.

Pour the melted chocolate into the bowl of chopped filling and mix to coat everything.

Transfer into the lined tin and press down to form a nice even slice.

Leave to cool in the fridge for an hour before slicing into nice chunky pieces.


Personally, I found the strawberries and the blueberries not very economical choices of ingredients. I would add in a few more jubes and cranberries instead if I were you.


Enjoy! x


Russian Fudge

Hello!


I hate sugar.

Yes I am writing this after I have just made a chocolate biscuit slice and a tray of russian fudge. 

I never want to see it again.

Ever.


When I find myself bored and alone during the holidays I have a habit of sending sweet treats to a few lucky individuals. This year my lucky recipient is Jamal. Jamal and I have an excellent relationship. I like baking and he likes to eat baking. Perfect. 


So I found myself making the one thing I know takes the impact of the NZ post system; Russian fudge. 

Now most people make fudge on a stove with a candy thermometer and all that other fuss. Making candy that way does not usually end very well with me. However many years ago my mother came to acquire a brilliant microwave russian fudge recipe from her friend Sue. So in our family cookbooks this fudge recipe is known as Sue's Russian fudge. 


Why is this fudge called Russian fudge?

I have no idea.


Anyway it is a really simple recipe however you do need a very VERY large microwave safe bowl. If your bowl is not sufficiently large then the molten fudge (which is hotter than hell) will spill over the edges and create a burning, messy fudge up. 

Also it is important to use castor sugar in this recipe. Normal white sugar granules will not dissolve in the time in the microwave and you will end up with grainy fudge.

Sometimes you can overcook the fudge. If you do there is no saving it unfortunately, the Maillard reaction has gone too far. All you can do is chop it up into tiny pieces once it has set and throw it on top of your next bowl of ice cream. The consequences of failure could be worse.

As all microwaves are different, if this recipe fails you the first time that you do this then I encourage you to try again. Make note of what went wrong (if it became overcooked and grainy then reduce the time in the microwave by a few minutes) and do something to correct it. Our old microwave required 5 x 3minute cooking lots. Our new microwave (after an unfortunate overcooking incident) we found only needs 4 x 3 minute cooking lots. So if you have a new microwave, err on the side of caution and only do four blasts. If you have an old crappy thing (like our old 20 year old microwave) then try out five. 

Also, do not try and lick the spatula straight away. You will get burnt. Big time. It will hurt. A lot. And the roof of your mouth will blister. Then those blisters will pop and leave you with a ragged and raw top palate. Don't do it. 

One of the steps is to leave it to cool for five minutes before beating. I think that is too long, I waited for five and my fudge didn't pour smoothly. Try only waiting for three minutes. It also originally said to beat for five minutes. I think this is too long as well. Beat for one and see how you go. 

Have I scared you off yet?

No? Good. Lets do this! :)


Sue's Russian Fudge
Makes a small slice tin's worth

3 cups castor sugar
1/2 cup condensed milk
1/2 cup cream
1 tablespoon golden syrup
100g chopped butter
1 teaspoon vanilla essence

Place all the ingredients into a very large microwave safe bowl (like a good large Mason and Cash bowl). Microwave at 100% power for 3 minutes. Remove from the microwave and give it a good stir making sure the edges are well scraped down. Stirring helps to dissolve the sugar.

Return to the microwave for another three minutes then stir. Repeat this a total of four (so a total cooking time of 12 minutes) or five (total cooking time of 15 minutes) depending on the power of your microwave. Make sure you stir really well between each blast.

After taking the bowl out for the last time, give it a quick stir then leave to sit for 3 minutes. Then beat the fudge with electric beaters for one minute. Stop as soon as the fudge appears to be hardening into small peaks. 

Pour the fudge into a small slice tin lined with baking paper. Leave to cool on the bench before placing in the fridge to fully set. Once almost set, slice into pieces. Return to the fridge until fully set. 


Unstirred after three minutes

Stirred after three minutes

Unstirred after six minutes

Stirred after six minutes

Unstirred after nine minutes

Stirred after nine minutes

Colour after nine minutes (nearly there!)

Unstirred after twelve minutes

Stirred after twelve minutes

The fudge will keep bubbling even though is has been taken
out of the microwave. In the next three minutes of cooling the colour
will significantly darken. 

oop! Don't forget to line this!

See how it is starting to become grainy at the edges? You
want to stop beating now. 


Enjoy!

Fudge travels really well and so makes a great edible gift to give people.


Sophie :)