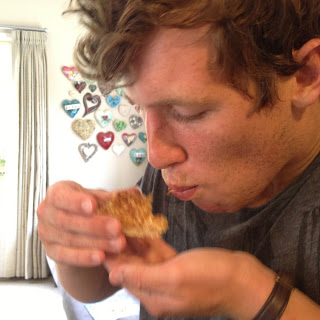
With emphasis on the caramel.
Imagine you are a slice living in my house. Your main goal in life as a slice is to be eaten but more importantly is to win the affection of me, Sophie so I will make you over and over again. How does a slice win my affections? Well the same way anyone does; with chocolate, caramel and enough sugar to turn a health freak into a diabetic in one bite.
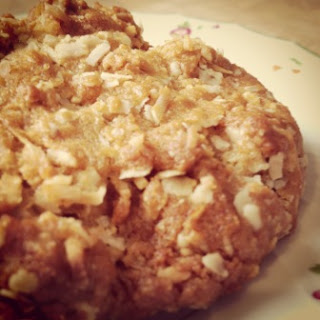
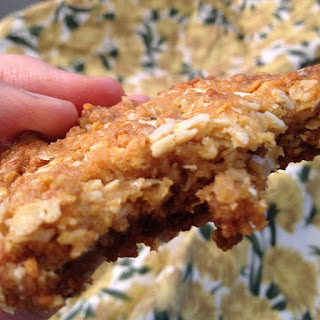
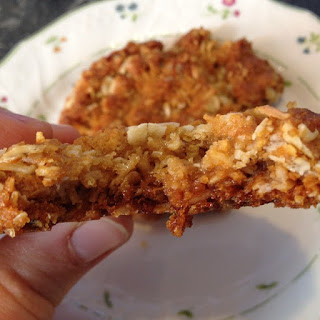
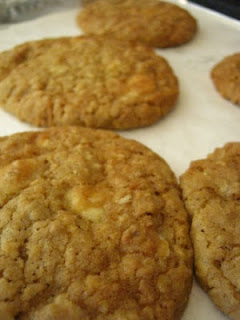
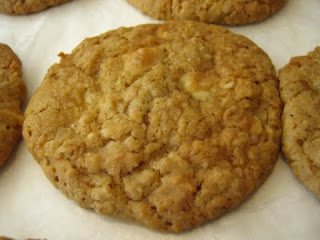
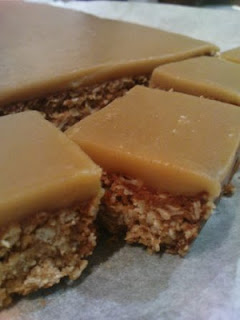
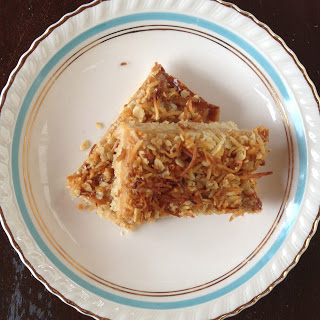
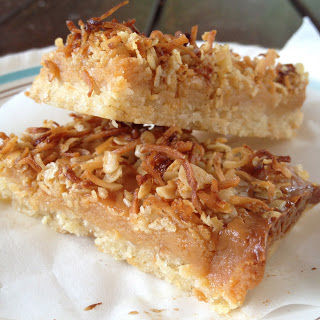
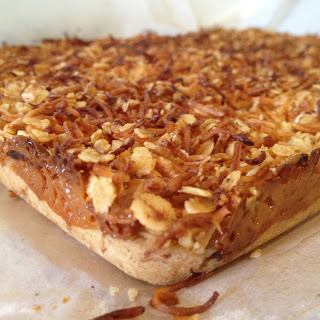
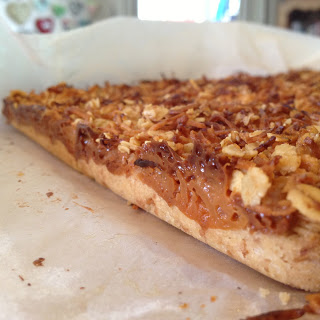
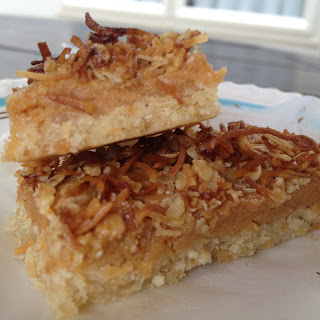
This slice is a winner, no doubt about that. Sure the others I have posted about have the chocolate and the sugar aspects and are delicious but few slices can compare to one that is layered and within those layers lies a gooey caramel centre.
In the flurry of all these new slices that Mum and I have been finding recipes for I forgot about my old favourite, my turn to, my staple to impress. I am blaming my Christmas bakewell and birdseed slice for this.
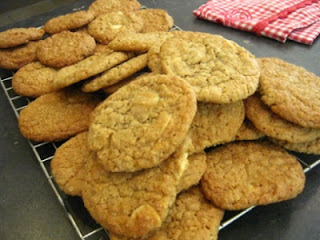
Rewind back to last January and I was making this caramel oaty slice as well as my lemon krummeltorte slice at least once a week to take to friends places or as thank yous to people for letting me stay at their houses over the holidays.
I made this slice for my brother to take as a thank you for his friend Drew's parents for letting him stay a couple of nights in Tairua with them. It was this or the brownie and I was not in the mood to battle with sticky chocolatey brownie mixture.
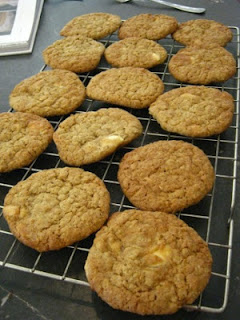
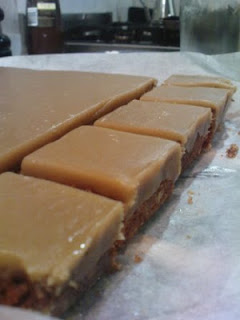
Its pretty easy, in fact it is very difficult to get wrong unless you burn it (ok which I sort of did) or burn the caramel.
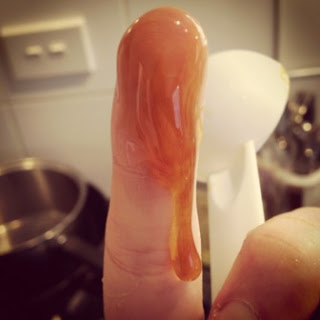
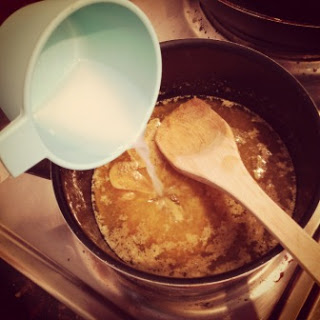
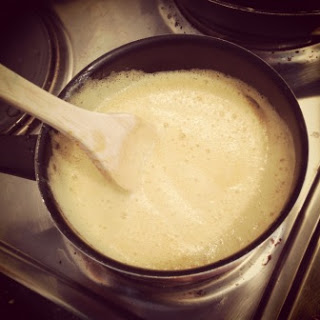
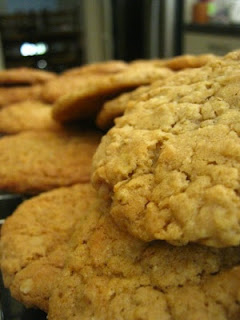
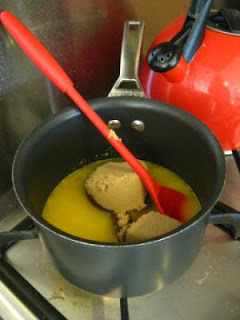
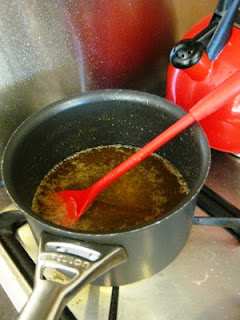
Don't let me fool you, this isn't fiddly, candy thermometer requiring caramel. This is can of condensed milk + butter + golden syrup + saucepan caramel. Easy as. Unless your tin of condensed milk decides it wants to be far runnier than usual leaving you confused and wondering whether or not it will thicken to produce a delicious caramel.
Perseverance and sheer laziness to go down to the shops and buy a new tin paid off. The caramel thickened and the day was saved.
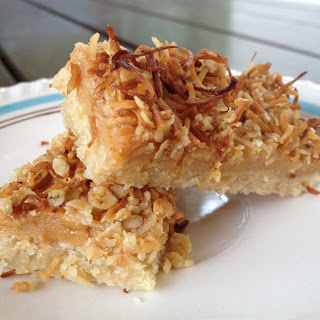
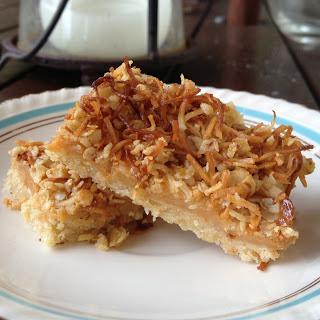
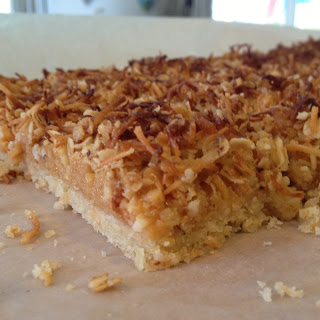
This slice requires three components; the oath base, the caramel filling and the coconut topping.
Usually when I see things that have components I flick the page and look for something less ingredient hungry.
But this slice is different. And well worth it.
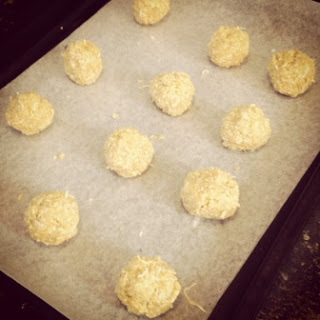
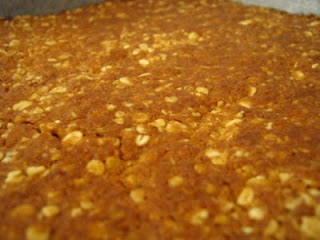
I chose to cook my base slightly longer than it says too, this made it really nice and crunchy. If you are into more cakey slices with a softer base then only cook it for ten minutes. The end result is still delicious.
Caramel Oat Bars
Source of this glorious creation completely unknown
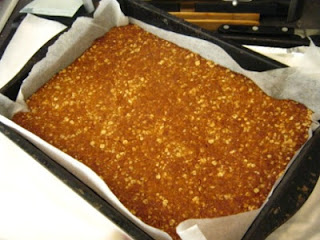
Makes a thin 20x30cm slice
Base:
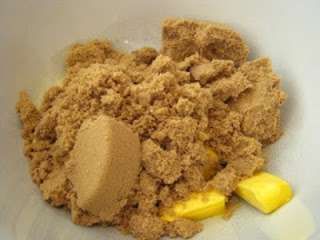
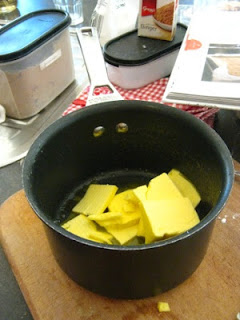
100g butter, softened
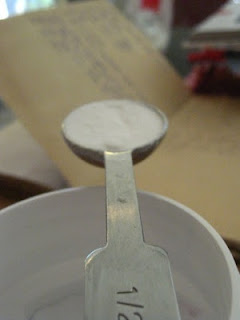
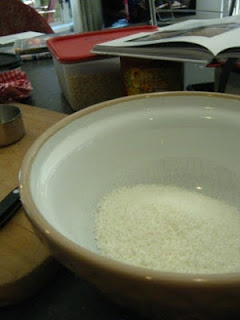
1/2 cup sugar
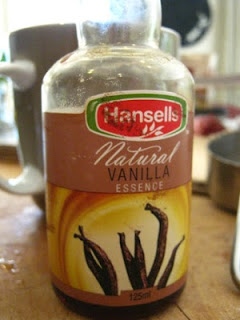
1 teaspoon vanilla
1 cup flour
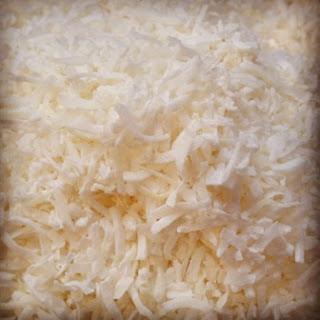
1/2 cup desiccated coconut
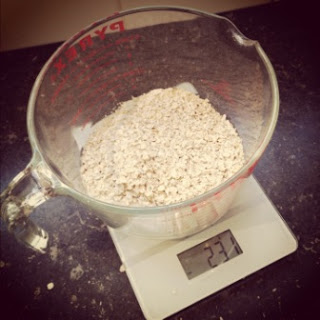
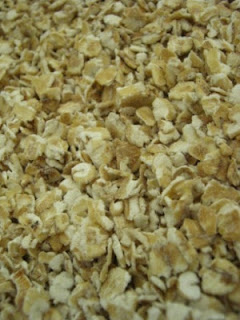
1/2 cup rolled oats
Caramel:
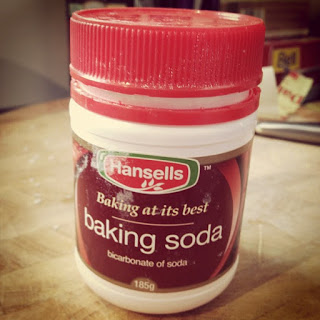
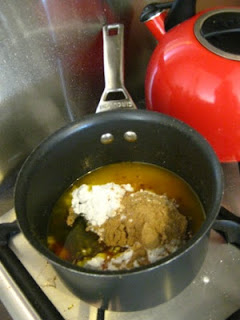
395g tin of full fat, full sugar condensed milk
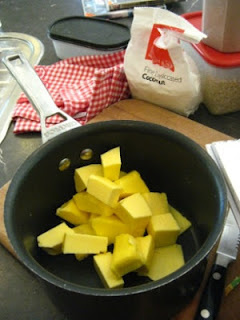
50g butter
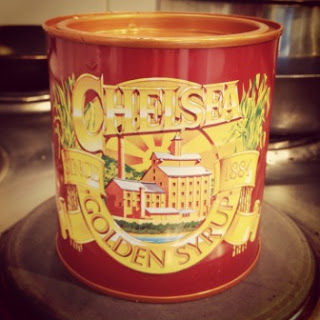
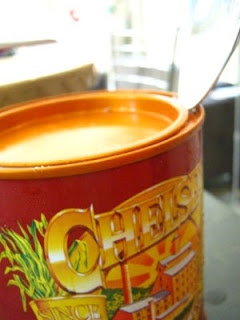
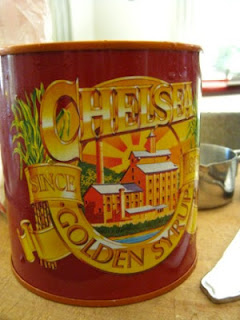
2 tablespoons golden syrup
Topping:
1 cup threaded coconut
1/2 cup rolled oats
50g butter
1 tablespoon golden syrup
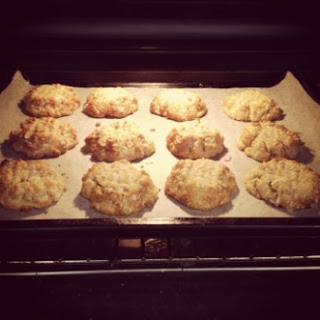
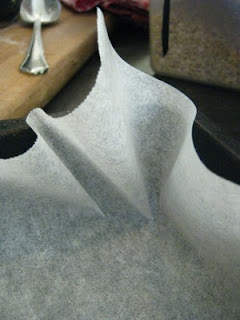
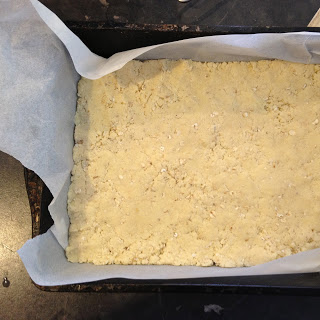
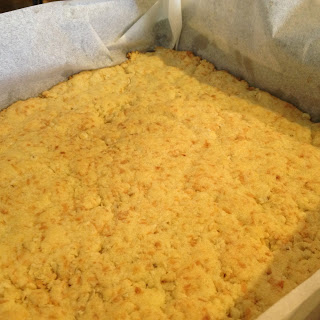
Preheat the oven to 180 degrees on bake and line a 20x30cm (or smaller) baking tin with baking paper.
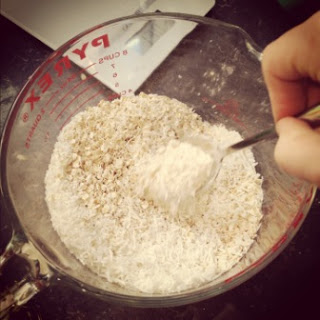
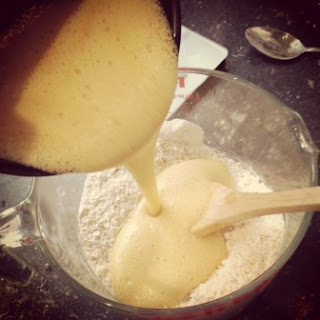
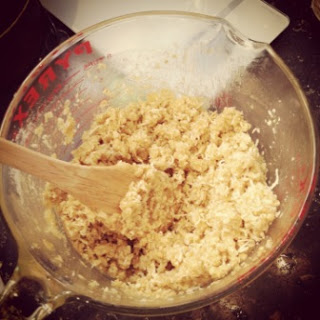
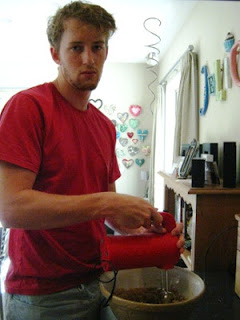
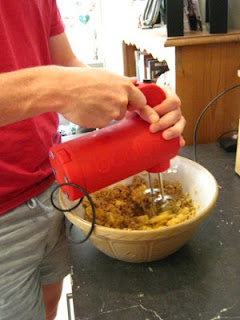
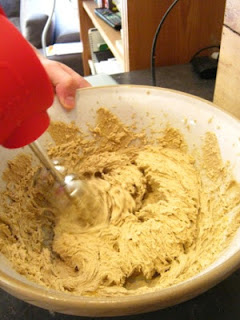
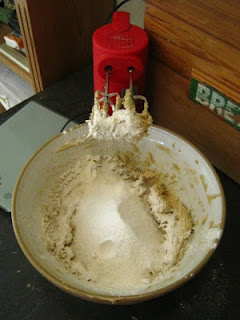
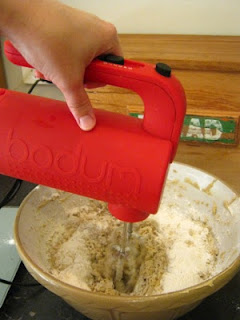
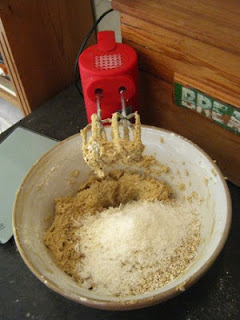
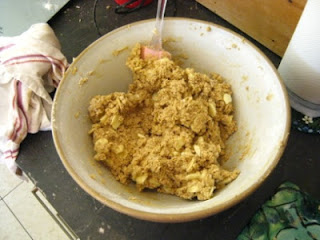
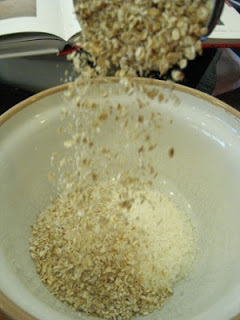
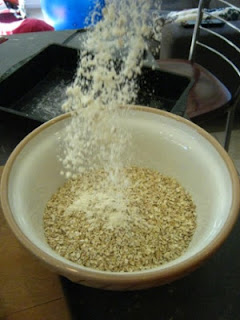
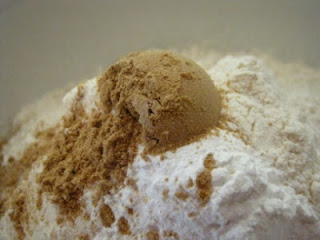
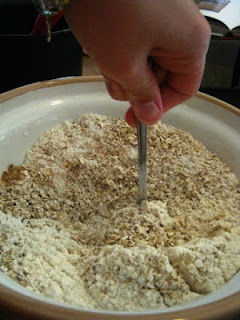
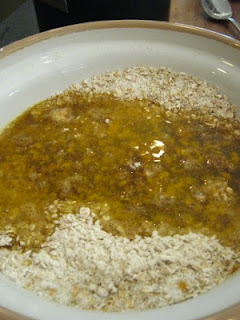
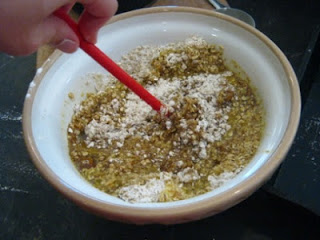
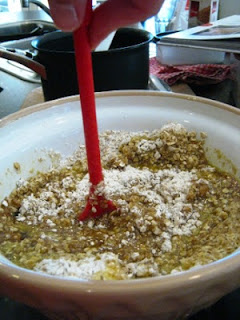
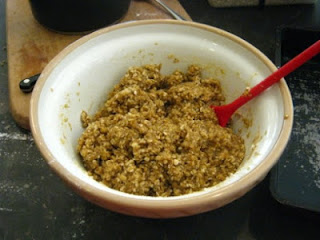
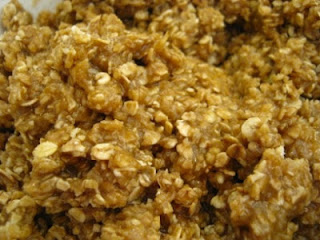
Cream together the butter, sugar and vanilla until light and fluffy. Sieve in the flour the mix then add in the oats and the coconut.
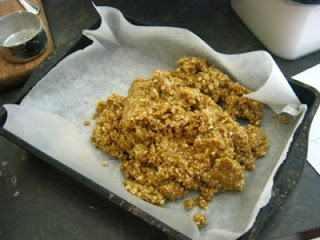
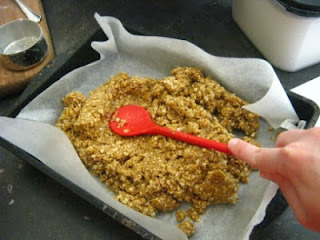
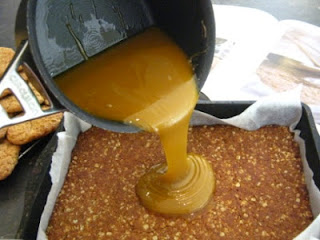
Press firmly into the base of the lined tin and then bake for 10 (soft) to 15 (crunchier) minutes. Once baked, remove to cool while you make the caramel.
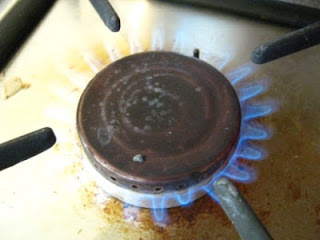
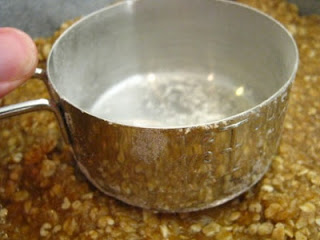
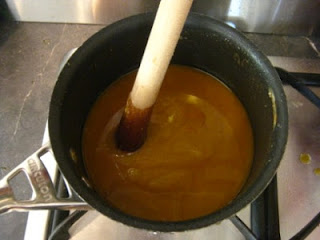
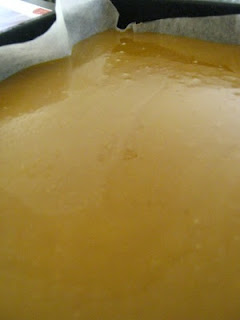
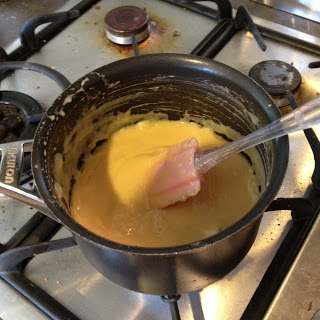
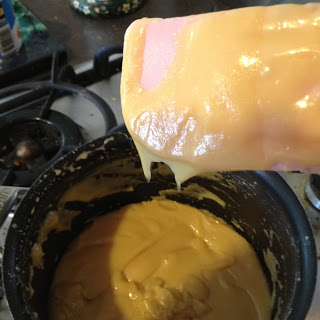
Place all the caramel ingredients into a saucepan and stir over a low to medium heat until the contents has turned a dark golden colour and has thickened. This should take 3 - 5 minutes.
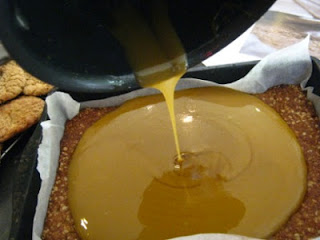
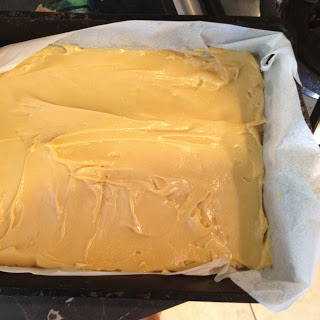
Spread the caramel over the base.
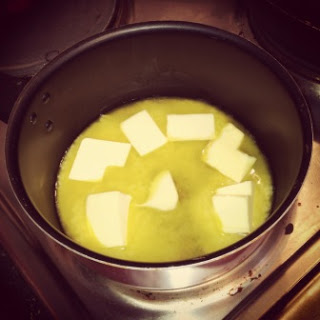
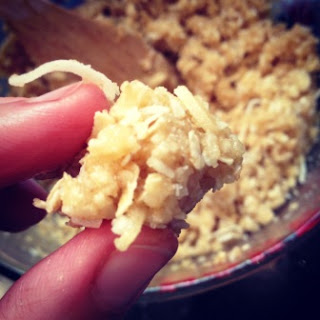
To make the topping, place the butter and golden syrup in a saucepan and melt together. Add in the coconut and oats and stir until well coated.
Sprinkle the topping over the caramel and base.
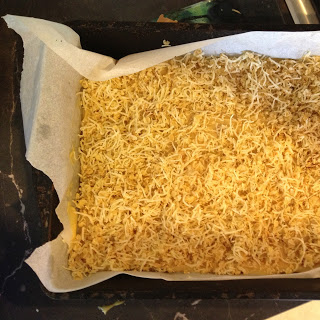
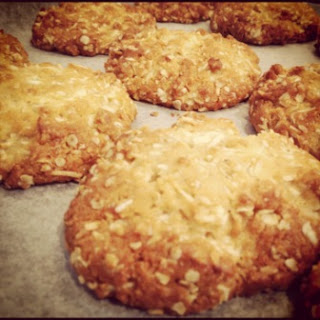
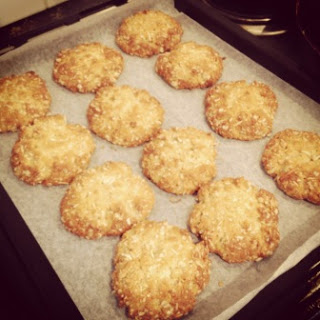
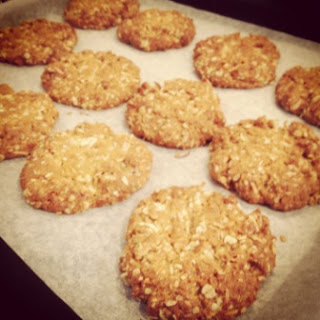
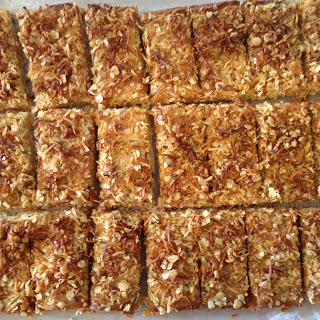
Bake in the oven for a further 10-15 minutes or until the topping has turned crisp and golden in colour.
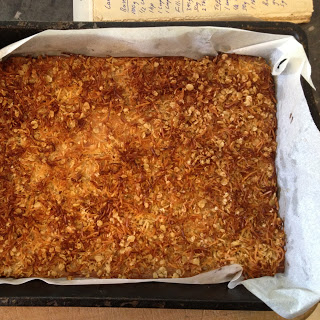
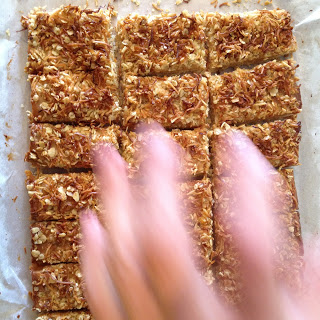
Once cold, cut into bars or squares.
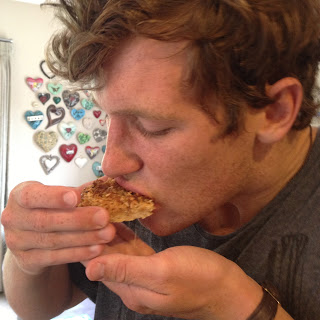
Enjoy!
Imagine you are a slice living in my house. Your main goal in life as a slice is to be eaten but more importantly is to win the affection of me, Sophie so I will make you over and over again. How does a slice win my affections? Well the same way anyone does; with chocolate, caramel and enough sugar to turn a health freak into a diabetic in one bite.
This slice is a winner, no doubt about that. Sure the others I have posted about have the chocolate and the sugar aspects and are delicious but few slices can compare to one that is layered and within those layers lies a gooey caramel centre.
In the flurry of all these new slices that Mum and I have been finding recipes for I forgot about my old favourite, my turn to, my staple to impress. I am blaming my Christmas bakewell and birdseed slice for this.
Rewind back to last January and I was making this caramel oaty slice as well as my lemon krummeltorte slice at least once a week to take to friends places or as thank yous to people for letting me stay at their houses over the holidays.
I made this slice for my brother to take as a thank you for his friend Drew's parents for letting him stay a couple of nights in Tairua with them. It was this or the brownie and I was not in the mood to battle with sticky chocolatey brownie mixture.
Its pretty easy, in fact it is very difficult to get wrong unless you burn it (ok which I sort of did) or burn the caramel.
Don't let me fool you, this isn't fiddly, candy thermometer requiring caramel. This is can of condensed milk + butter + golden syrup + saucepan caramel. Easy as. Unless your tin of condensed milk decides it wants to be far runnier than usual leaving you confused and wondering whether or not it will thicken to produce a delicious caramel.
Perseverance and sheer laziness to go down to the shops and buy a new tin paid off. The caramel thickened and the day was saved.
This slice requires three components; the oath base, the caramel filling and the coconut topping.
Usually when I see things that have components I flick the page and look for something less ingredient hungry.
But this slice is different. And well worth it.
I chose to cook my base slightly longer than it says too, this made it really nice and crunchy. If you are into more cakey slices with a softer base then only cook it for ten minutes. The end result is still delicious.
Caramel Oat Bars
Source of this glorious creation completely unknown
Makes a thin 20x30cm slice
Base:
100g butter, softened
1/2 cup sugar
1 teaspoon vanilla
1 cup flour
1/2 cup desiccated coconut
1/2 cup rolled oats
Caramel:
395g tin of full fat, full sugar condensed milk
50g butter
2 tablespoons golden syrup
Topping:
1 cup threaded coconut
1/2 cup rolled oats
50g butter
1 tablespoon golden syrup
Preheat the oven to 180 degrees on bake and line a 20x30cm (or smaller) baking tin with baking paper.
Cream together the butter, sugar and vanilla until light and fluffy. Sieve in the flour the mix then add in the oats and the coconut.
Press firmly into the base of the lined tin and then bake for 10 (soft) to 15 (crunchier) minutes. Once baked, remove to cool while you make the caramel.
Place all the caramel ingredients into a saucepan and stir over a low to medium heat until the contents has turned a dark golden colour and has thickened. This should take 3 - 5 minutes.
Spread the caramel over the base.
To make the topping, place the butter and golden syrup in a saucepan and melt together. Add in the coconut and oats and stir until well coated.
Sprinkle the topping over the caramel and base.
Bake in the oven for a further 10-15 minutes or until the topping has turned crisp and golden in colour.
Once cold, cut into bars or squares.
Enjoy!