Snickers Truffles

This excellent weather we are having today. By excellent I mean stormy and wild. The best kind of weather. None of this mellow sunny rubbish. I like my weather to have guts.


Funnily enough I made this fudge/truffle thing yesterday when it was boiling hot (well hot for Dunedin anyway) and beautiful sunshine. Today is a far better fudge consuming day.


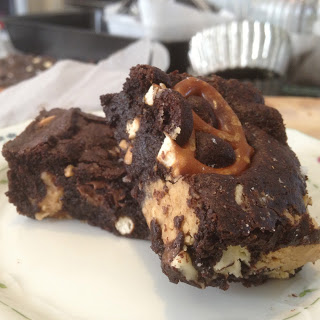
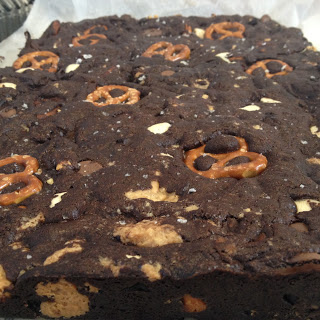
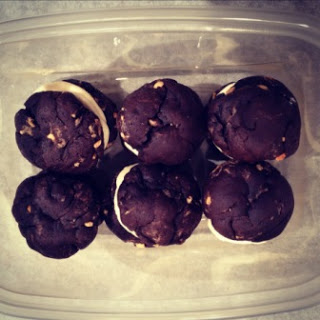
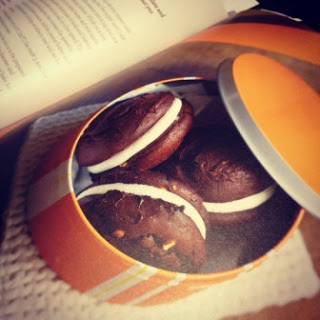
I found this recipe for peanut butter fudge in the latest Donna Hay Magazine issue. It is a great issue, I can't wait to make more from it. It isn't a true fudge recipe really, it doesn't involve boiling up sugar or anything like that. It resembles the truffles I had to make for the pretzel peanut butter brownie I made a month or so ago. So I think I will call this a truffle slice rather than a fudge.


I made one small change in the recipe though.

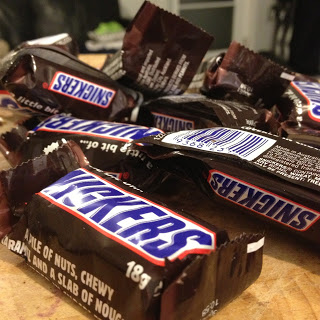
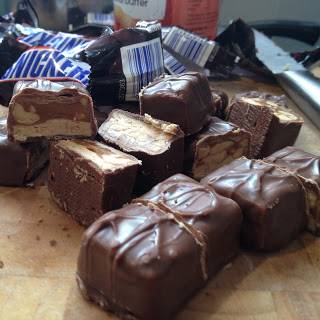
The original didn't call for snickers bars.

Snickers bars make everything better.

Don't you agree? Ok they do unless you are allergic to peanuts.

Then they kind of ruin the party.


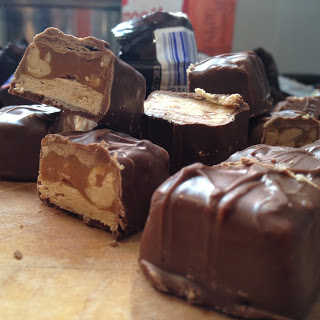
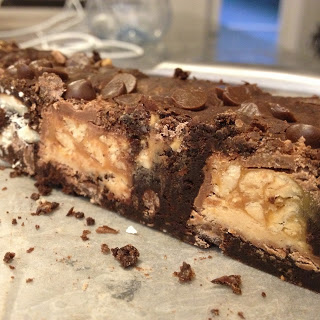
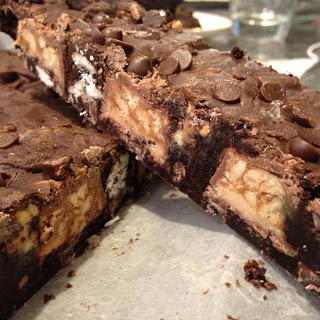
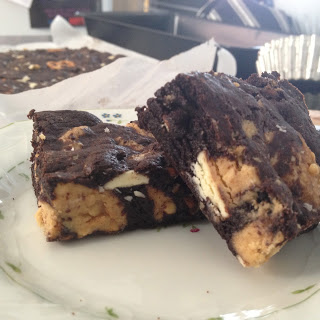
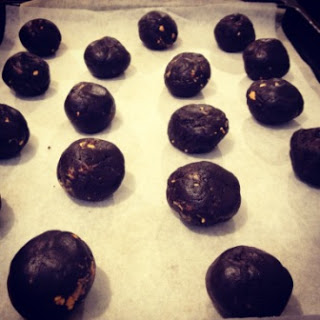
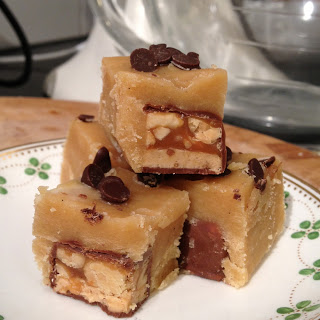
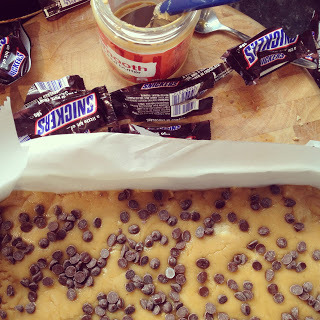
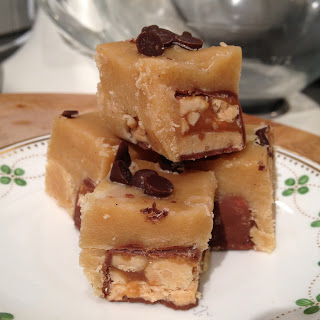
But anyway, I dotted 10 halved mini snickers bars along the bottom of the tray I used to set the fudge. The fridge makes them quite brittle and they kind of fell out of their fudge settings when you cut them into cubes. So I propose that next time to spread a thin layer of fudge down first then dot the half snickers bars then cover it with the rest of the truffle/fudge mix. This should hopefully contain the snickers bars a little better and prevent them from falling off.

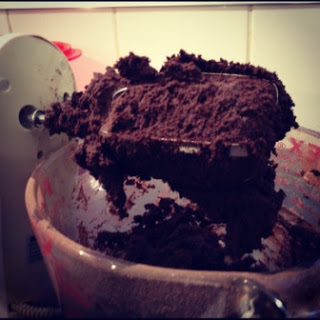
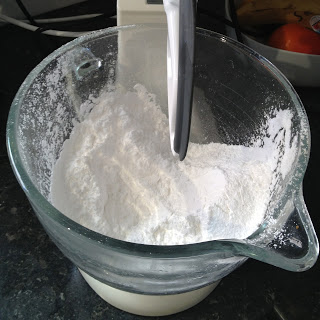
This recipe is pretty difficult to screw up. Just make sure you sieve the icing sugar or else it will be lumpy. I used my stand mixer to mix it all together but a handheld beater or even a spoon and an enthusiastic arm would do the trick.


So. Lets do this.

Snickers Truffle Slice
adapted from Donna Hay Magazine issue 68 (April/May 2013)

150g butter, chopped
1/3 cup cream
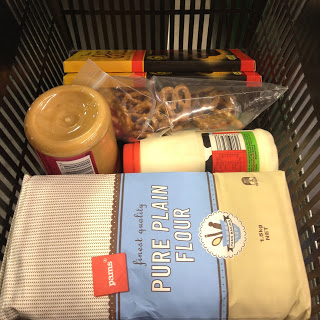
390g smooth peanut butter
1 teaspoon vanilla extract
400g icing sugar, sifted
10 funsize snickers bars
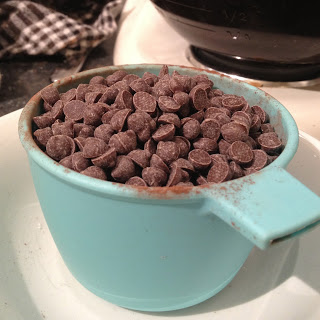
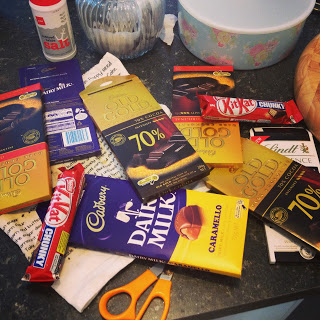
chocolate chips for fun

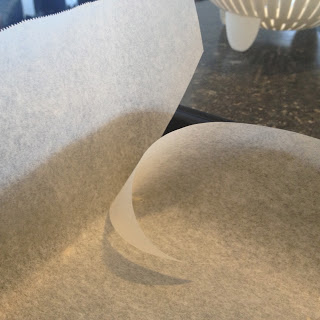
Line a small slice tin (I used a small lasagne dish haha) with baking paper.

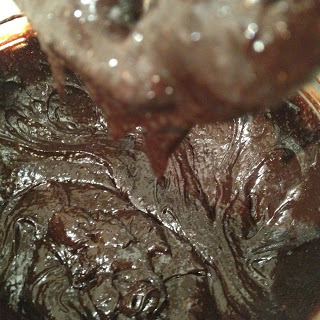
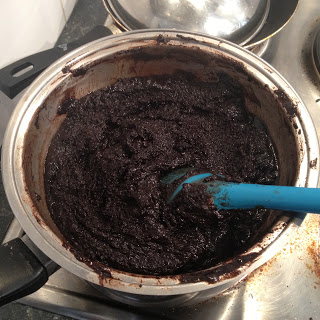
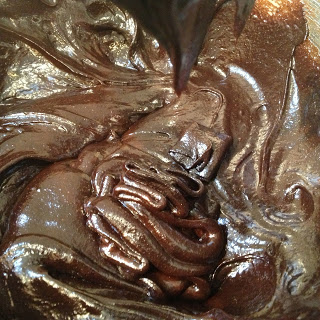
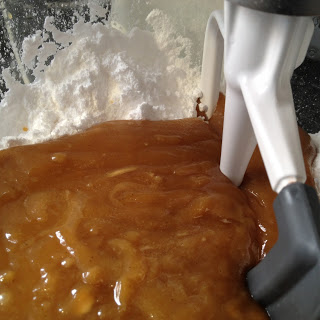
In a small saucepan, melt together the butter, peanut butter, cream and vanilla, stirring until smooth. In a large mixing bowl, sift your icing sugar.

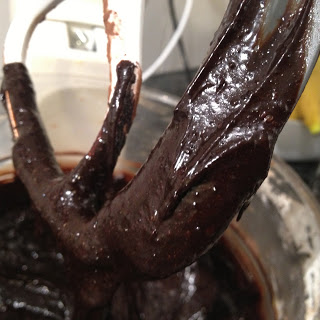
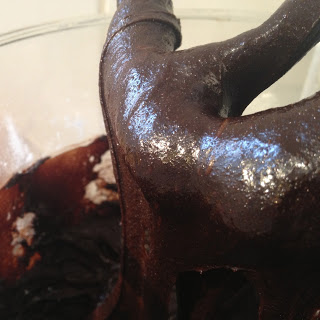
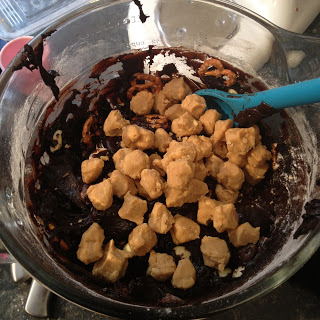
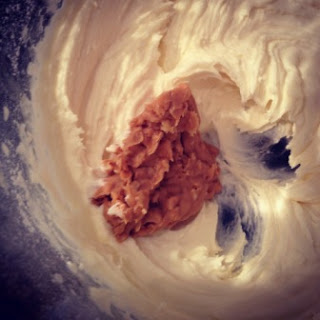
Once the peanut butter mixture has become all nice and smooth pour it into the icing sugar and mix until evenly combined and smooth.


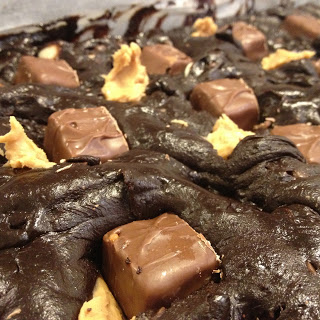
Cut all the snickers bars in half.


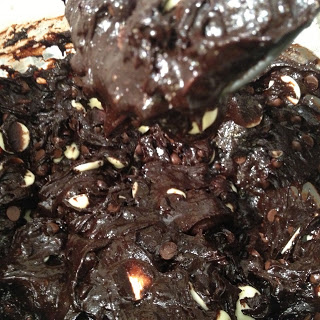
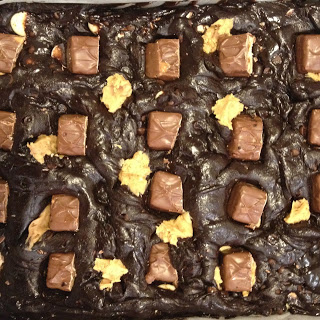
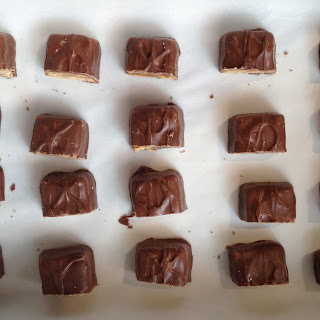
Spread about a third of the fudge mixture onto the bottom of the tin. Dot the snickers bar halves in a grid formation (4 x 5). Spoon over the rest of the mixture and smooth flat. Using a second sheet of baking paper, place it over the top and smooth the fudge really flat with your hands or a flat bottombed object.


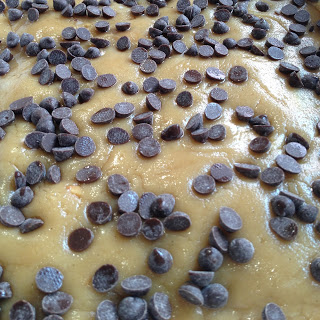
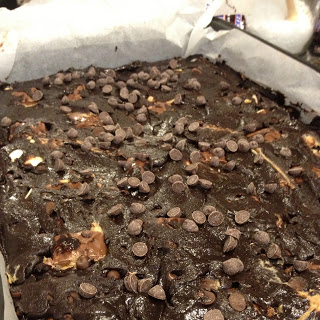
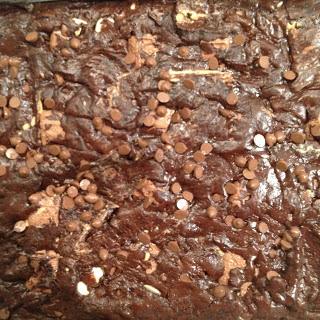
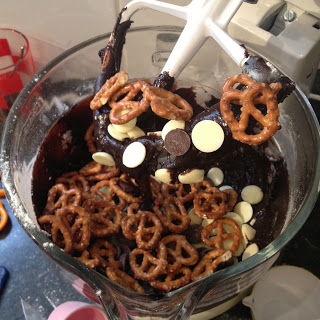
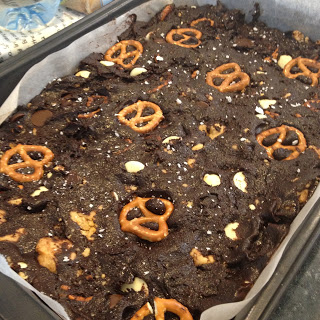
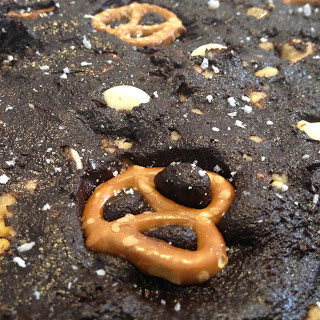
Sprinkle with the chocolate chips and gently press them in.

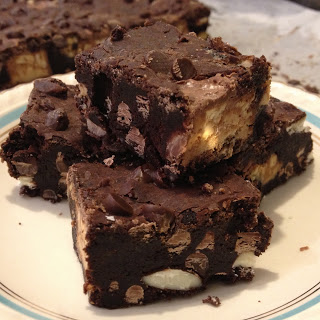
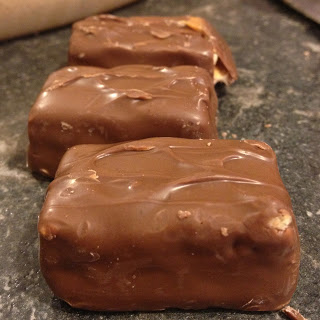
Leave to set in the fridge for a couple of hours before slicing into squares.

Enjoy!


Snickers Bar Brownies

For the good of man kind I felt like I had to write this post.


It will be short, sharp but definitely not lacking in chocolately noms. In fact the sheer obscene quantity of chocolate in this brownie will compensate for the lack of words. Who needs words when you have chocolate?

(This is basically me procrastinating reading an article on the acidity of milk)

So I took another mindless trip to New World and ended up buying fun sized snickers bars, more dark chocolate and some Gaviscon. I don't know why. I just did. It was a bit silly considering I had purchased 1.6kg of chocolate for baking the day before. I think it was because it was only $1.99 a bar. Dam you strategic pricing. My baking excess supply store is looking a bit ridiculous.


So I found myself up rather late and feeling too lazy to go to bed (taking contact lenses out, brushing teeth and showering are all very strenuous activities I would have you know!) so I decided to make some brownie to take to my friend Max the next day. Yes. Logic. Baking brownies is far less effortful than sleeping . . .


So anyway the Snickers bar brownie was born. I got a bit carried away with the chocolate. I think 700g went into this. Fliiiip. Oh and I felt like the peanuts in the Snickers bars wern't enough so I buried spoonfuls of peanut butter in there too. YOLO.

Eww. Can't believe I just said that.


So the base for this brownie is from Butter Baking. I just switched around the inclusions to suit what I had. It is a good brownie base. I recommend having fun with it! So once again you can add really whatever you like to it. Whatever your inner fat kid desires.


Snickers Bar Brownie
Adapted from Butter Baking 
Makes 20x30 cm trays worth

225g butter
1 3/4 cup brown sugar
1 cup + 2 tablespoons cocoa
100g dark 70% chocolate
1 teaspoon vanilla
2 eggs
1 egg yolk
3/4 cup plain flour
3/4 cup dark chocolate chips
3/4 cup white chocolate chips/melts
12 funsize Snickers bars (212g worth)
1/3 cup crunchy peanut butter
more chocolate chips to sprinkle over the top


Preheat the oven to 170 on bake.

In a heatproof bowl over a sauce pan with a few centimetres of boiling water in it, melt together the chocolate and butter. Once melted add in the sugar and stir to dissolve. Remove the bowl from the heat and either transfer to a larger bowl or a stand mixer and beat in the cocoa and vanilla until smooth and lump free.

Beat in the eggs and the egg yolk one at a time until the mixture becomes really thick and luxurious.


Add in the flour and stir until just combined.

Stir in the chocolate chips both dark and white.


Line a 20x30cm baking tin with baking paper. Spread the brownie mixture into the tin.

Chop the fun size bars in half and place insert them in rows into the batter. So 4 half bars by 6 half bars.


Using a teaspoons, make small holes in the batter and fill them with small blobs of peanut butter.

Using a spatula, smooth some of the brownie batter over the tops of the snickers bars and peanut butter blobs so that they don't burn and everything is nicely sealed in.

Sprinkle over some more chocolate chips if you wish.


Bake for 20-25 minutes (23 is the magic number for my oven). You want them to still be really gooey inside. Once they cool they will firm up.


Leave to cool for a decent amount of time before slicing, or else they just mush everywhere.

Sprinkle with edible glitter if you do feel so inclined.


Enjoy!!!


Peanut Butter Truffle, Triple Chocolate, Pretzel Brownie

Some people cover their feelings with food. Some people try and drown out their sorrows by drinking.

I bake out my stresses and woes. 

Im currently on day three of my chocolate baking bender.


So in the last week I am pretty sure I have been to New World like every day to buy more ingredients. 


The peak of this tragic behaviour was when I went to New World twice within twelve hours and purchased six blocks of chocolate, a kilo of butter, more chocolate chips, a nice big jar of peanut butter and a bottle of cream.

You know magic is about to happen when those items fill up your basket. 


Four days ago I somehow ended up following Butter Baking on instagram. I seriously do not know how. Anyway she posted these delicious looking cookies so I went to go check out her blog.

Oh. My. God. 

I died and went to blogging heaven. 

So. Much. Great.

Almost everything contains chocolate or nutella or peanut butter or a combination of all three! So I jumped up off my seat in the commerce building (where I was just chilling at the time even though I don't do anything commercy at all) and went with my dear friend Matt to New World. So this is how all that chocolate and cream came to be in my shopping basket. 

www.butterbaking.com

Go there. Like now!

So anyway I recreated her pretzel, chocolate chip, peanut butter brownies. 


Sorry about the weird lighting in the photos. I was too preoccupied with the wonders before me to really care haha. Until now.

Anyway, pretty sure all the crack dealers are about to go out of business.

Ok I know the idea of pretzels sounds strange especially in a chocolate brownie but how many of you love putting jam and peanut butter together? or maple syrup on your bacon? The combination of salty and sweet, creamy and crunchy, moist and fudgy, it is just amazing. Trust me. 


I did make a few adjustments to her recipe, mainly out of lack of the appropriately coloured chocolate chips! But also I decided to use brown sugar instead of white. I had enough of the white. I think it is because I wanted a really dark colour. I dunno. I always feel cookies are better with brown sugar so why not brownies. Brown sugar contains molasses which gives whatever you use it in a more intense colour and flavour. Yum. I actually just used muscovado sugar in my chocolate cupcakes today. They turned out so great! the flavour was really intensified!


So yes. Make this brownie. It will change your life. 


Tripe Chocolate, Peanut Butter Truffle and Pretzel Brownie
adapted from the recipe by Butter Baking
Makes a 20x30cm brownie


For the peanut butter truffles:

1/2 cup crunchy peanut butter (I used extra crunchy!)
30g butter
2 tablespoons brown sugar
1/2 cup icing sugar


For the most amazing brownies of your life:

225g butter
1 3/4 cups soft brown sugar
1 cup and 2 tablespoons cocoa
100g good quality dark chocolate (60-70% cocoa solids is enough)
1 teaspoon vanilla
2 eggs
1 egg yolk
3/4 cup plain flour
1/2 cup dark chocolate chips or melts
1/2 cup white chocolate melts
1 cup pretzels plus a few extra to dot over the top
All of the peanut butter truffle balls made above
1 teaspoon sea salt flakes


To make the truffles, melt the butter and peanut butter in a small saucepan. Once they have melted together, add in the brown sugar. Stir until it dissovles. Then gradually add in the icing sugar and stir until it is all nicely combined. Remove from the heat. Take half teaspoon amounts and roll into balls. Place in a plastic container and pop that in the freezer while you go and make your brownie.


To make the brownie, preheat your oven to 170 degrees C and line your baking tray with baking paper.  

In a double boiler (ie a heat proof bowl balanced over a saucepan with a few centimetres of simmering water beneath it) melt together the chocolate and butter, being careful not to burn the chocolate. I find melting the butter a bit first before adding the chocolate helps. Then add the brown sugar, cocoa and vanilla and stir until it is all combined.

Transfer this mixture into a larger mixing bowl or the bowl of your stand cake mixer. Beat the mixture just to make sure it is nice and smooth. 

Add your eggs one at a time, beating well in between each addition. The mixture should now be nice and thick and glossy.

Add the flour and stir only as many times as it takes for any visible flour to disappear. 

Mix in the pretzels, chocolate melts and peanut butter truffle balls.

Press the mixture into the lined baking tin. Dot a few whole pretzels over the top and sprinkle over the sea salt flakes.

Bake for 20-25 minutes (I baked mine for 24 and I think it could have done with only 23). You do still want a skewer to come out slightly gooey. 

Leave to cool before slicing or else it will just goo out everywhere. Which I guess isn't a bad thing.

This is why you are going to want to beat it properly

To easily separate eggs, break them into your hands and
use your fingers to sieve out the white.

This is how lovely and glossy it should look after all the
eggs

Post flour addition

Could this get any better?

The answer is yes. yes it can.

Try cutting the corners of your paper to get a more fitted
lining


Go for a run in preparation for eating the whole lot because there is no way you can run after eating these things!

The neighbours the other day helped me break into my flat. Lucy was away in Christchurch and Alex just left me on the doorstep with all our shopping (we both forgot our keys). Thank God for neighbours!


So I sent them a thank you :)

Enjoy!

xx

My First Attempt at Whoopie Pies: Peanut butter and chocolate

Hello there.

Whoopie pies. Only recently have I heard of such a baked good. They are apparently comprised of two cakey blobs sandwiched together with fluffy frosting. They are commonly the size of small cheese burgers. Typical Americans continuously coming up with new ideas to become obese.


To celebrate my 10 00th view on my blog I decided to try something new. These whoopie pies in my Hummingbird Cake Days book looked delicious, almost comical in their perfectness. Unfortunately mine turned out a big more knobbly that they should have. Maybe I should have squished them down a bit, who knows?


I also found the mixture to be quite sticky, gummy and chewy, like the flour had been over mixed, like my overcooked mug brownies that stick to the roof of my mouth (not ideal). Oh well there is a first time for everything.


Once cooked (and popped in the fridge for a bit) they become quite fudgy. An unusual texture but I wouldn't say a bad one. I am actually rather enjoying this late night fat snack. Without the icing they wouldn't be so great though.

Whoopie pies are like really dense cakes, they use plain yoghurt and a wee bit of milk rather than mostly milk (like cupcakes). You also start off by beating the egg and sugar together, rather than the butter and sugar. What else is strange is that you add the butter melted, rather than softened. Quite a peculiar method to follow, but an easy one.

Cake Days says to use marshmallow fluff in the icing between the two pie pieces. Unfortunately I don't know where to get that in Dunedin and there is something about buying a can of marshmallow fluff that creeps me out a bit. Maybe its the thought of all the processing and additives that must be in it. I'm a food sci student, for additives to freak me out it must be pretty bad. Usually those sorts of products taste no where near as good as freshly made alternatives.

To compensate for my lack of fluff, I added a good hunk of butter as well as a nice heaped dessert spoon of crunchy peanut butter to the icing. The icing reminded me of the new Whittaker's peanut butter chocolate. That can't be a bad thing right?


I have not given up completely. Far from it. I shall try again! probably with a different flavour though. These will work for me! They will! For the mean time I shall use my food class to dispose of them tomorrow morning, hide all evidence that I failed!


Peanut Butter and Chocolate Whoopie Pies (adapted from the Hummingbird Bakery's Cake Days)
Makes 8-10 sandwiches

1 large egg
150g castor sugar
125g plain yoghurt (I just bought a single serve pottle from the supermarket for like $1)
25ml whole milk
1 teaspoon vanilla essence
75g melted butter
275g plain flour
1/4 teaspoon baking powder
3/4 teaspoon baking soda
60g crunchy peanut butter

Icing:
40g softened butter
2 ish cups icing sugar
25ml milk
1 teaspoon vanilla
1 dessert spoon peanut butter


Beat the egg and sugar together until thick and a very pale yellow colour.

In a separate bowl, mix together the milk, yoghurt and vanilla together. Pour this into the egg and sugar mix and beat well.

Pour in the melted butter then mix well again.

Sieve the flour, baking powder, baking soda and cocoa together. Add half of the dry ingredients into the wet mixture, beat well on a low speed until smooth then add the rest of the dry mix and beat again until smooth.

Add the peanut butter then mix through until evenly distributed.

Place the mix in the fridge for 20-30 minutes to cool down.

Preheat your oven to 170 degrees and line a baking tray with baking paper.

Once the batter is cool, roll into balls (mine weighed 40g each) place in the tray and flatten with your fingers. I should have done this step. Ahh hind sight, its a wonderful thing.

Bake for 10 minutes or until they spring back when lightly pressed. The dough is quite a dry mix and you definitely don't want to overcook these or else they will be horrid and dry.

Transfer the half whoopies onto a wire rack to cool completely.

Whilst they are cooling, beat your butter, milk and icing sugar well until light and fluffy. Add your peanut butter and continue to beat to regain the fluffiness. I found I had to add some more icing sugar to stiffen the icing up. If the icing is too soft the whoopie halves will slip off each other.

Transfer the icing into a piping bag with a large circular tip. Pipe the icing onto one half then sandwich another on top to make a sandwich. Unfortunately with sandwich biscuits as soon as all of them are stuck together the total yield of biscuits is halved, meaning they run out twice as fast!

Store these in an airtight container in the fridge to set the icing (or on the bench if your flat kitchen is cold enough).


I hope you enjoy, they do not taste bad at all. A little big for my liking (I feel like I have eaten a cake burger after only one).

Byeee!!!