Good afternoon to you all!
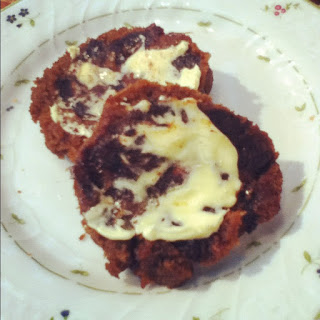
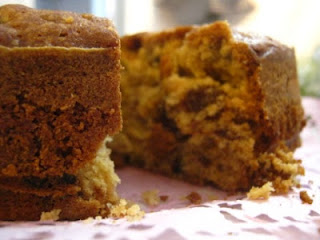
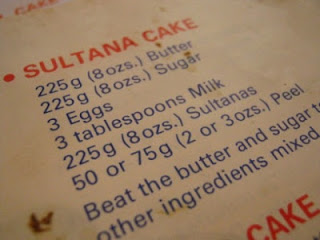
I am having a bit of a nana revival here. First sultana cake and date loaves, now afghans? Almost borderline retro, or should I dare say hipster baking! I am pretty sure baking is too mainstream for hipsters, especially measuring ingredients. Sounds way to restrictive for their way of life. Although it's the sort of thing hipsters take over exposed instagram photos of when chilling at known hipster food outlet locations. Ok to be honest I myself take lots of food photos using instagram (along with stalking photos of certain TVD actors . . . ). Anyway I think the message here is that sometimes the best things are the tried and true recipes without all the fandangled swirly twirly sprinkly bits. I dunno, what do you think? At least you can eat these without feeling guilty that you are destroying a work of art.
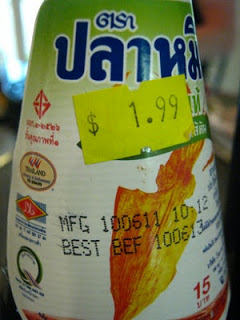
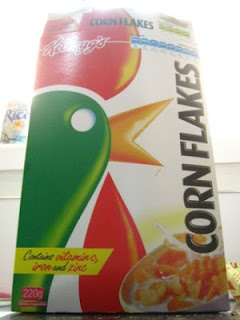
The other day we ran out of cereal. As in the only cereal we had left was Coco Pops and Weetbix (both I do not classify as suitable breakfast foods, too sugary and too mushy - bleeeeh). As it was only Thursday (our shopping day here is Sunday) I only had a few dollars to tide us over for the next few days. Turns out cornflakes were on special (score!!) at $1.69 (double score!!). Then I thought what else can I do with cornflakes other than eat them with milk? . . . Oh I wonder.
Oh and guess what:
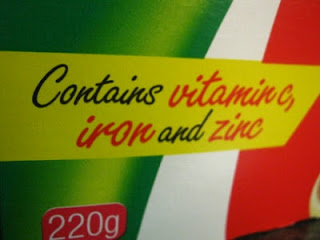
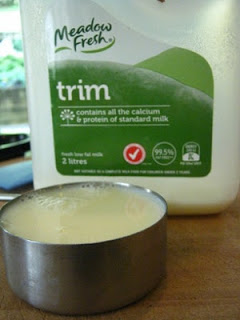
This must mean they are healthy!! Haha justification to eat five afghans in one go! Hmm whilst eating my cereal this morning I noticed that it also contained in one serving 50% of your RDI of folate. Why do they not put this on the packet? Is this so annoying uneducated anti folate buffs arn't put off? It's important to have. I don't want any accidental children of mine to have spina bifida (Mum don't you worry! haha). Hmm why isn't there calcium fortified into it? Special K is pumping with it (which is why if I am feeling rich I buy it). Milk is expensive for poor students to buy (except in our house of three girls where we have gone through 6L this week . . .) so we need to get it from other sources (please no one suggest eating a tin of salmon with bones). Anyway where was I? . . .
In African countries (where the majority of people are illiterate) they put pictures of the package contents on the box to avoid confusion. There was a hilarious case of an American baby food producer that put a picture of a white baby on the front of their tins. Delish! Why is there a rooster on the pack? So there is a rooster in the box? Do roosters eat corn? Why Kellogs why? Roosters crowing in the morning? Morning = breakfast time? Roosters are found on farms, they want to bring that country lifestyle to the inner city breakfast table? Is there some historical thing going on?
At least its not a kangaroo . .
I hate you food science!. Why do you do this to me? Actually I love it. You guys are missing out :)
Hmm where did the name for this biscuit come from anyway? This is all Wikipedia had to say about the baked morsel in question:
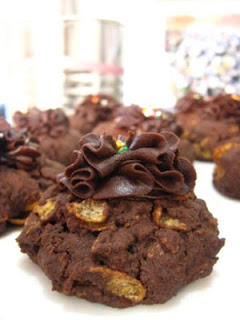
An Afghan biscuit is a traditional New Zealand biscuit made from cocoa powder, butter, flour and cornflakes, topped with chocolate icing and a walnut. The origin of the recipe and the derivation of the name are unknown, but the recipe has appeared in many editions of the influential New Zealand Edmonds Cookery Book.
I have this sneaking suspicion that it is another New Zealand vs Australia type recipe. Like the pav and that a New Zealander beat the Aussie to writing the wiki page.
Hmm I think I might go ask my Food and Culture lecturer from last year . . .
Anyway back to it
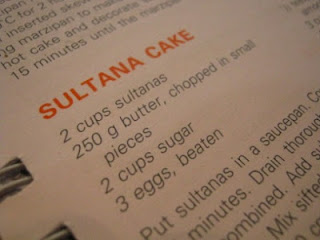
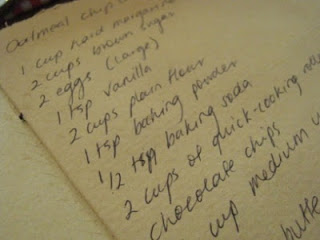
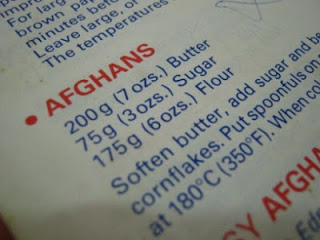
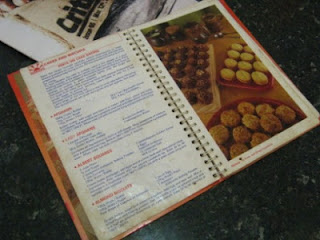
Using of course the trusty Edmonds Cookbook (It seems to be the bible for all these nana type cakes) the recipe I used was the first listed in their biscuit section.
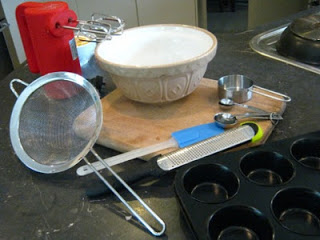
You will need:
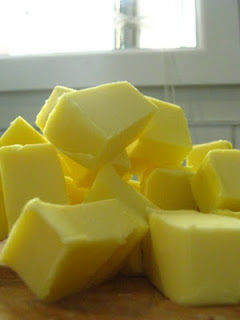
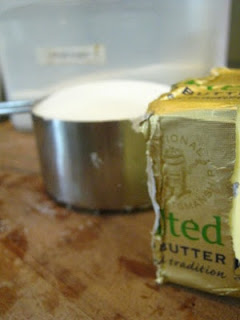
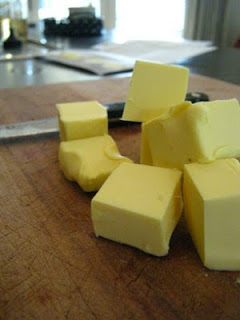
200g softened butter
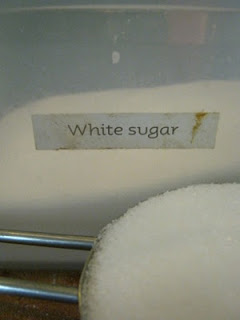
75g sugar
175g flour
25g cocoa powder
50g (Although I am sure I used 70g+) corn flakes
Chocolate icing (lots of it - afghans are not a very sweet biscuit so you need the icing to balance it out)
Method:
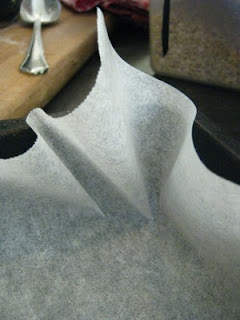
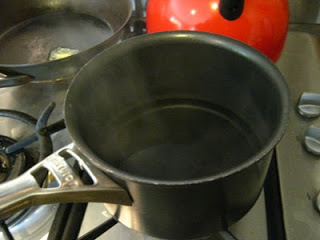
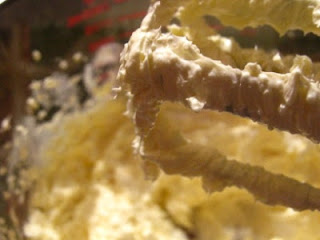
Preheat your oven to 180 degrees. Cream together the butter and sugar until white and fluffy. Sieve in the flour and cocoa and then mix in well. Pour in the cornflakes and stir in with a spoon (the beater just crushes the flakes of corny goodness). Once well combined, spoon and roll into balls and place on a baking tray lined with baking paper. Press the balls down with a floured fork then pop them into the oven for 15-17 minutes. Once done, take out of the own the leave to cool. Once cool slather them in icing in whichever fashion you prefer.
And here is the method in pictures (as usual)
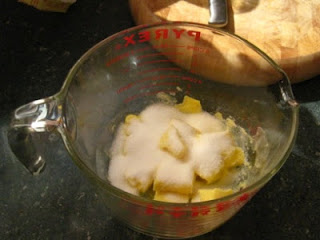
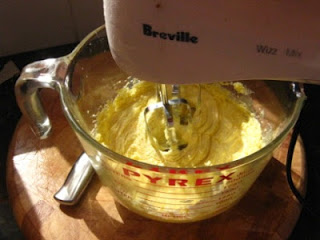
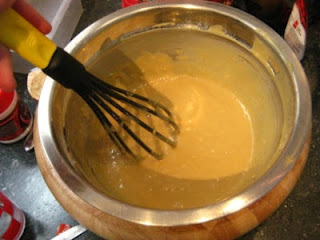
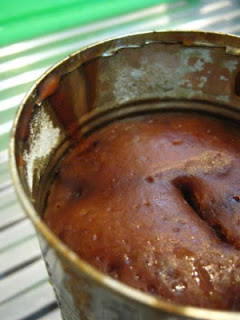
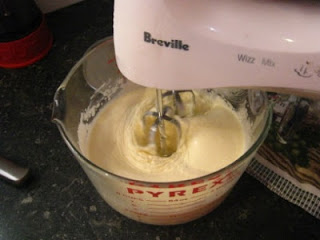
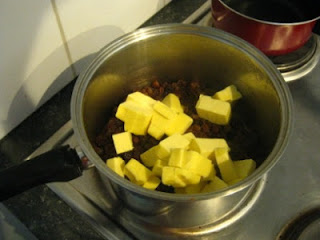
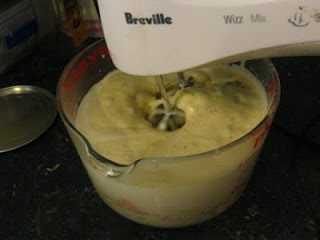
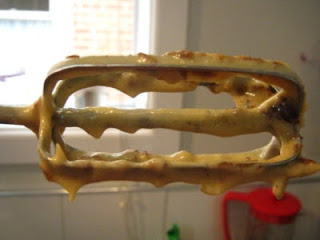
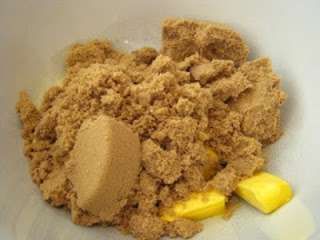
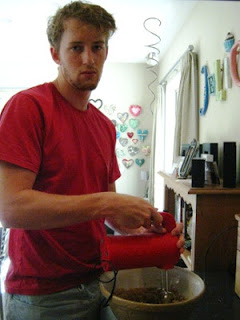
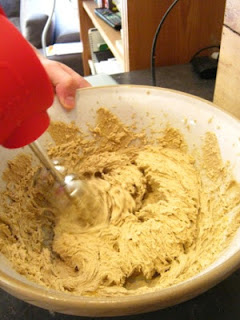
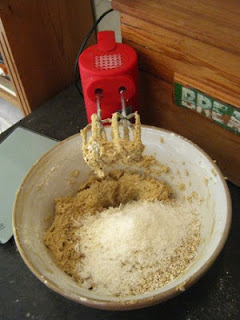
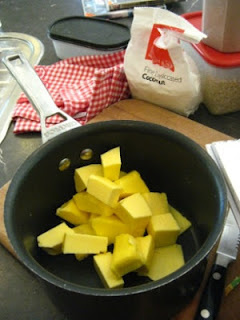
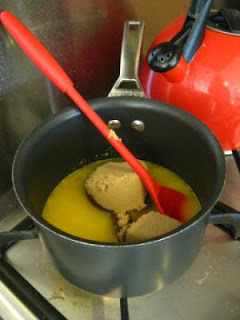
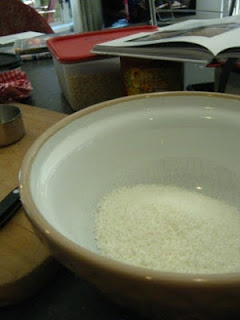
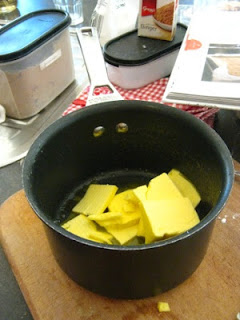
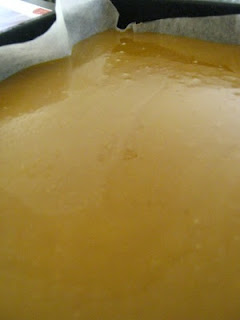
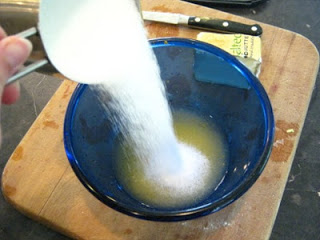
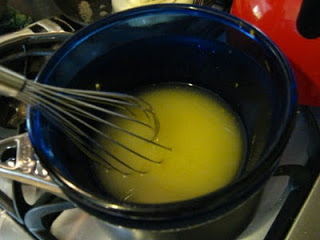
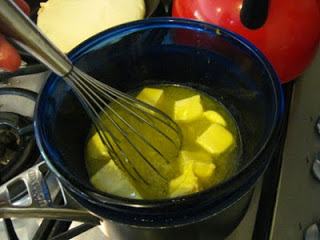
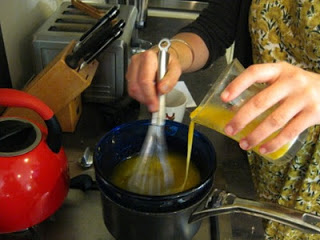
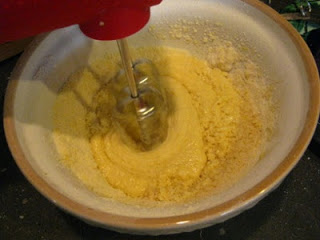
Cream together your butter and sugar
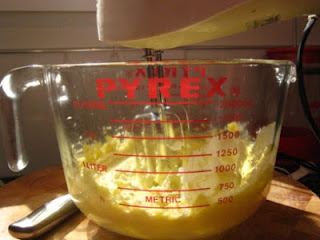
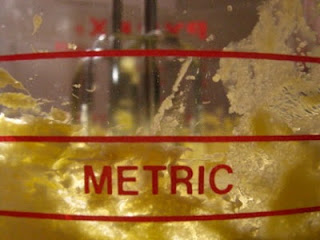
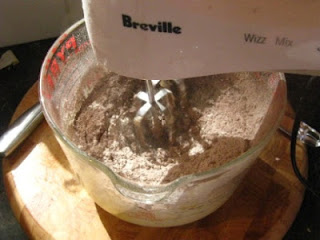
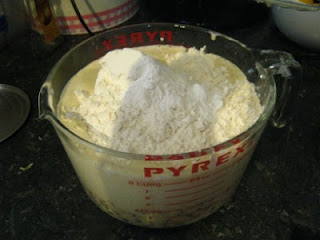
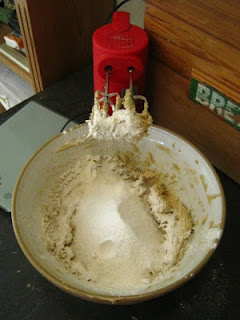
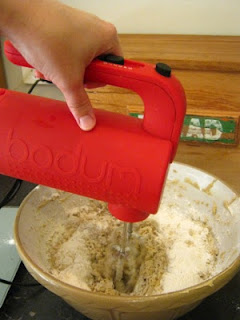
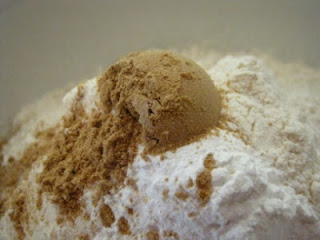
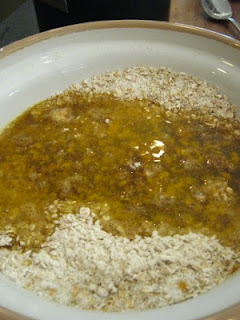
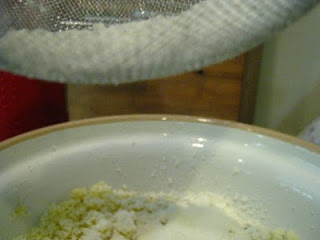
Sieve in the flour and cocoa. Beat until combined.
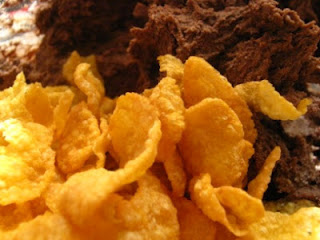
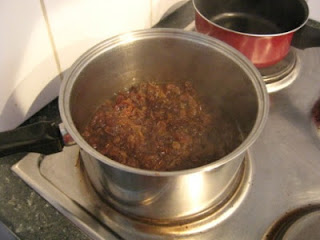
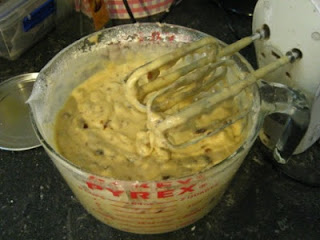
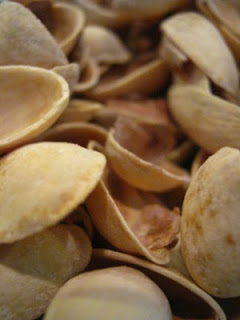
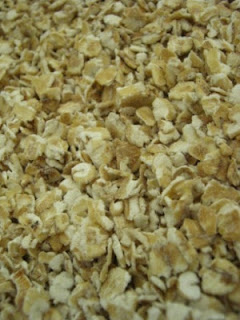
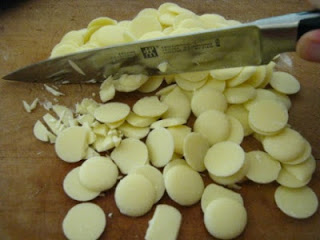
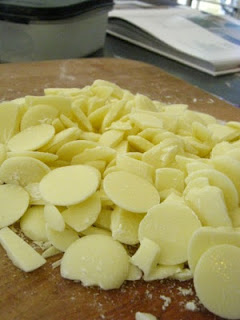
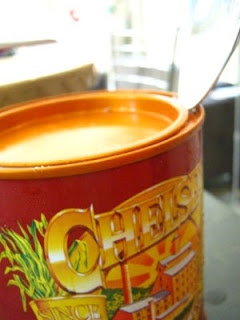
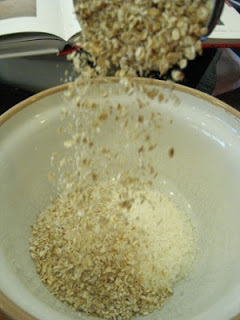
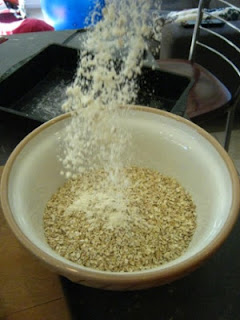
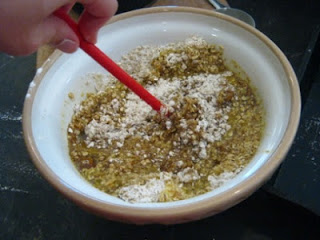
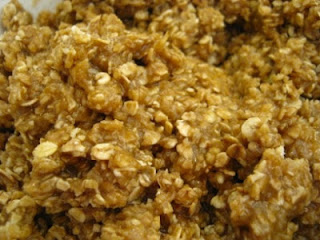
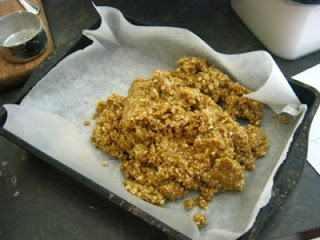
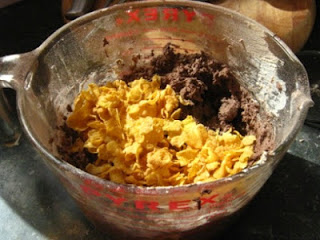
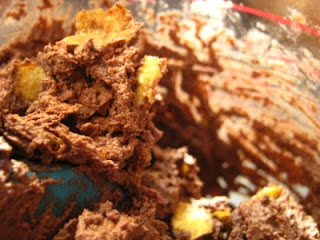
Add your golden flakes of corn
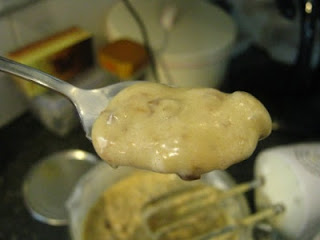
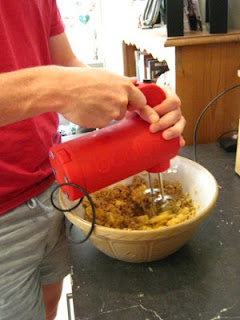
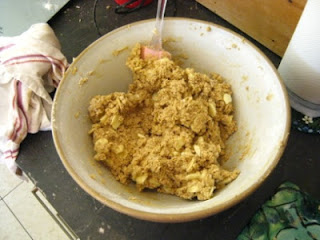
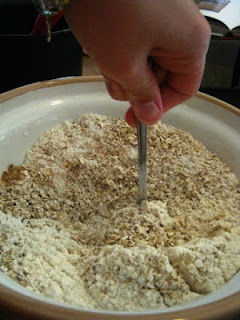
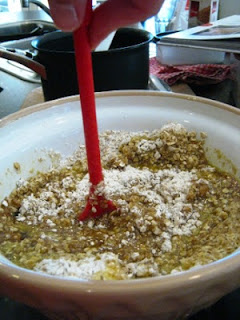
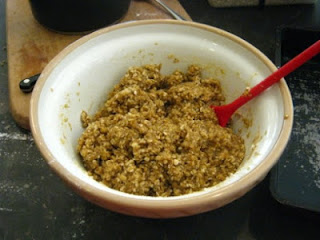
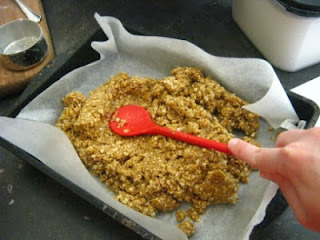
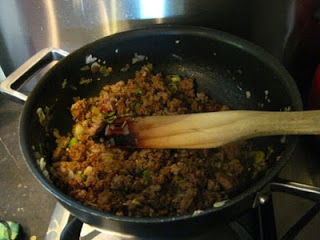
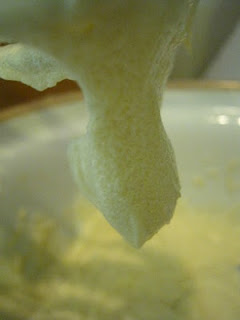
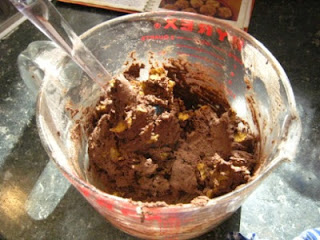
Mix in with a spoon (or spatula)

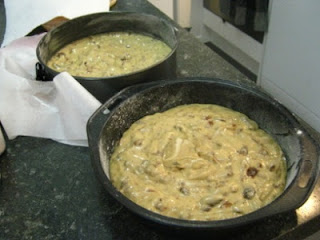
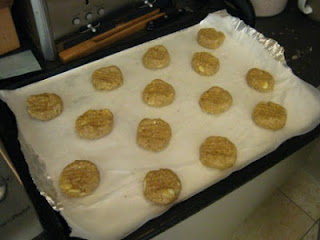
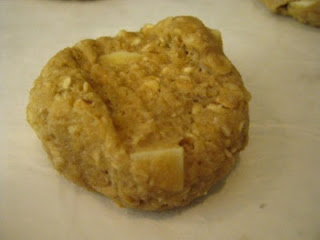
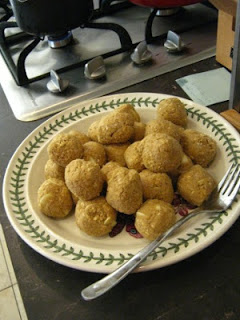
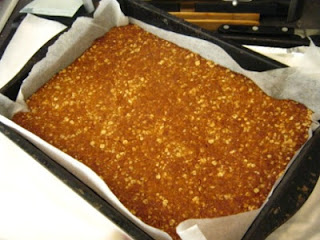
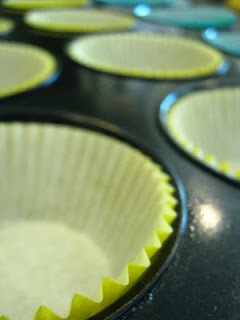
Roll into balls and flatten with a floured fork
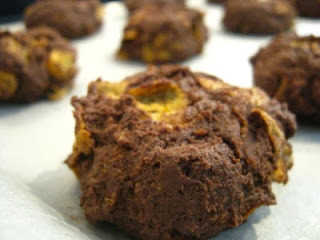
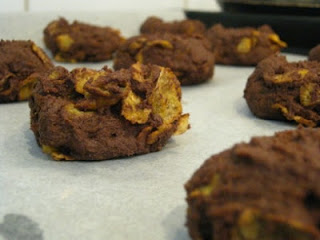

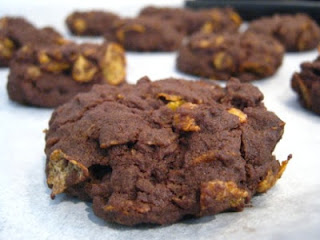
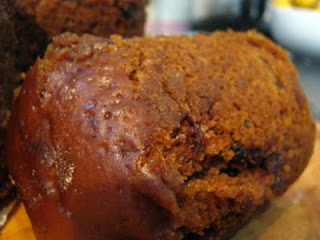
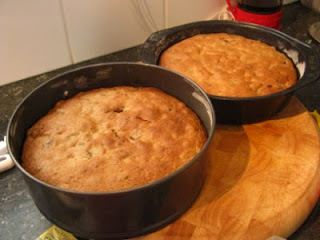
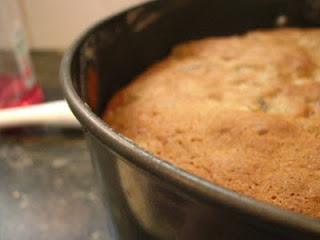
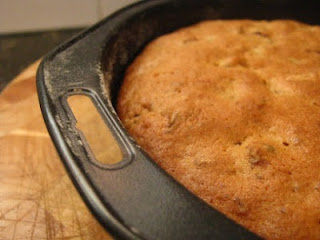
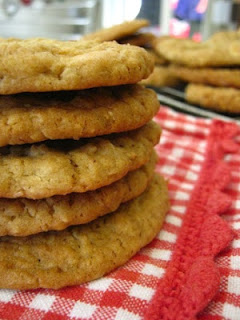
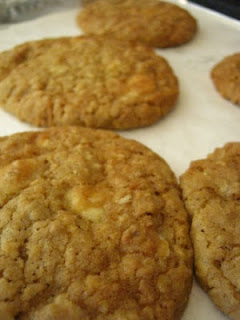
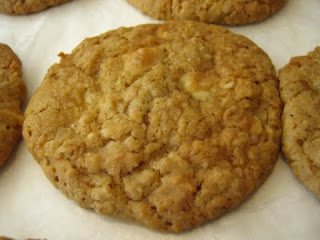
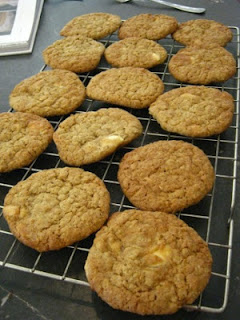
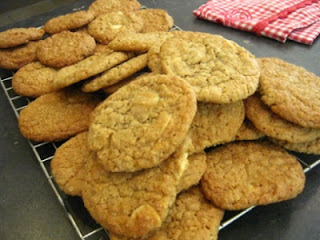
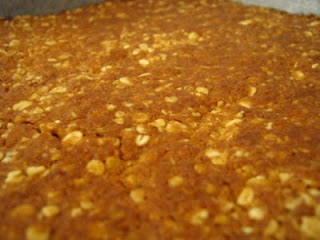
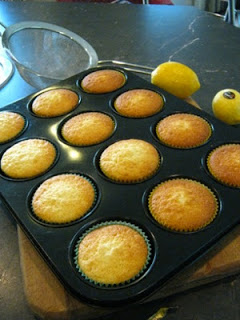
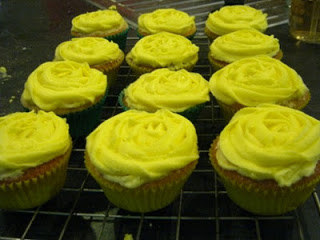
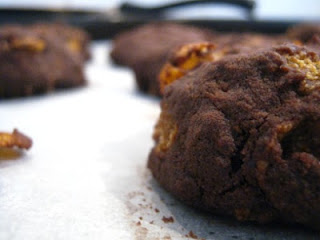
And bam! 15-17 minutes later these delicious creations come out.
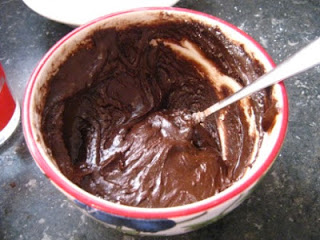
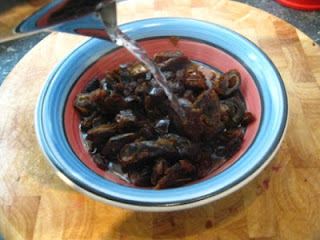
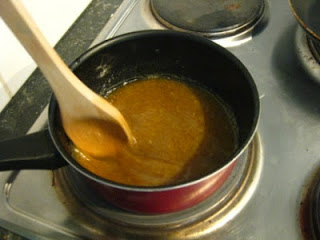
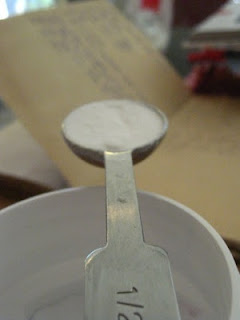
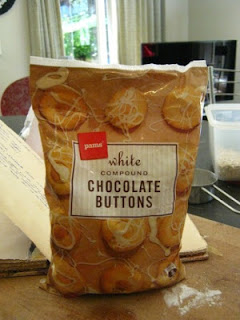
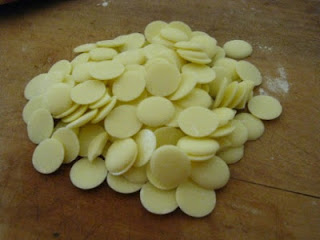
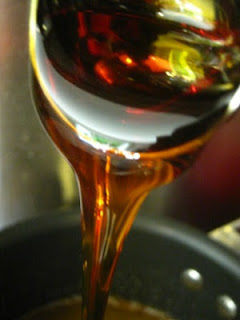
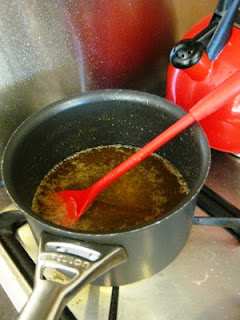
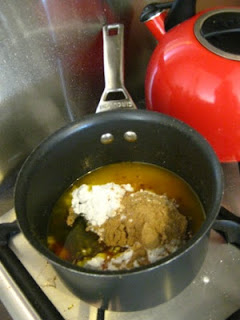
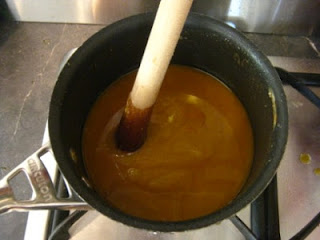
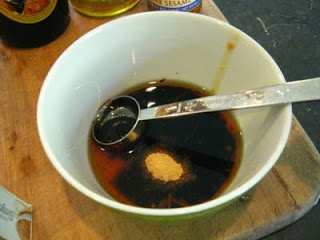
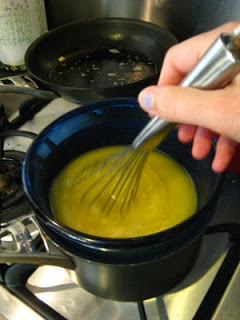
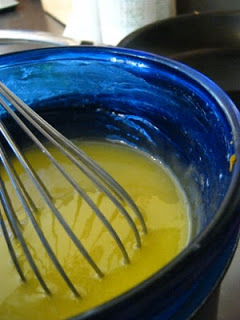
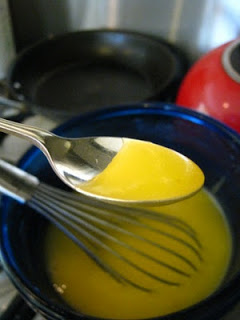
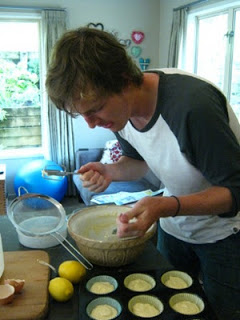
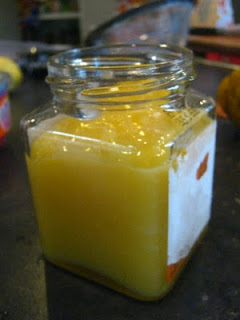
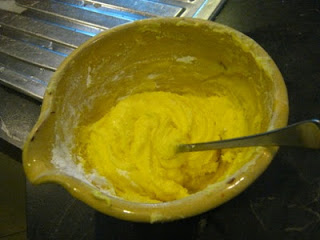
Once they are cool, mix up your icing.
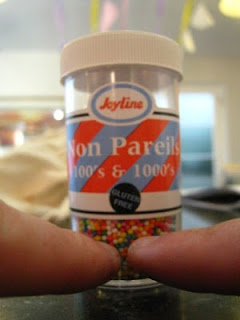
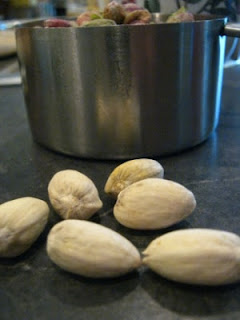
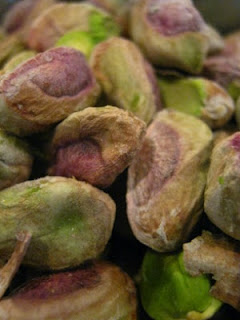
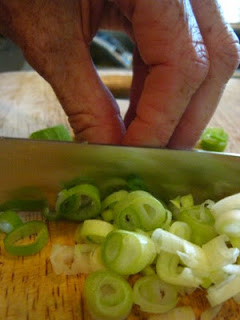
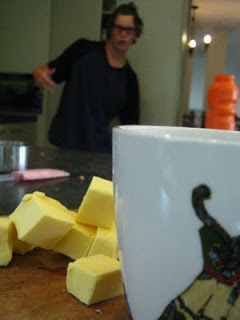
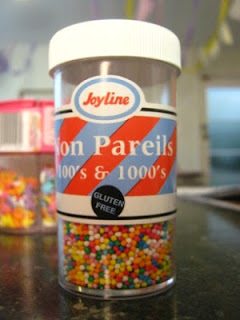
(It's St Patrick's day by the way. Chris is pointing out all the green ones we could extract to make our afghans more festive)
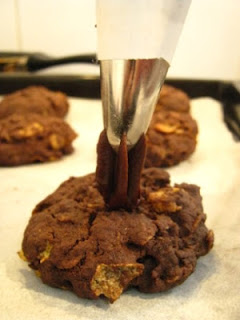
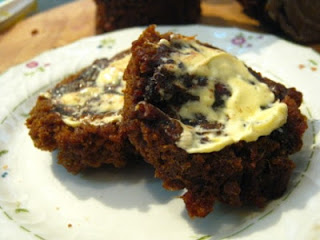
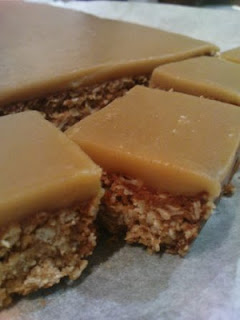
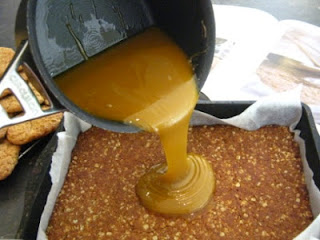
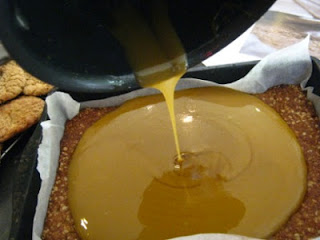
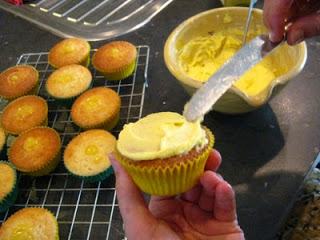
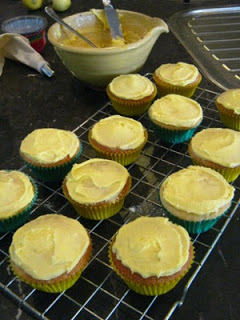
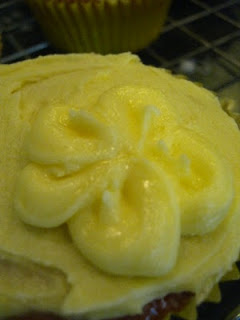
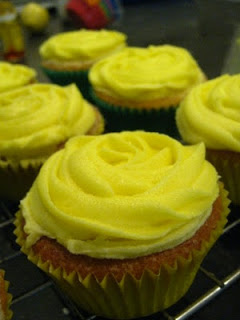
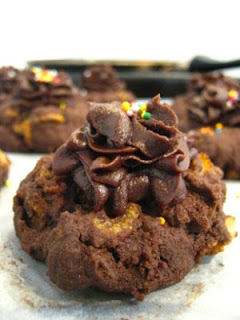
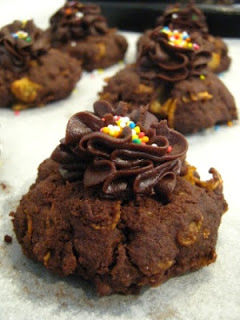
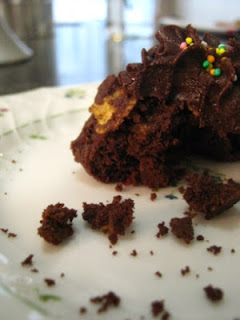
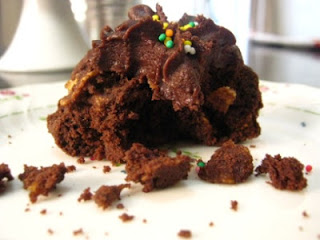
Now ice them and decorate :) Pop walnuts on the top if you wish :)
Hmm the person who invented afghans obviously didn't know about water activity and the migration of moisture from a high moisture area to a low one in mixed medium food products, ie the water in the butter into the cornflakes making them soft and soggy.
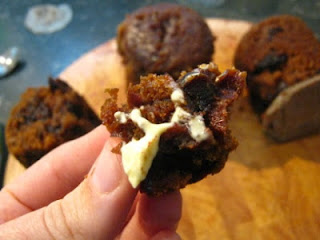
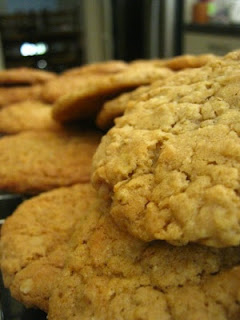
Although a few hours later these are still good :D
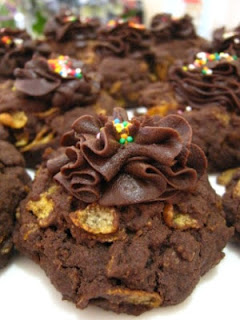
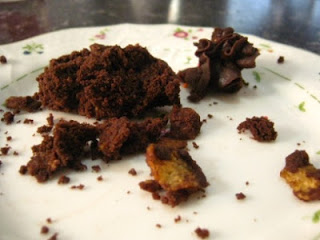
And once again I have added an obscene number of biscuit photos . . .
Ok time to eat more . . .
See you next week!
I am having a bit of a nana revival here. First sultana cake and date loaves, now afghans? Almost borderline retro, or should I dare say hipster baking! I am pretty sure baking is too mainstream for hipsters, especially measuring ingredients. Sounds way to restrictive for their way of life. Although it's the sort of thing hipsters take over exposed instagram photos of when chilling at known hipster food outlet locations. Ok to be honest I myself take lots of food photos using instagram (along with stalking photos of certain TVD actors . . . ). Anyway I think the message here is that sometimes the best things are the tried and true recipes without all the fandangled swirly twirly sprinkly bits. I dunno, what do you think? At least you can eat these without feeling guilty that you are destroying a work of art.
The other day we ran out of cereal. As in the only cereal we had left was Coco Pops and Weetbix (both I do not classify as suitable breakfast foods, too sugary and too mushy - bleeeeh). As it was only Thursday (our shopping day here is Sunday) I only had a few dollars to tide us over for the next few days. Turns out cornflakes were on special (score!!) at $1.69 (double score!!). Then I thought what else can I do with cornflakes other than eat them with milk? . . . Oh I wonder.
(Too right you are a box full of golden crispy corn flakes!)
This must mean they are healthy!! Haha justification to eat five afghans in one go! Hmm whilst eating my cereal this morning I noticed that it also contained in one serving 50% of your RDI of folate. Why do they not put this on the packet? Is this so annoying uneducated anti folate buffs arn't put off? It's important to have. I don't want any accidental children of mine to have spina bifida (Mum don't you worry! haha). Hmm why isn't there calcium fortified into it? Special K is pumping with it (which is why if I am feeling rich I buy it). Milk is expensive for poor students to buy (except in our house of three girls where we have gone through 6L this week . . .) so we need to get it from other sources (please no one suggest eating a tin of salmon with bones). Anyway where was I? . . .
In African countries (where the majority of people are illiterate) they put pictures of the package contents on the box to avoid confusion. There was a hilarious case of an American baby food producer that put a picture of a white baby on the front of their tins. Delish! Why is there a rooster on the pack? So there is a rooster in the box? Do roosters eat corn? Why Kellogs why? Roosters crowing in the morning? Morning = breakfast time? Roosters are found on farms, they want to bring that country lifestyle to the inner city breakfast table? Is there some historical thing going on?
At least its not a kangaroo . .
I hate you food science!. Why do you do this to me? Actually I love it. You guys are missing out :)
Hmm where did the name for this biscuit come from anyway? This is all Wikipedia had to say about the baked morsel in question:
An Afghan biscuit is a traditional New Zealand biscuit made from cocoa powder, butter, flour and cornflakes, topped with chocolate icing and a walnut. The origin of the recipe and the derivation of the name are unknown, but the recipe has appeared in many editions of the influential New Zealand Edmonds Cookery Book.
Yes I did just copy that all off the Wiki page. Is this a uni assignment? No. But if you want to see for yourself, here is the link :)
I have this sneaking suspicion that it is another New Zealand vs Australia type recipe. Like the pav and that a New Zealander beat the Aussie to writing the wiki page.
Hmm I think I might go ask my Food and Culture lecturer from last year . . .
Anyway back to it
Using of course the trusty Edmonds Cookbook (It seems to be the bible for all these nana type cakes) the recipe I used was the first listed in their biscuit section.
You will need:
200g softened butter
75g sugar
175g flour
25g cocoa powder
50g (Although I am sure I used 70g+) corn flakes
Chocolate icing (lots of it - afghans are not a very sweet biscuit so you need the icing to balance it out)
Method:
Preheat your oven to 180 degrees. Cream together the butter and sugar until white and fluffy. Sieve in the flour and cocoa and then mix in well. Pour in the cornflakes and stir in with a spoon (the beater just crushes the flakes of corny goodness). Once well combined, spoon and roll into balls and place on a baking tray lined with baking paper. Press the balls down with a floured fork then pop them into the oven for 15-17 minutes. Once done, take out of the own the leave to cool. Once cool slather them in icing in whichever fashion you prefer.
And here is the method in pictures (as usual)
Add your golden flakes of corn
Mix in with a spoon (or spatula)
Roll into balls and flatten with a floured fork
Set the timer . . .
And bam! 15-17 minutes later these delicious creations come out.
Once they are cool, mix up your icing.
(It's St Patrick's day by the way. Chris is pointing out all the green ones we could extract to make our afghans more festive)
Hmm the person who invented afghans obviously didn't know about water activity and the migration of moisture from a high moisture area to a low one in mixed medium food products, ie the water in the butter into the cornflakes making them soft and soggy.
Although a few hours later these are still good :D
And once again I have added an obscene number of biscuit photos . . .
Ok time to eat more . . .
See you next week!